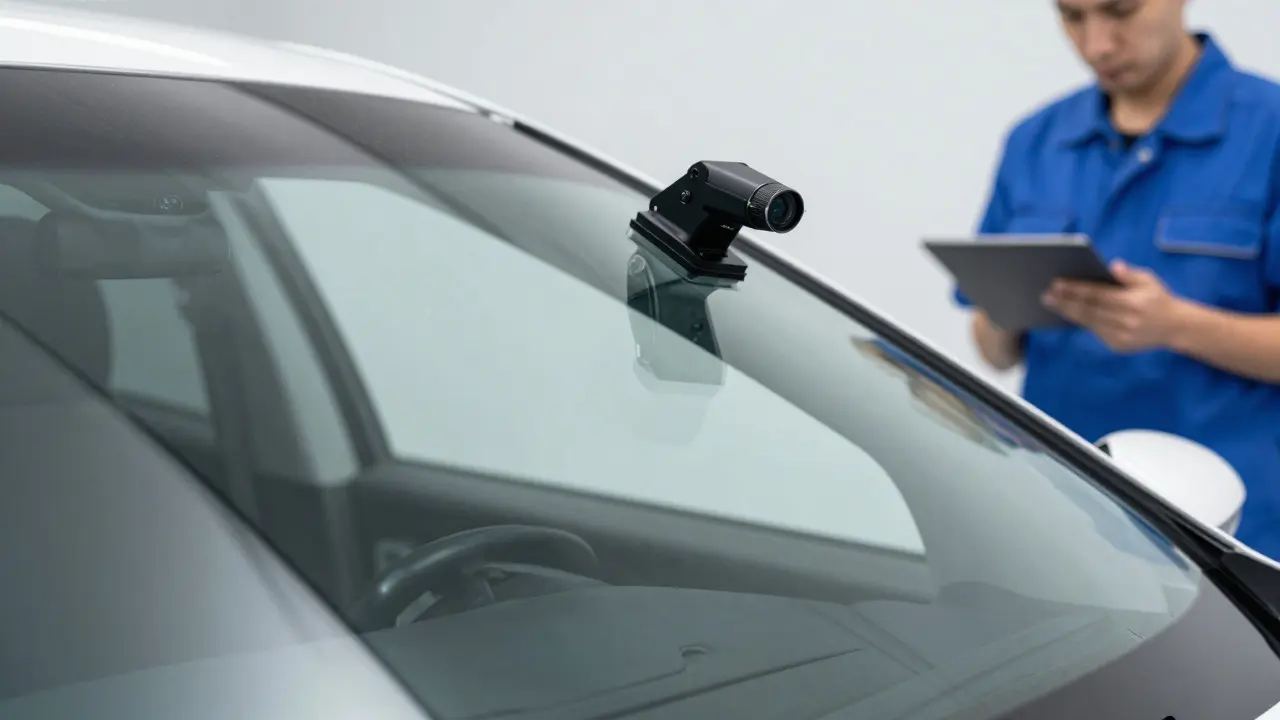
Imagine pulling out of a shop after a simple windshield replacement, only to find your lane-keeping assist drifting or your automatic emergency braking triggering at the wrong moment. It’s a frustrating reality for many drivers who don’t realize that modern vehicles are essentially computers on wheels. The glass isn't just a barrier; it's a window for cameras and sensors that need precise alignment. If you’ve ever wondered why a $400 windshield job can cost double when "calibration" is added to the bill, you’re not alone. This guide breaks down exactly what happens under the hood-well, under the hood of your sensor suite-and why skipping this step is a safety risk, not just a technicality.
The Core Problem: Sensors Need a Reference Point
Advanced Driver Assistance Systems (ADAS) are a collection of electronic systems that use sensors like cameras, radar, and ultrasonic transducers to help drive the car. These systems rely on mathematical models to interpret the world around them. When you replace a windshield or hit a fender, you disrupt the physical relationship between these sensors and the road. Think of it like moving a mirror in a bathroom. If you tilt it slightly, your reflection changes. For an ADAS camera, a slight tilt means the horizon line shifts in its digital view, causing it to misjudge distances and speeds.
The two main types of disruptions we deal with in the shop are optical and mechanical. Optical disruption happens when the camera behind the windshield sees a different angle because the glass thickness or curvature changed. Mechanical disruption occurs when a collision moves the bumper, hood, or chassis, physically shifting the radar or camera unit itself. Both require a reset process known as ADAS Calibration is the process of aligning sensor data with real-world geometry using specific tools and procedures.
Static vs. Dynamic: Knowing Which One You Need
Not all calibrations are created equal. In fact, mixing them up is one of the most common mistakes in auto repair. We generally split this into two categories: static and dynamic.
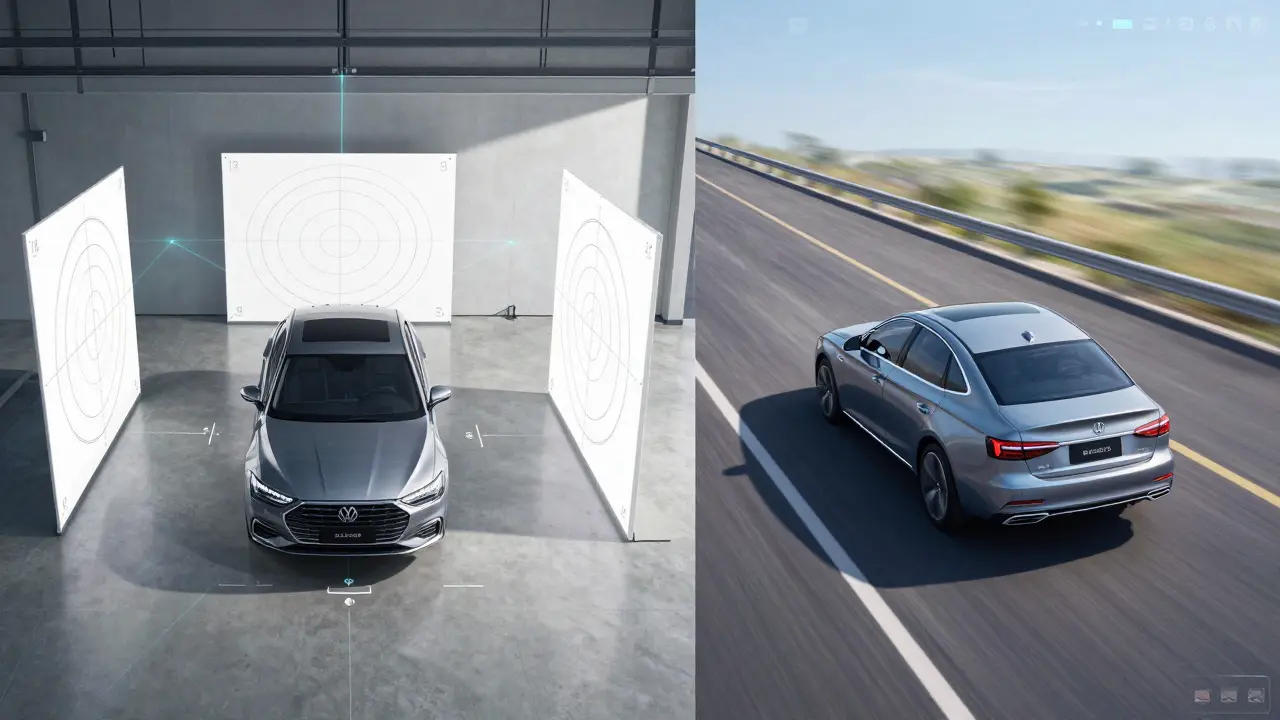
- Static Calibration: This is done while the car is parked. You place target boards or stickers on the ground or wall at specific distances. A diagnostic tool reads the camera's view and compares it to the target. It’s precise but requires a level floor and controlled lighting. Most windshield replacements require static camera calibration.
- Dynamic Calibration: This happens while driving. The car drives on a highway or straight road at a set speed (usually 35-60 mph). The system uses GPS, wheel speed sensors, and IMU (Inertial Measurement Unit) data to verify alignment. This is often required after front-end collisions where the chassis might have shifted slightly, or if the manufacturer specifies it for certain radar units.
A critical rule of thumb: Always check the OEM (Original Equipment Manufacturer) service manual first. Some cars allow dynamic calibration to fix minor static errors, but others strictly require static targets for any glass change. Guessing here leads to failed quality checks and unhappy customers.
Windshield Replacements: The Glass Factor
Replacing a windshield seems straightforward until you consider the camera mounted behind it. Modern laminated glass has varying thicknesses and refractive indices. Even if the new glass looks identical, microscopic differences in how light passes through can shift the camera’s focal point.
Here is what typically goes wrong if you skip calibration after a windshield swap:
- Lane Departure Warning (LDW) Errors: The camera thinks the lane lines are closer than they are, triggering false alarms.
- Adaptive Cruise Control (ACC) Lag: The system struggles to maintain distance from the car ahead because its depth perception is off.
- Blind Spot Monitoring Glitches: While less common with glass swaps, side-view cameras can also be affected if the mounting points were disturbed during removal.
To do this right, technicians use a high-precision leveling kit to ensure the car is perfectly flat. Then, they apply manufacturer-specific target patterns. Using a scan tool, they capture the image and let the software calculate the offset. The entire process usually takes 30 to 45 minutes, depending on the make and model.
Body Repairs and Chassis Integrity
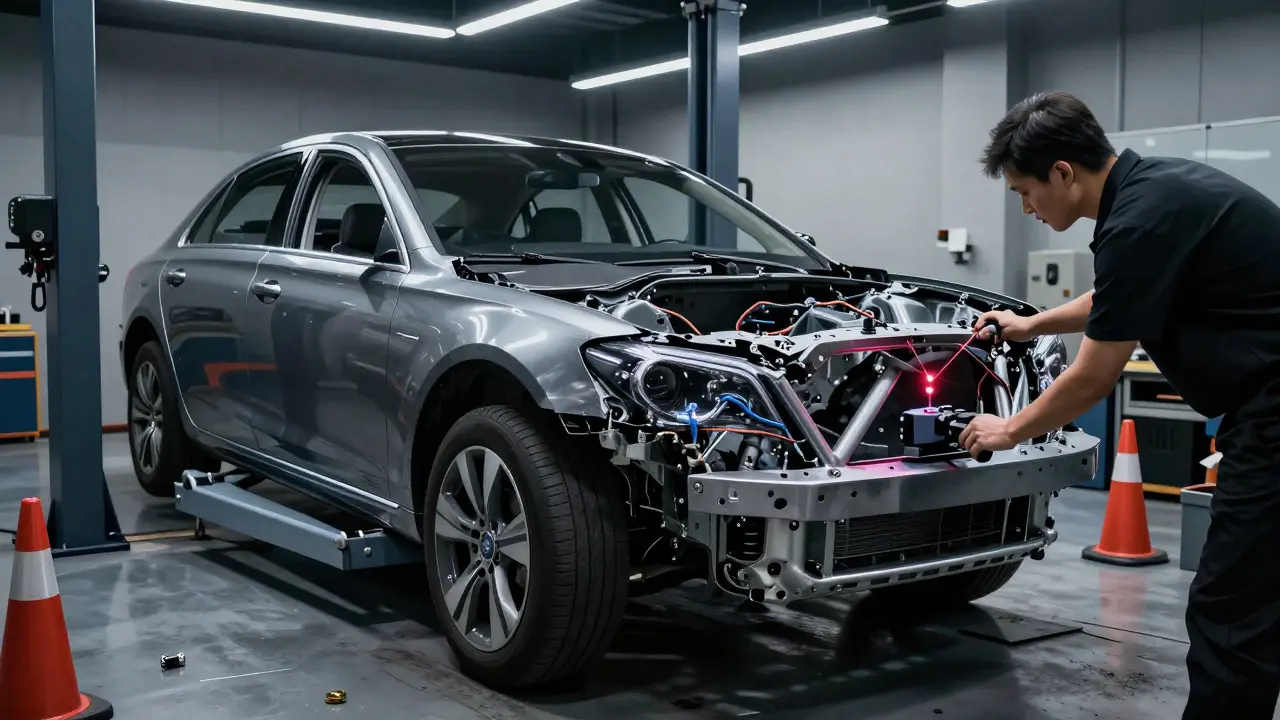
When a car hits a curb or another vehicle, the damage rarely stays superficial. The front bumper houses millimeter-wave radar units that detect objects up to 150 meters away. If the bumper cover is replaced or the crash bar is bent, the radar’s beam angle changes. Unlike cameras, radar doesn't see "images," so it relies heavily on the physical position of the antenna relative to the ground plane.
Body repairs introduce another layer of complexity: chassis deformation. If the frame rails are stretched by even a few millimeters, the geometric center of the car shifts. This affects not just the front radar but also the rear parking sensors and sometimes the stability control modules. In these cases, a full four-wheel alignment is often a prerequisite before touching the ADAS sensors. Why? Because if the wheels aren't tracking straight, the dynamic calibration will fail every time, no matter how perfect your radar alignment is.
The Tools of the Trade
You can’t calibrate ADAS with a wrench and a guess. You need specialized equipment. Here’s what a professional setup looks like:
| Tool/Method | Primary Use Case | Accuracy Level | Time Required |
|---|---|---|---|
| Target Boards (Static) | Camera calibration after glass replacement | High (Sub-pixel accuracy) | 30-60 mins |
| Diagnostic Scan Tool | Reading sensor data, clearing codes, running routines | Depends on software version | Variable |
| GPS-based Dynamic System | Radar verification, post-collision checks | Medium-High (Relies on road conditions) | 15-30 mins driving |
| Laser Alignment Kit | Physical sensor positioning before calibration | Very High | 20-40 mins |
Notice the distinction between *aligning* the hardware and *calibrating* the software. You must physically adjust the camera bracket or radar housing first. Only then does the digital calibration make sense. Skipping the physical adjustment forces the software to compensate for a large error, which can lead to unstable performance over time.
Common Pitfalls That Lead to Failures
Even experienced shops run into issues. Here are the top three traps I see constantly:
1. Ignoring Tire Pressure and Load. ADAS cameras sit at a specific height. If the tires are underinflated or the car is carrying heavy cargo in the trunk, the ride height drops. This tilts the camera downward. Always inflate tires to spec and remove excess weight before starting static calibration.
2. Dirty Lenses. It sounds obvious, but a smudge on the windshield or a bug splat on the radar lens can ruin a calibration session. The software interprets dirt as an object or a blur, leading to incorrect calculations. Cleanliness isn't just hygiene; it's data integrity.
3. Wrong Software Version. Manufacturers update their calibration algorithms frequently. If your diagnostic tool is two years old, it might be using outdated target dimensions. Keeping your software updated is non-negotiable for accurate results.
What Drivers Should Expect
If you’re reading this as a car owner, here’s what to watch for. When you drop off your car for body or glass work, ask specifically: "Does this repair require ADAS calibration?" If the answer is yes, ask whether it’s static or dynamic. Get the estimated time and cost upfront. A proper calibration should come with a printout or digital report showing the pre-calibration values and the post-calibration values. If they don’t show you the numbers, they might not have actually calibrated it.
Also, pay attention to your dashboard lights after pickup. If the ADAS warning light comes on within a week, take it back immediately. It usually indicates that the calibration drifted or was never completed correctly. Don’t wait for a malfunction; catch it early.
Frequently Asked Questions
Do I really need ADAS calibration after a simple chip repair?
Usually, no. Small chip repairs that don't involve removing the entire windshield rarely affect the camera's optical path significantly. However, if the repair involves replacing a section of the glass near the camera mount, a quick static check is recommended to be safe.
How long does dynamic calibration take?
Dynamic calibration typically requires 15 to 30 minutes of driving. The technician needs to drive at a steady speed on a clear, straight road without sharp turns or traffic interruptions. Weather matters too; rain or fog can interfere with the sensor data.
Can I drive my car home if the calibration is pending?
Yes, but with caution. The car is still drivable, but the ADAS features may be unreliable or disabled entirely. Avoid highways if possible, and keep your hands on the wheel ready to override any sudden braking or steering inputs from the system.
Why did my insurance company say the windshield was covered but calibration wasn't?
Many comprehensive policies cover the glass part and labor for installation, but treat calibration as a separate "diagnostic" or "electronic" service. It’s a grey area. Always read your policy details or ask your insurer if "sensor calibration" is included in the glass claim. If not, budget for the extra cost, which typically ranges from $100 to $300.
Does aftermarket glass affect calibration accuracy?
It can. Aftermarket glass may have slightly different optical properties than OEM glass. While most modern scanners can handle this, some older vehicles or specific manufacturers recommend using OEM glass to ensure the calibration targets remain valid. If you use aftermarket glass, insist on a thorough static calibration and monitor the system closely for a few weeks.