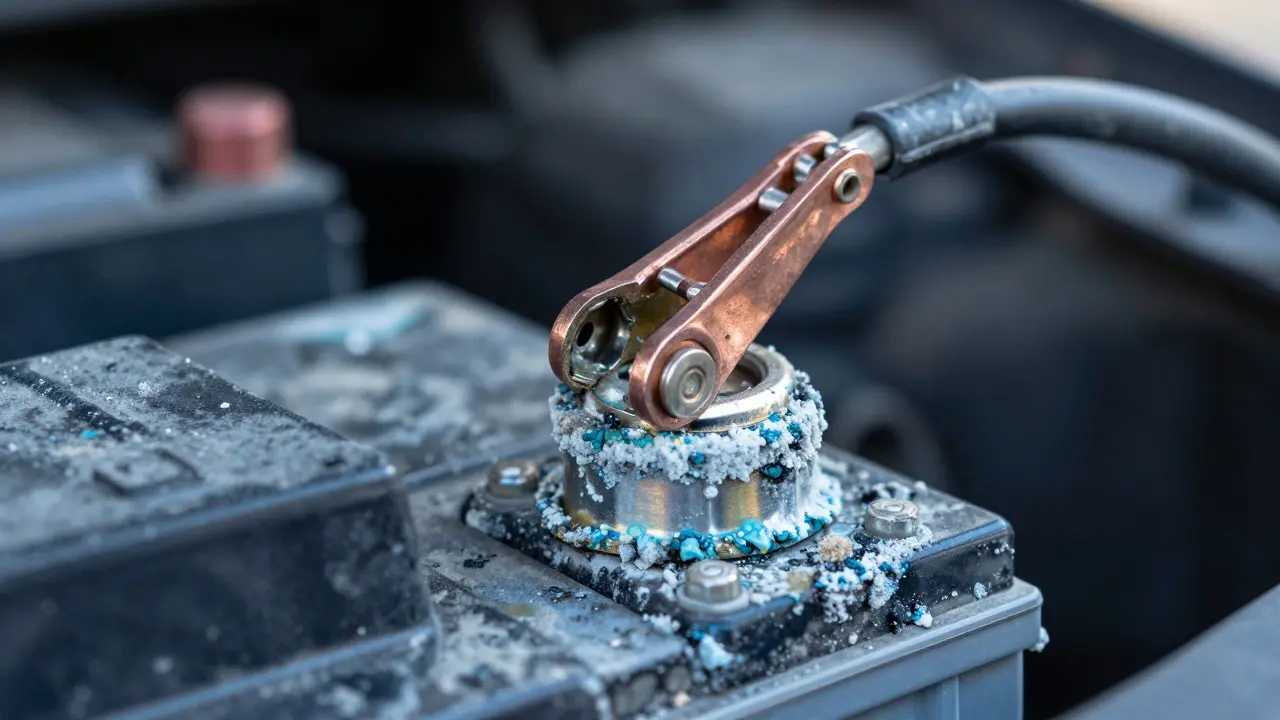
Your engine cranks slowly or refuses to start on a cold morning. You check the battery, and it reads 12.6 volts-perfectly healthy. So why is the car acting like it’s dying? The culprit often isn’t the battery itself, but the path electricity takes to get there. This is where battery cable resistance becomes the silent killer of your starting system.
High resistance in battery cables acts like a clogged pipe in a water hose. Even if the pump (the battery) is strong, the restriction prevents enough flow (current) from reaching the starter motor. In modern vehicles, this issue is increasingly common due to corrosion buildup, vibration damage, and aging insulation. Understanding how to detect and fix this problem can save you from unnecessary battery replacements and costly tow truck calls.
Why Battery Cables Develop High Resistance
Battery cables are not just wires; they are heavy-gauge copper conductors designed to handle hundreds of amps during engine startup. Over time, three main factors degrade their performance:
- Corrosion at Terminals: Sulfuric acid vapors from the battery react with copper and lead terminals, creating a white or blue-green crust. This layer is an insulator, blocking electron flow.
- Vibration Fatigue: The engine bay vibrates constantly. Thin spots in the cable strands can break over years, increasing internal resistance without visible external damage.
- Loose Connections: A terminal that isn’t tightened to spec creates a micro-gap. Every time the car starts, heat expands and contracts these metals, widening the gap and raising resistance.
The result is a voltage drop. While a healthy system maintains less than 0.5 volts drop under load, a compromised cable can lose 1-3 volts instantly. That missing energy never reaches the starter motor, causing slow cranking or no-start conditions.
Symptoms of High Resistance in the Starting Circuit
Diagnosing this issue requires looking beyond the obvious. If your battery tester shows good health but the car struggles, consider these specific signs:
- Slow Cranking Speed: The engine turns over sluggishly, especially in cold weather. The starter motor draws maximum current when cold, making resistance losses more apparent.
- Dim Headlights During Start: When you turn the key, the interior lights or headlights dim significantly. This indicates a sudden voltage sag across the entire electrical system.
- Clicking Sound Without Turnover: The solenoid clicks (it has enough voltage to engage), but the starter doesn’t spin because the voltage collapses once the motor tries to draw full current.
- Intermittent No-Starts: The car starts fine after sitting for a few minutes but fails initially. Heat from the first attempt may slightly expand connections, temporarily lowering resistance.
A critical diagnostic clue is checking the battery voltage while cranking. A healthy system should hold above 9.6 volts. If it drops below 9.0 volts despite a fresh battery, the fault lies in the circuit between the battery and the starter.
How to Test for Battery Cable Resistance
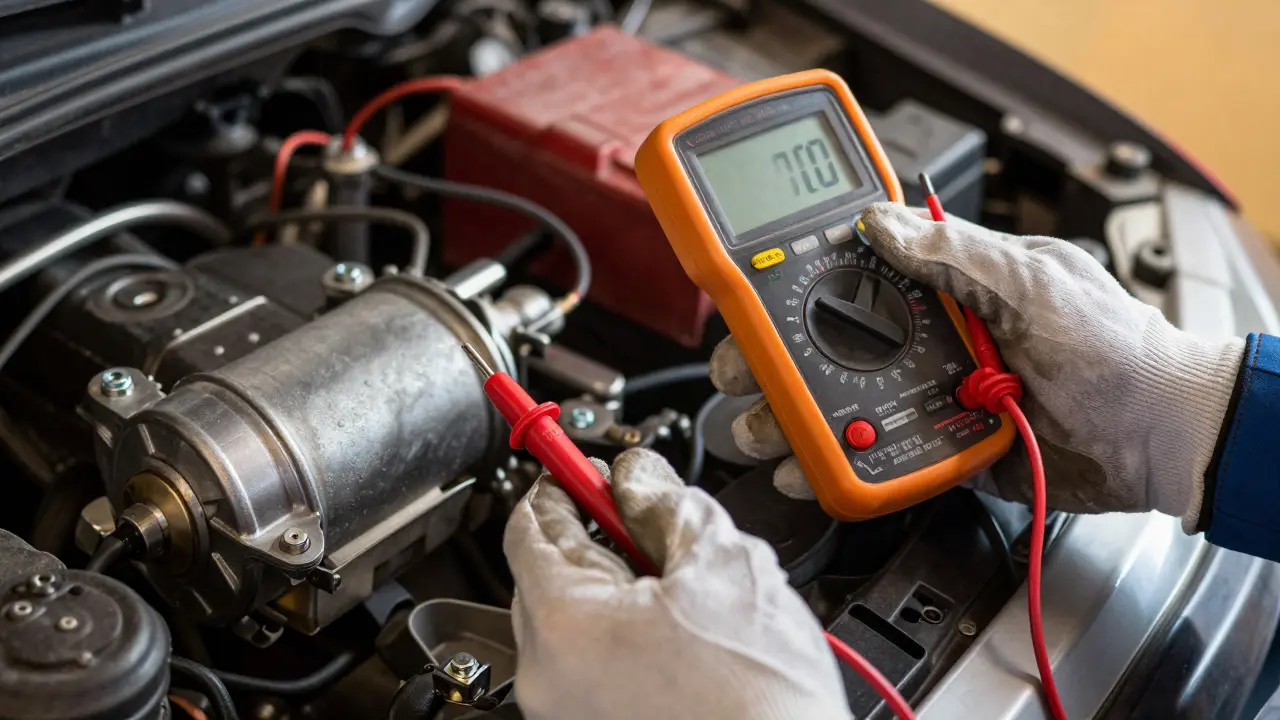
You don’t need expensive diagnostic equipment to find this fault. A standard digital multimeter (DMM) is sufficient. Here is the step-by-step process used by professional technicians:
The Voltage Drop Test Method
- Prepare the Vehicle: Ensure the battery is fully charged (12.6V+). Have a helper ready to turn the ignition to the 'start' position.
- Set Multimeter to DC Volts: Use the 20V range for accuracy.
- Test Positive Side:
- Place the red probe on the positive battery post.
- Place the black probe on the positive terminal of the starter motor (or the large bolt on the starter housing).
- Have your helper crank the engine for 5-10 seconds.
- Read the voltage. It should be less than 0.5V.
- Test Negative Side:
- Place the red probe on the negative battery post.
- Place the black probe on the engine block ground point (usually a thick cable attached to the firewall or chassis near the battery).
- Crank the engine again.
- Read the voltage. It should be less than 0.5V.
If either reading exceeds 0.5V, you have high resistance on that side. If both are high, you likely have multiple connection points failing. A reading above 1.0V indicates severe degradation requiring immediate repair.
Repair Strategies: Cleaning vs. Replacing
Once you’ve identified the faulty side, the repair approach depends on the condition of the components.
When Cleaning Is Enough
If the voltage drop is caused solely by surface corrosion, cleaning can restore functionality. Follow these steps carefully:
- Disconnect the battery (negative first, then positive).
- Remove the cable clamp from the battery terminal.
- Scrub the terminal and inside of the clamp with a wire brush or dedicated terminal cleaner.
- Apply dielectric grease to the cleaned terminal before reattaching the clamp. This prevents future oxidation without impeding conductivity.
- Tighten the clamp to manufacturer specification (usually 25-30 ft-lbs). Overtightening can crack the battery case; undertightening recreates the resistance problem.
When Replacement Is Necessary
Replace the cable if:
- The voltage drop persists after thorough cleaning.
- The cable insulation is cracked, brittle, or exposed.
- The cable strands are visibly frayed or broken.
- The terminal clamp teeth are worn smooth and won’t grip the battery post securely.
Always replace cables in pairs. Mixing old and new cables creates an imbalance in current distribution, which can cause uneven heating and premature failure of the older component. Choose cables with tinned copper ends for better corrosion resistance, especially in coastal areas like Portland, Oregon, where salt air accelerates oxidation.
Comparison: Symptoms and Solutions
| Symptom | Likely Cause | Diagnostic Check | Recommended Action |
|---|---|---|---|
| Slow cranking, dim lights | High resistance in positive cable | Voltage drop test > 0.5V on positive side | Clean terminals or replace positive cable |
| Clicking only, no turnover | High resistance in negative ground | Voltage drop test > 0.5V on negative side | Clean engine ground strap or replace negative cable |
| Car starts after waiting | Intermittent loose connection | Visual inspection + wiggle test while monitoring voltage | Tighten clamps or replace corroded terminals |
| Normal cranking, weak idle | Weak battery (not cable issue) | Load test or conductance test | Replace battery |
Prevention Tips for Long-Term Reliability
Preventing high resistance is simpler than fixing it. Incorporate these practices into your regular maintenance routine:
- Annual Inspection: Once a year, visually inspect all battery connections. Look for white/blue residue. Clean immediately if found.
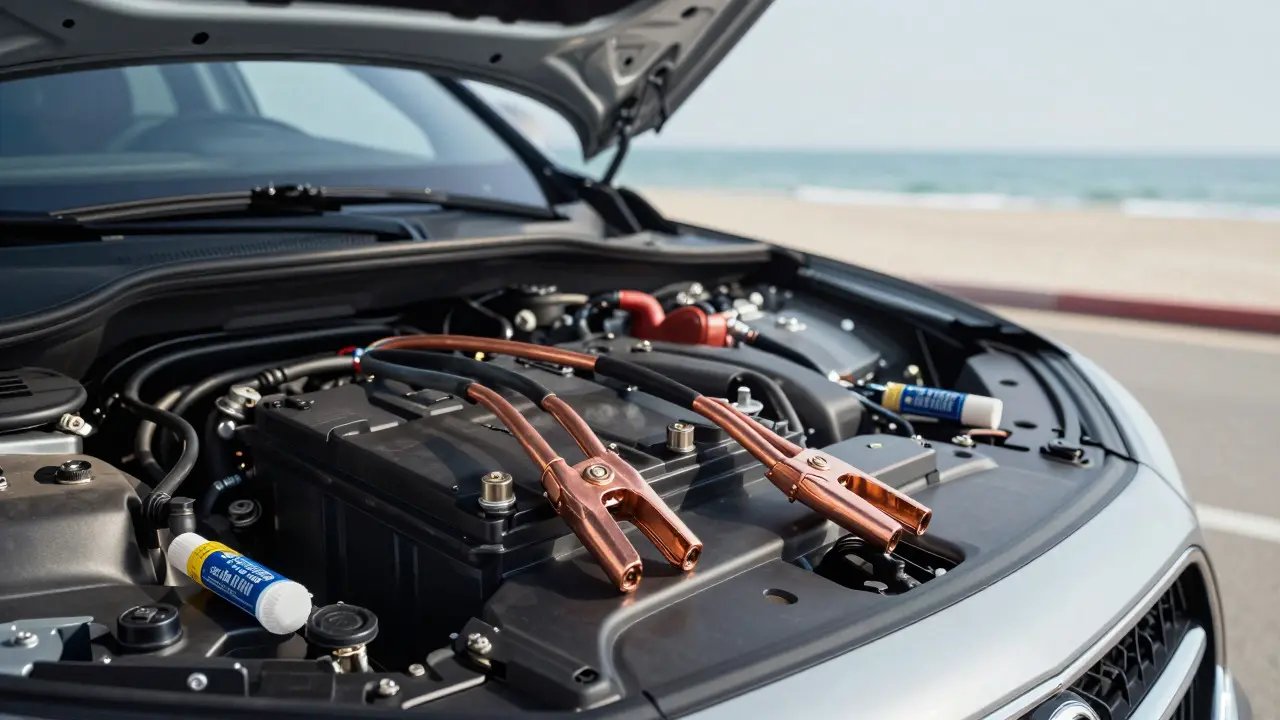
- Use Dielectric Grease: Apply a thin layer to clean terminals every time you service the battery. It blocks moisture and oxygen.
- Check Torque Specs: Don’t just hand-tighten. Use a torque wrench to ensure clamps are secure. Loose clamps vibrate and work themselves looser over time.
- Monitor Voltage Drops: If you own a multimeter, perform a quick voltage drop test every two years. It takes five minutes and can catch issues before they cause breakdowns.
- Protect from Vibration: Ensure cable routing is secured with clips. Excessive movement causes strand fatigue. Replace any cable showing cracks in the insulation.
In humid climates like the Pacific Northwest, corrosion happens faster. If you live near the coast or experience frequent rain, shorten your inspection interval to every six months. The cost of a wire brush and tube of dielectric grease is negligible compared to the inconvenience of a dead car in the rain.
Frequently Asked Questions
What is acceptable voltage drop for battery cables?
Acceptable voltage drop is less than 0.5 volts on both the positive and negative sides while cranking the engine. Readings between 0.5V and 1.0V indicate marginal performance that will worsen over time. Above 1.0V confirms a significant fault requiring repair.
Can high resistance in battery cables damage the starter motor?
Yes. When resistance is high, the starter motor must draw more current to achieve the same torque. This increased current generates excess heat, which can burn out the starter windings or wear down the brushes prematurely. Fixing cable resistance often extends starter life.
Should I replace both battery cables even if only one is bad?
It is highly recommended to replace both cables simultaneously. Cables age at similar rates, and mixing new and old cables creates an imbalance in current flow. This can lead to uneven heating and potential fire hazards. The cost difference is minimal compared to the risk of future failure.
Does aluminum wiring affect battery cable resistance?
Modern cars rarely use aluminum for battery cables due to its higher resistance and tendency to oxidize. However, if your vehicle has aftermarket aluminum wiring elsewhere, ensure proper anti-oxidant compound is used at all connections. Aluminum oxide is a poor conductor and can create hidden resistance points.
How often should I clean battery terminals?
In dry climates, annual cleaning is sufficient. In humid or coastal areas, check every six months. If you notice white or blue-green residue, clean immediately regardless of schedule. Corrosion grows exponentially once it starts, so early intervention is key.