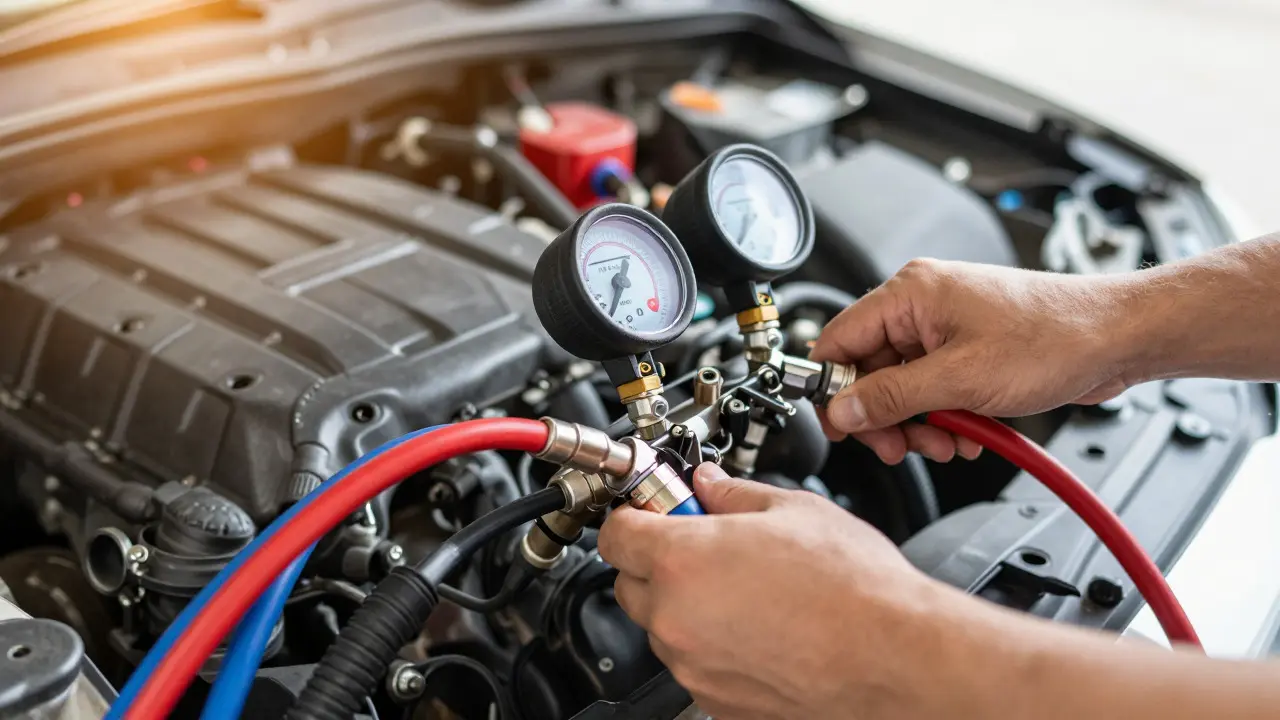
Your car’s air conditioning system isn’t just a luxury; in Portland summers or Phoenix heatwaves, it’s a safety feature. Yet most drivers only notice the AC when it fails-blowing warm air, making strange noises, or simply stopping altogether. The problem? Diagnosing why an automotive air conditioning system is underperforming requires more than just checking if the vent is cold. It demands a structured approach to car AC performance testing that isolates variables like refrigerant charge, compressor efficiency, and airflow restriction.
This guide breaks down the exact diagnostic procedures technicians use to pinpoint issues without guessing. You’ll learn how to measure what actually matters: superheat, subcooling, and static pressure drops. Whether you’re a DIY enthusiast with a manifold gauge set or a shop owner looking to standardize your intake process, these steps ensure you don’t miss the root cause.
Key Takeaways
- Refrigerant pressure alone tells you nothing. High or low readings can mean multiple different faults; you must calculate superheat and subcooling to diagnose accurately.
- Airflow measurement is often skipped. If the evaporator coil is clogged or the blower motor is weak, even perfect refrigerant levels won’t cool the cabin.
- The compressor clutch engagement pattern reveals electrical vs. mechanical failures before you tear anything apart.
- Use a digital manifold gauge with temperature probes for repeatable results; analog gauges drift and lack the precision needed for modern R-134a systems.
- Always check the condenser fan operation first-it’s the most common and cheapest fix for high-side pressure spikes.
Pre-Test Setup: Why Conditions Matter
Before you connect any gauges, you need controlled conditions. Testing an AC system on a cloudy day at 70°F gives you useless data compared to a sunny day at 95°F. The ambient temperature directly affects condensing pressure, which throws off your superheat calculations if not accounted for.
- Set the vehicle correctly: Park in direct sunlight if possible (simulates worst-case load), engine running at idle, transmission in Drive (for automatics) with brakes applied, or Neutral (for manuals). Set the climate control to Max Cool, Recirculate mode, and fan speed 4.
- Wait for stabilization: Let the system run for 5-10 minutes until the suction line feels consistently cold to the touch. This ensures the refrigerant has reached thermal equilibrium.
- Check for obvious leaks: Use UV dye light on all fittings and the receiver/drier. A visible leak means no amount of testing will be valid until it’s repaired.
- Verify power supply: Confirm battery voltage is above 12.4V. Low voltage causes the compressor clutch to slip, mimicking a failing compressor.
If you skip this setup, you might blame a bad compressor when the real issue is a weak blower motor struggling against a dirty cabin filter. Context is everything in HVAC diagnostics.
Measuring Refrigerant Pressure Correctly
Most people think “low pressure” means “low refrigerant.” That’s a dangerous oversimplification. In a properly charged system, the relationship between low-side (suction) and high-side (discharge) pressures depends entirely on ambient temperature and system load.
| Ambient Temp (°F) | Low-Side Pressure (PSIG) | High-Side Pressure (PSIG) | Expected Suction Line Temp (°F) |
|---|---|---|---|
| 70 | 28-32 | 150-160 | 38-42 |
| 85 | 30-35 | 180-190 | 40-45 |
| 100 | 32-38 | 210-220 | 42-48 |
Notice how the low-side pressure barely changes while the high-side climbs significantly as ambient temp rises. If your high-side is 250 PSI at 85°F ambient, you likely have a blocked condenser or insufficient airflow-not a refrigerant overcharge. Conversely, if both sides are low, you’ve got a leak or a non-functioning compressor.
Connect your digital manifold gauge to the service ports. Ensure the hoses are clean and the valves are fully open. Record the pressures immediately after stabilization. Then, attach temperature probes to the suction line (just before the compressor inlet) and the liquid line (just after the condenser outlet).
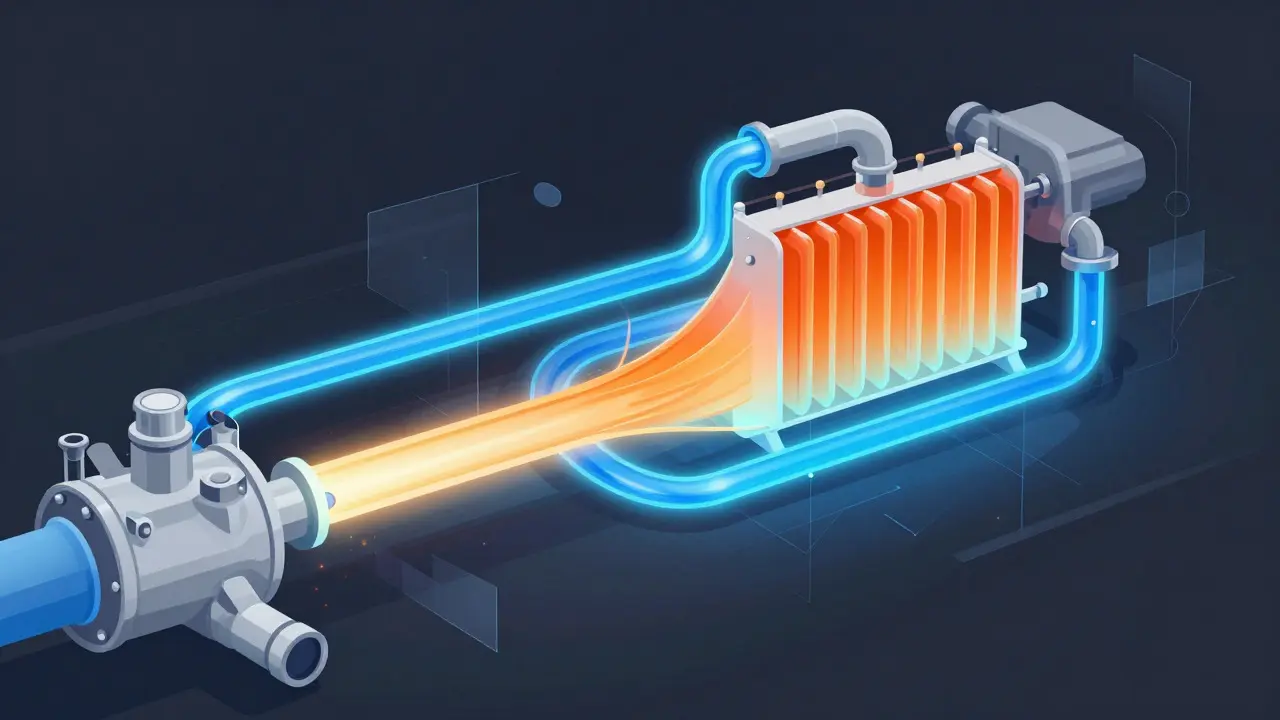
Calculating Superheat and Subcooling
This is where most DIYers get stuck. Superheat and subcooling are the true indicators of refrigerant charge level, not the pressure numbers themselves.
Superheat is the difference between the actual temperature of the suction gas and its saturation temperature at the given low-side pressure. It tells you if the evaporator is fully vaporizing the refrigerant. Too little superheat (< 5°F) risks liquid slugging the compressor. Too much (> 15°F) indicates undercharging or poor heat exchange.
Subcooling is the difference between the actual temperature of the liquid line and its saturation temperature at the high-side pressure. It confirms the condenser is working efficiently. Standard subcooling should be between 10°F and 15°F. Less than 10°F suggests a partial blockage or insufficient condenser airflow. More than 20°F usually means overcharging.
- Look up the saturation temperature corresponding to your measured low-side pressure using a PT chart for R-134a.
- Subtract that saturation temp from your measured suction line temp → Result = Superheat.
- Look up the saturation temperature for your high-side pressure.
- Subtract your measured liquid line temp from that saturation temp → Result = Subcooling.
Example: At 85°F ambient, you measure 32 PSI low-side (saturation temp ≈ 35°F) and suction line temp of 42°F. Superheat = 42 - 35 = 7°F. This is within normal range. If suction line was 55°F, superheat would be 20°F-clear sign of undercharge.
Diagnosing Compressor Health
The AC compressor is the heart of the system, but it’s also the most expensive component to replace. Before condemning it, rule out electrical issues first.
- Clutch engagement test: With the system off, turn the key to On. Listen for the click of the clutch engaging. If silent, check the fuse, relay, and compressor clutch coil resistance (should be 3-5 ohms). No click + good coil = broken drive plate or worn bearings.
- Amperage draw: While running, measure current draw at the compressor. Normal draw is 10-15 amps. Above 20 amps suggests mechanical binding or internal failure. Below 8 amps might indicate a slipping clutch or low voltage.
- Vibration analysis: Place your hand on the compressor housing (carefully). Excessive vibration or grinding noise points to bearing wear. A smooth, quiet operation is expected even under load.
If the clutch engages but pressures are erratic, suspect a worn valve plate inside the compressor. This is a repairable issue in some cases, but often replacement is cheaper than labor.

Evaluating Airflow and Cabin Components
Even with perfect refrigerant dynamics, poor airflow kills cooling capacity. Many techs forget this step because it doesn’t show up on gauges.
- Cabin filter inspection: Remove and inspect the filter. A clogged filter reduces airflow by up to 40%, causing the evaporator to freeze and shut down the blower. Replace if discolored or restricted.
- Blower motor RPM test: Using a multimeter, measure voltage at the blower motor connector at each fan speed. Voltage should increase progressively (e.g., 12V, 14V, 16V, 18V). If voltage is present but airflow is weak, the motor is failing or the ductwork is obstructed.
- Evaporator frost check: Look through the windshield defroster vents. If you see ice crystals forming on the evaporator core, airflow is too low or the blend door is stuck in full cool position. This triggers the low-pressure switch to cut the compressor, resulting in warm air.
In humid climates like Portland, evaporator icing is a common false positive for “dead AC.” Always verify airflow before assuming refrigerant loss.
Common Pitfalls and How to Avoid Them
- Ignoring ambient temp compensation: Using fixed pressure targets instead of calculating superheat/subcooling leads to misdiagnosis. Always use PT charts.
- Testing with windows open: This introduces uncontrolled ambient air, skewing high-side pressure. Keep the cabin sealed during tests.
- Assuming one fault per system: A leaking O-ring and a weak blower motor can coexist. Fix one, retest, then address the next.
- Neglecting the condenser fan: A failed fan motor causes high-side pressure to spike, reducing cooling efficiency. Check fan operation before blaming the compressor.
- Using outdated gauges: Analog manifolds have ±5 PSI accuracy. Digital units with temp probes offer ±1°F precision, critical for accurate superheat calculation.
Frequently Asked Questions
What is the ideal superheat value for a car AC system?
The ideal superheat range is typically between 5°F and 15°F. Below 5°F risks liquid refrigerant entering the compressor, causing damage. Above 15°F indicates undercharging or poor heat exchange in the evaporator. Always cross-reference with manufacturer specs if available.
Can I test my car AC with just a single gauge?
You can get basic pressure readings, but you won’t be able to calculate superheat or subcooling, which are essential for accurate diagnosis. A dual-gauge manifold set with temperature probes is the minimum recommended tool for reliable performance testing.
Why does my AC blow cold air then stop?
This is often caused by the evaporator freezing due to low airflow or a faulty blend door. As ice builds up, it blocks airflow, triggering the low-pressure switch to cut the compressor. Once the ice melts, the cycle repeats. Check the cabin filter and blower motor first.
How often should I test my car’s AC performance?
Ideally once a year, before peak summer usage. Even if the system seems fine, minor leaks develop over time. An annual check ensures optimal charge levels and catches early signs of compressor wear before they become costly repairs.
Does R-134a require different testing than R-1234yf?
Yes. R-1234yf has different pressure-temperature relationships and lower viscosity. Use the correct PT chart for your specific refrigerant type. Mixing up charts leads to incorrect superheat/subcooling calculations and potential over/undercharging.