Why Your Car Battery Might Fail Even When the Multimeter Says It’s Fine
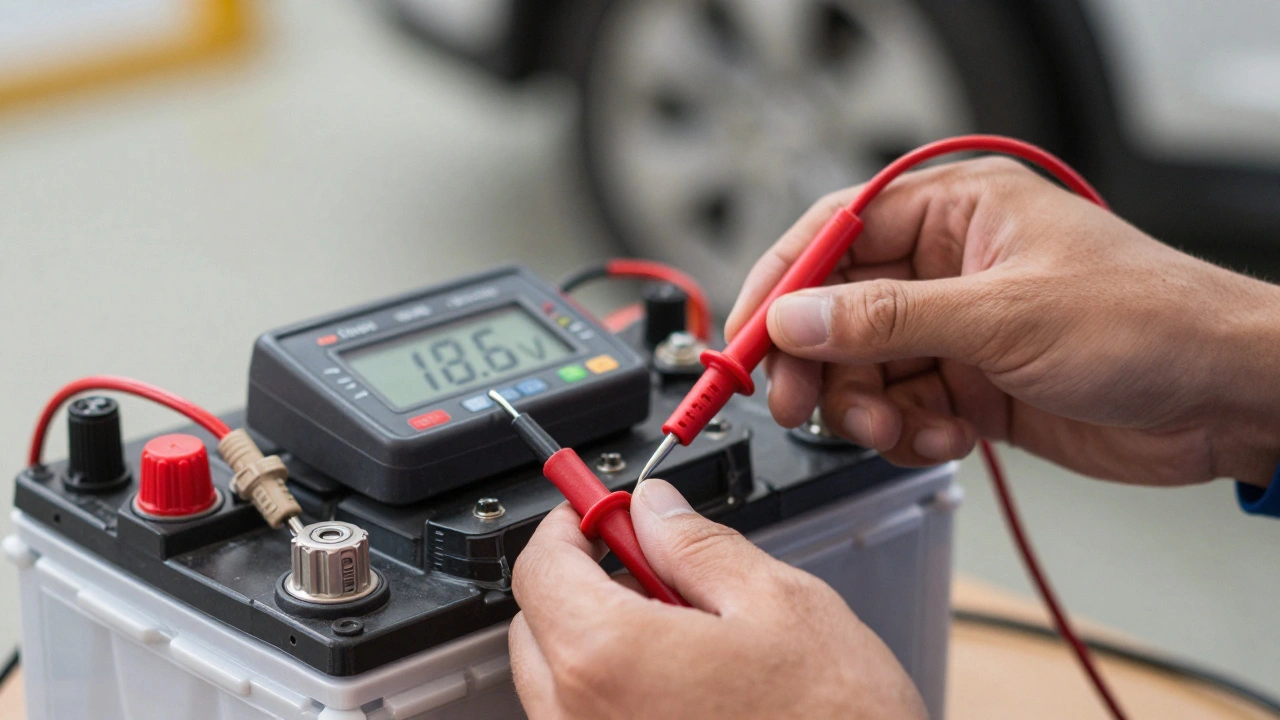
You’ve got a multimeter. You check your car battery, and it reads 12.6 volts. That looks healthy, right? Wrong. A battery can show perfect resting voltage but still leave you stranded on a freezing morning because it lacks the power to turn the engine over. This is why mechanics don’t just glance at the voltage; they run voltage and load tests, which are diagnostic procedures that measure a battery's state of charge and its ability to deliver high current under stress. These two tests tell very different stories about your battery’s health.
Voltage tests tell you how much energy is stored (the state of charge). Load tests tell you how well the battery delivers that energy when the starter motor demands it. Skipping the load test is like checking if a sprinter has enough food in their stomach before a race without actually making them run. They might be full, but they could still have weak legs. In this guide, we’ll walk through exactly how to perform both tests, what the numbers mean, and when it’s time to replace your battery.
The Basics: Open-Circuit Voltage (OCV) Test
The first step in any battery diagnosis is measuring the open-circuit voltage (OCV). This is the simplest test and requires nothing more than a basic digital multimeter. OCV measures the electrical potential difference between the positive and negative terminals when no load is applied. For a standard 12-volt lead-acid battery, this number gives you a quick snapshot of the state of charge (SOC).
To get an accurate reading, the battery needs to be at rest. If you just drove the car or finished charging the battery, the voltage will be artificially high due to "surface charge." Wait at least four to twelve hours after driving or charging before taking this measurement. Connect your multimeter set to DC volts to the battery terminals-red to positive, black to negative.
- 12.65 V - 12.70 V: The battery is fully charged (100% SOC).
- 12.45 V: Approximately 75% charged.
- 12.24 V - 12.30 V: About 50% charged.
- Below 12.00 V: The battery is deeply discharged and likely damaged.
If your reading is below 12.4 volts, do not proceed to a load test yet. An undercharged battery will fail a load test even if it is otherwise healthy. Charge it fully first. Also, keep temperature in mind. Cold weather lowers the chemical activity inside the battery. At 0°F (-17.8°C), a fully charged battery might read closer to 12.51 V instead of 12.65 V. Adjust your expectations accordingly.
Removing Surface Charge for Accurate Results
Sometimes you can’t wait hours for surface charge to dissipate. Maybe you’re in a shop with a busy schedule, or you need to know now. Surface charge is a temporary layer of electricity on the battery plates that inflates the voltage reading. If your battery reads above 12.75 V (for flooded batteries) or 13.0 V (for AGM batteries) shortly after charging, you have surface charge.
To remove it manually, apply a heavy load to the battery for about 15 seconds. You can use a carbon-pile load tester set to 300 amps, or simply turn on the vehicle’s headlights and high beams for a few minutes until the voltage drops. Let the battery sit for another minute or two, then re-measure the OCV. This ensures the voltage you see is the true resting potential, not a ghost from recent charging.

The Gold Standard: Manual Load Testing
This is where the real truth comes out. A load test simulates the stress of starting the engine. It checks if the battery can maintain sufficient voltage while delivering massive current. The industry standard, defined by SAE J537, involves applying a load equal to half the battery’s rated Cold Cranking Amps (CCA) for 15 seconds.
First, find the CCA rating on your battery label. If it says 700 CCA, your test load should be 350 amps. You’ll need a carbon-pile load tester or a professional electronic tester capable of this. Here is the procedure:
- Pre-check: Ensure the battery is at least 75% charged (OCV ≥ 12.45 V).
- Connect: Attach the load tester clamps to the battery terminals securely.
- Apply Load: Set the tester to 50% of the rated CCA and engage the load for exactly 15 seconds.
- Read Voltage: Watch the voltmeter during the 15 seconds. Do not release the load early.
- Evaluate: At the end of 15 seconds, the voltage must remain above 9.6 volts at room temperature (approx. 70-80°F / 21-27°C).
If the voltage stays above 9.6 V, the battery passes. If it drops below 9.6 V, the battery has high internal resistance or lost capacity. Note that temperature matters here too. In colder conditions, the pass threshold drops slightly. For example, at 40°F (4.4°C), a reading of 9.3 V might be acceptable, whereas at 70°F, it would be a fail. Always consult your tester’s temperature compensation chart.
Cranking Voltage Test: The DIY Alternative
Not everyone owns a $300 carbon-pile load tester. You can approximate a load test using the car’s own starter motor. This is less precise because the starter’s draw varies, but it’s highly effective for ruling out bad batteries.
Set your multimeter to DC volts and enable the MIN/MAX function if available. Have a helper crank the engine for 5 to 10 seconds. Watch the lowest voltage recorded during the crank. A healthy battery should not drop below 9.6 to 10.0 volts while cranking at normal temperatures. If the voltage plunges to 8 or 9 volts and the engine turns over slowly, the battery is likely failing. If the voltage holds steady but the engine still struggles, the problem might be the starter motor or fuel system, not the battery.
| Test Type | What It Measures | Equipment Needed | Best For |
|---|---|---|---|
| Open-Circuit Voltage (OCV) | State of Charge (SOC) | Digital Multimeter | Quick screening, checking if battery is dead |
| Manual Load Test | Cranking Power & Internal Resistance | Carbon-Pile Load Tester | Definitive health assessment, pre-purchase inspection |
| Conductance Test | Internal Impedance & Estimated CCA | Electronic Conductance Tester | Fast diagnostics, partially charged batteries |
| Hydrometer Test | Specific Gravity per Cell | Hydrometer | Flooded batteries only, detecting bad cells |
Electronic Conductance Testing: The Modern Shop Standard
Most auto parts stores and dealerships use electronic conductance testers rather than old-school carbon piles. Brands like Midtronics and Bosch dominate this space. These devices inject a small AC signal into the battery and measure how easily current flows (conductance). High conductance means low internal resistance, which usually indicates a healthy battery.
Conductance testers are fast-often taking less than 10 seconds-and they can test batteries that are partially discharged, something manual load tests cannot do safely. However, they have limitations. They estimate remaining CCA based on algorithms, so they can sometimes misjudge batteries with sulfation issues or those that have adequate cranking power but poor reserve capacity. If a conductance tester says "Replace," double-check with a manual load test or cranking voltage test if possible. If it says "Good" but your car won’t start, trust the cranking test over the machine.

Hydrometer Tests for Flooded Batteries
If you have an older, serviceable flooded battery with removable caps, a hydrometer test provides the most detailed look at cell health. This tool measures the specific gravity (SG) of the electrolyte in each of the six cells. A fully charged cell should read around 1.265 SG at 80°F (26.7°C).
Check each cell individually. If one cell reads significantly lower than the others (a variance greater than 0.030), that cell is likely shorted or sulfated. A single bad cell ruins the entire battery’s performance, even if the overall voltage looks okay. Note that sealed maintenance-free batteries and AGM batteries do not allow access to the electrolyte, so this test is impossible for them. Some sealed batteries have a "magic eye" indicator, but this only checks one cell and is often unreliable for determining overall health.
Bounce-Back Test: Is It Just Tired or Broken?
Sometimes a battery fails a load test but recovers quickly. This is called the "bounce-back" test. After a failed load test, remove the load and let the battery rest for 10 minutes. Measure the OCV again. If the voltage bounces back up to near its pre-test level (e.g., above 12.45 V), the battery might just have been undercharged or temporarily stressed. Recharge it fully and repeat the load test. If it fails again, or if the voltage does not bounce back (stays below 12.45 V), the battery has permanent capacity loss and needs replacement.
Common Pitfalls and Pro Tips
Before condemning your battery, rule out external factors. Corroded terminals add resistance and can mimic a bad battery. Clean the terminals with a wire brush and baking soda solution, then tighten the connections. Check for parasitic drains-aftermarket alarms, dashcams, or faulty modules can drain a battery overnight. A healthy battery shouldn’t drop more than 0.01-0.02 volts per day when parked.
Also, consider the age of the battery. Lead-acid batteries typically last 3 to 5 years. If your battery is 4 years old and starts showing borderline results on load tests, replace it proactively. Don’t wait for it to die in winter. Finally, remember that AGM (Absorbent Glass Mat) and EFB (Enhanced Flooded Battery) types, common in cars with start-stop technology, require specific testing parameters. Use a tester that supports these chemistries to avoid false readings.
How long should I wait before testing my car battery after charging?
Ideally, wait 4 to 12 hours to allow surface charge to dissipate. If you cannot wait, apply a heavy load (like high beams) for a few minutes to remove the surface charge, then wait another minute before testing.
What is the minimum voltage a car battery should hold during a load test?
At room temperature (70-80°F), the voltage should stay above 9.6 volts for 15 seconds while under a load of 50% of the rated CCA. In colder temperatures, this threshold may drop slightly (e.g., to 9.3 V at 40°F).
Can I use a multimeter to perform a load test?
Can I use a multimeter to perform a load test?
You can approximate a load test by monitoring voltage while cranking the engine. A healthy battery should not drop below 9.6-10.0 volts during cranking. However, this is less precise than a dedicated carbon-pile load test.
Why does my battery show good voltage but still fail to start the car?
Voltage only shows state of charge, not capacity. A battery can be fully charged (high voltage) but have high internal resistance or sulfated plates, preventing it from delivering the high current needed to crank the engine. A load test reveals this issue.
Is a conductance test as accurate as a load test?
Conductance tests are fast and convenient but rely on algorithms. They can sometimes misjudge batteries with specific degradation patterns like sulfation. For critical decisions, a manual load test or cranking voltage test is more reliable.