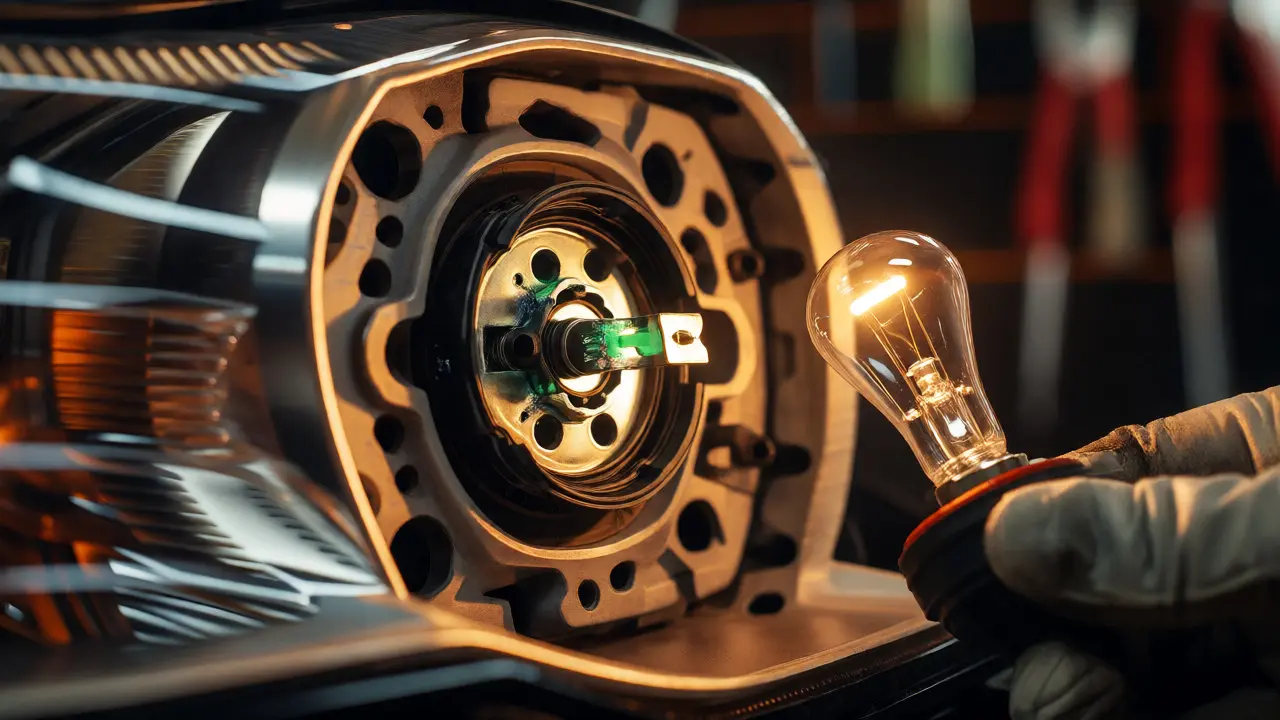
Nothing kills the vibe of a night drive faster than your headlights flickering out or a dead taillight getting you pulled over. It’s annoying, sure, but it’s also one of the most common car lighting electrical issues drivers face. You might think it’s just a burnt-out bulb, but often, the problem hides deeper in the wiring or the ground connection. If you’ve ever replaced a bulb three times only to have it fail again within weeks, this guide is for you.
The Quick Check Before You Buy Parts
Before you run to the auto parts store, do a five-minute diagnostic. Most people skip this and waste money on bulbs that were never the problem. Start with the simplest variable: the bulb itself. Pull it out and look at the filament. If it’s broken or blackened, replace it. But if the bulb looks fine, don’t put it back yet.
Next, check the socket. Corrosion is the silent killer of car lights. Over time, moisture gets into the housing, causing green or white buildup on the metal contacts. This corrosion creates resistance, which blocks electricity from reaching the bulb. Clean the contacts with a wire brush or sandpaper until they shine. If the socket is melted or heavily corroded, you’ll need a new socket assembly. It’s cheap and easy to swap, but many drivers ignore it until the light dies completely.
Understanding Ground Connections
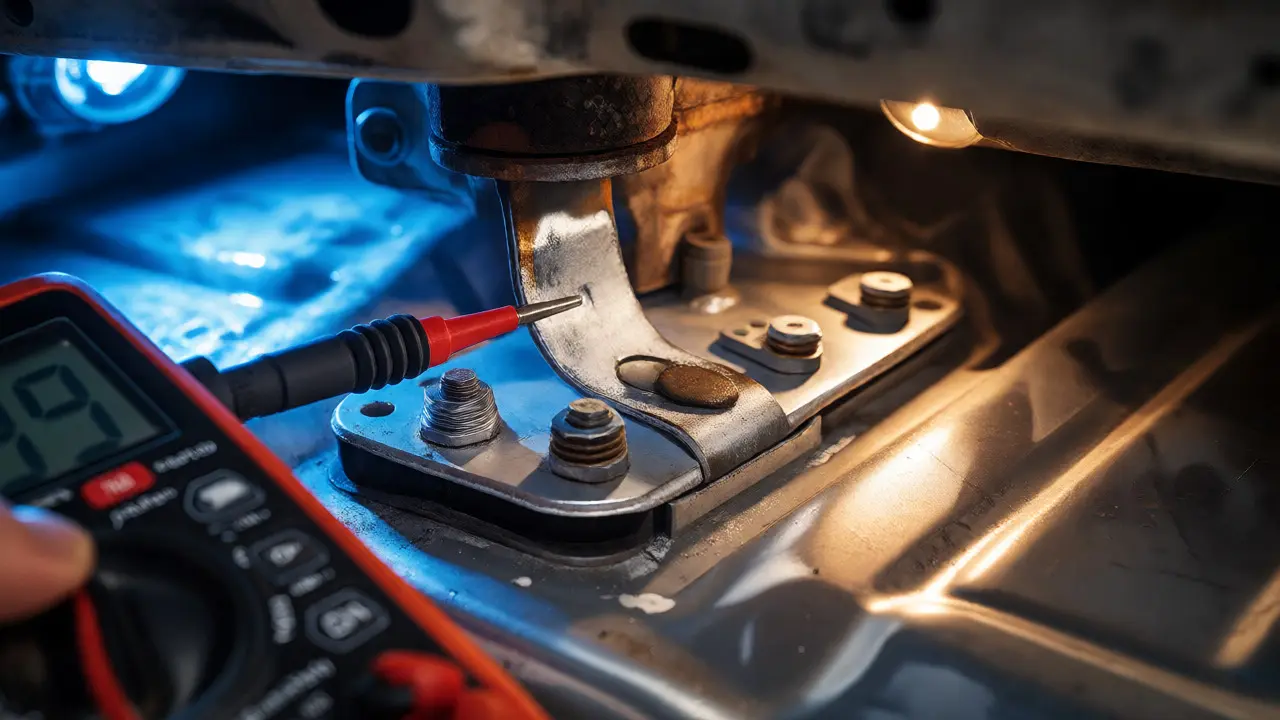
If your bulbs are new and the sockets are clean, but the lights still dim or flicker, blame the ground. In automotive electrical systems, the negative side of the circuit (the ground) is often overlooked. A poor ground connection acts like a kinked hose-it restricts flow. When the ground path has high resistance, voltage drops, and your lights burn dimly or not at all.
Here’s how to test it. Use a multimeter set to DC Volts. Connect the red lead to the positive battery terminal. Touch the black lead to the ground point on the light fixture. If you read more than 0.1 volts, you have a bad ground. The fix? Find the ground bolt, remove it, clean the metal surface underneath until it’s bare and shiny, and reattach it tightly. This single step fixes about 30% of mysterious lighting failures I’ve seen in my garage.
Wiring Harness and Connector Problems
Modern cars are complex networks of wires. The wiring harness carries power from the switch to the lights. Vibration, heat, and age can cause wires to chafe against sharp metal edges, leading to shorts or breaks. Inspect the visible wiring near the headlights and taillights. Look for cracked insulation or exposed copper.
Connectors are another weak point. Plastic clips break, pins spread apart, and water intrusion causes oxidation. If a connector feels loose when plugged in, use dielectric grease to seal it and prevent future corrosion. For older vehicles, especially those from the early 2000s, brittle wiring is common. If you find a broken wire, solder the connection rather than twisting it together with tape. Soldered joints resist vibration better and maintain conductivity longer.
| Symptom | Likely Cause | Diagnostic Step | Fix |
|---|---|---|---|
| One light out, other works | Burnt bulb or blown fuse | Check fuse box; swap bulb | Replace bulb or fuse |
| Both lights dim/flicker | Bad ground connection | Voltage drop test on ground | Clean and tighten ground bolt |
| Light works intermittently | Loose connector or wire | Wiggle test while light is on | Secure connector or repair wire |
| New bulb fails quickly | Overvoltage or poor ventilation | Check charging system voltage | Regulator repair or LED upgrade |
| Taillights stay on after engine off | Stuck relay or brake switch | Unplug connectors one by one | Replace faulty switch or relay |
Fuses and Relays: The Easy Wins
It sounds basic, but checking fuses should always be part of your troubleshooting routine. Fuses protect the wiring from overload. If a short circuit occurs-say, a wire rubs through and touches the chassis-the fuse blows to save the harness. Locate your vehicle’s fuse diagram (usually under the hood or dashboard). Identify the fuse labeled "Headlights," "Taillights," or "Exterior Lights." Pull it out and inspect the metal strip inside. If it’s broken, replace it with one of the same amperage.
Relays act as switches for high-current circuits. If your headlights work on high beam but not low beam, or vice versa, a stuck relay could be the culprit. Swap the suspect relay with an identical one from another non-critical circuit (like the horn or rear defroster). If the lights start working, you’ve found the bad relay. Replacing it costs less than $15 and takes two minutes.
Upgrading to LEDs: Pros and Pitfalls
Many drivers try to solve lighting issues by switching to LED bulbs. While LEDs last longer and draw less power, they introduce new electrical challenges. Cars designed for halogen bulbs expect a certain resistance load. LEDs draw so little current that the car’s computer might think the bulb is burned out, triggering a warning light on the dashboard. This is called a CANbus error.
To fix this, you may need to install load resistors or decoder modules. These tricks fool the system into thinking a standard bulb is present. Also, ensure proper heat dissipation. LEDs generate heat at the base, not the lens. If the housing lacks airflow, the driver electronics can overheat and fail prematurely. Choose quality LEDs with built-in cooling fans or aluminum heatsinks. Cheap no-name brands often fail within months, creating more electrical headaches than they solve.
When to See a Professional
You can handle bulbs, fuses, grounds, and simple wiring repairs yourself. But some issues require specialized tools. If the problem persists after checking all physical components, the issue might lie in the Body Control Module (BCM) or the steering column switch. These are electronic control units that manage lighting sequences. Diagnosing them requires a scan tool that can read live data and send commands to the module.
Also, if you smell burning plastic or see smoke from the headlight housing, stop driving immediately. This indicates a severe short circuit that could damage the wiring harness beyond repair. A professional mechanic can perform a voltage drop test across the entire circuit and pinpoint hidden faults in the wiring loom without guessing.
Frequently Asked Questions
Why does my new headlight bulb keep burning out?
Frequent bulb failure usually points to excessive vibration, poor heat dissipation, or overcharging. Check if your alternator is outputting too much voltage (above 14.7V), which cooks the filaments. Also, ensure the bulb isn't touching the glass envelope during installation, as oils from fingers can create hot spots.
Can a bad ground cause both headlights to dim?
Yes, absolutely. If both headlights share a common ground point that is corroded or loose, increased resistance will cause voltage to drop across the circuit. This results in dim, yellowish lights that may flicker when you rev the engine. Cleaning the ground connection typically restores full brightness.
How do I know if the fuse or the relay is bad?
A blown fuse is visually obvious-the internal metal strip is broken. A bad relay is harder to spot. Listen for a clicking sound when you turn on the lights; silence suggests a dead relay. Swapping the relay with a known good one of the same type is the quickest way to confirm the diagnosis.
Do LED headlights require special wiring modifications?
Not always, but often yes. Many modern cars with CANbus systems will throw a bulb-out warning with LEDs because they draw less power. You may need plug-and-play decoders or load resistors to simulate the resistance of a halogen bulb. Always verify compatibility with your specific vehicle model before buying.
What causes taillights to stay on after turning off the car?
This is commonly caused by a stuck relay, a faulty light switch, or a misaligned parking brake switch (in some models). Try cycling the light switch several times. If it doesn't resolve, unplug the taillight connectors one by one to isolate the circuit. If unplugging one side stops the drain, that side's switch or wiring is likely at fault.