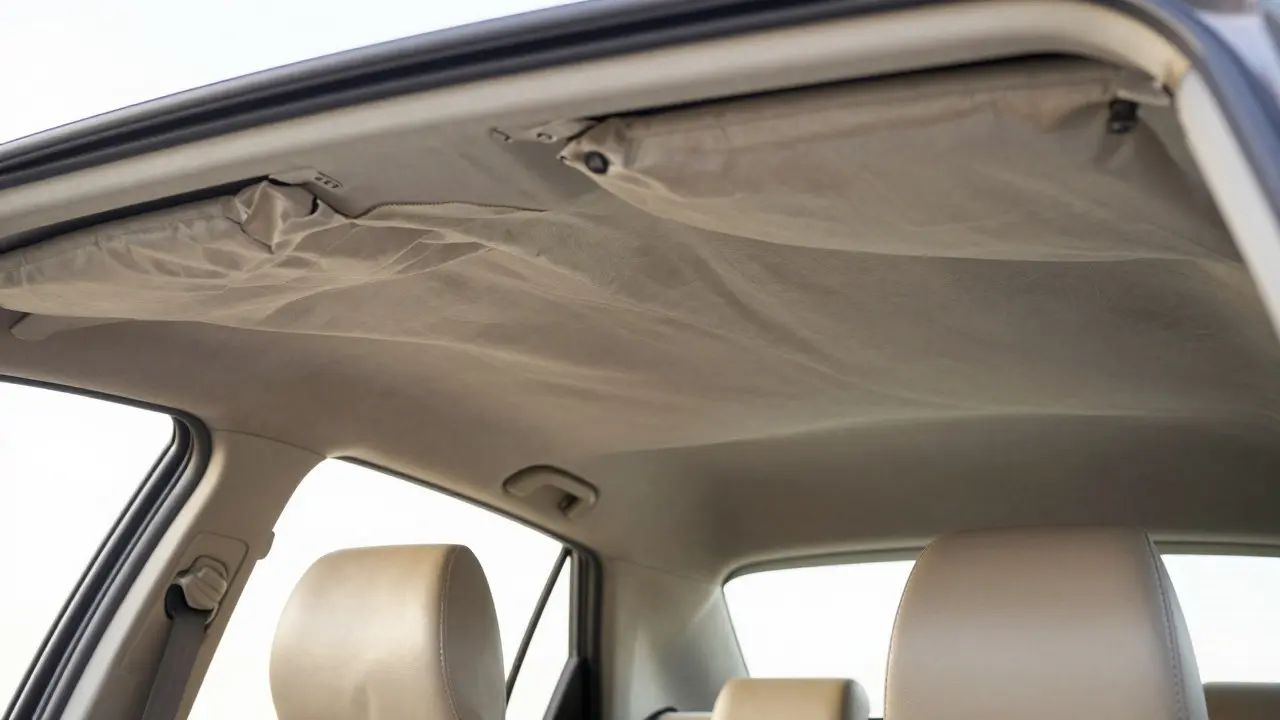
There is nothing quite as distracting as a sagging car roof. You look up, and the fabric hangs in loose waves, or worse, it has detached completely, flapping like a broken flag every time you hit a bump. This isn't just an aesthetic issue; it’s a sign that the adhesive holding your headliner is the foam-backed material attached to the metal roof panel of a vehicle has failed. Left alone, this can lead to water damage, mold, and a significant drop in resale value.
Replacing a car roof liner is one of those jobs that seems simple until you start prying off the plastic trim pieces. It requires patience, specific tools, and a clean workspace. Whether you are planning to tackle this yourself or hiring a professional, understanding the process helps you make informed decisions about cost and timing.
Why Headliners Fail
Most modern vehicles use a two-layer system for the roof interior. The top layer is a decorative fabric, usually matched to the seat color. Underneath that is a thin sheet of foam insulation. These two layers are glued together, and the entire assembly is bonded to the steel or aluminum roof with a strong contact cement.
Over time, heat cycles from the sun and cold snaps from winter cause this glue to degrade. When the bond breaks, the heavy foam pulls the fabric down, creating those dreaded sags. In older cars, you might see actual holes where the material has rotted away entirely. While some people try to re-glue these, it rarely works long-term because the old adhesive surface is often contaminated or uneven. A full replacement is usually the only permanent fix.
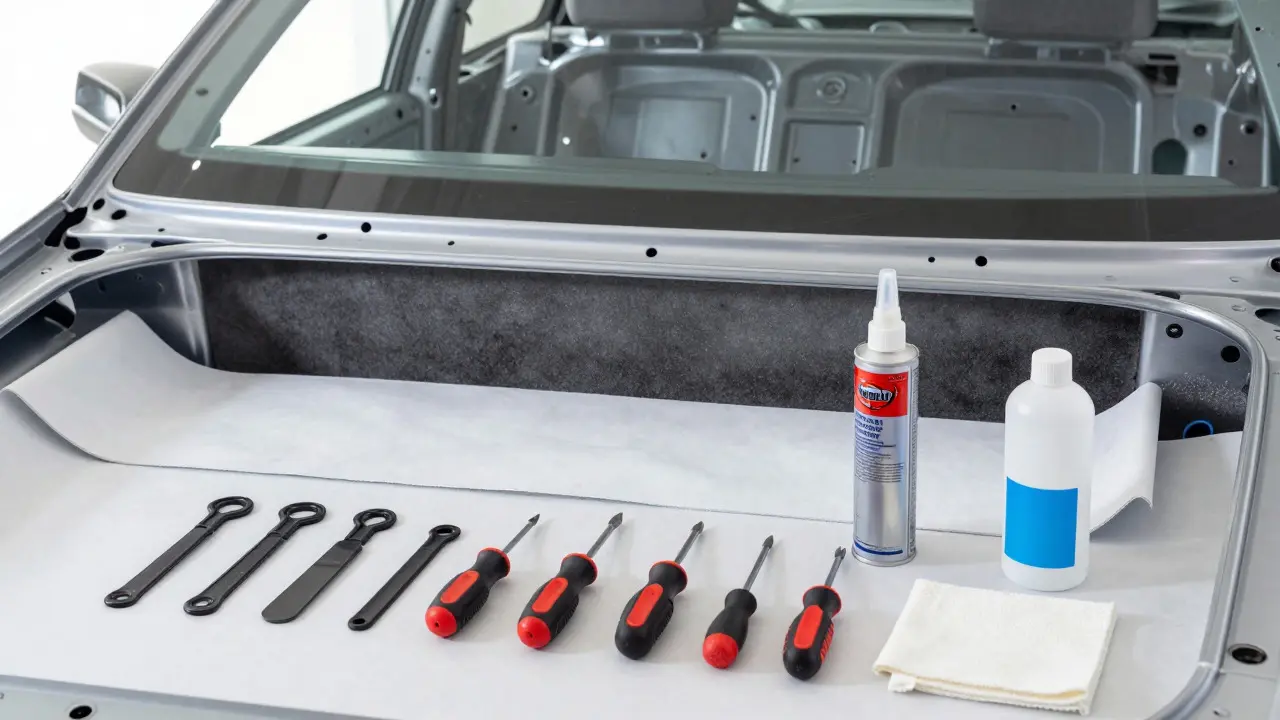
The Tools and Materials You Need
If you decide to do this job yourself, you need to prepare properly. Rushing this project is the fastest way to crack a plastic trim piece or tear the new fabric.
- New Headliner Kit: This includes the pre-cut fabric, foam backing, and high-strength spray adhesive (like 3M Super 77).
- Trim Removal Tools: Plastic pry tools are essential to avoid scratching paint or cracking clips.
- Screwdrivers and Sockets: Various sizes to remove door jambs, map lights, and sunroof trims.
- Clean Rags and Isopropyl Alcohol: To degrease the roof surface before applying new glue.
- Heat Gun: Useful for softening stubborn plastic clips or removing old adhesive residue.
One critical tip: buy extra adhesive. Most kits come with just enough for one application, but if you make a mistake, you’ll want more on hand without stopping work to run to the store.
Step-by-Step Replacement Process
The physical act of replacing the liner follows a logical sequence. Skipping steps often leads to frustration later.
- Remove All Interior Trim: Start by taking out the map lights, dome light, sun visors, and any overhead console components. Next, remove the C-pillar trim panels and the window regulator covers near the rear quarter windows. This gives you access to the screws holding the roof liner in place.
- Detach the Old Liner: Once the trim is off, you will see screws along the perimeter of the roof. Remove them carefully. The old liner should now be free, though it may still be stuck to the roof with dried glue. Gently peel it back, using a plastic scraper to break the remaining bonds. Do not use metal tools here, or you will dent the roof.
- Clean the Roof Surface: This is the most important step for longevity. Wipe the entire roof metal with isopropyl alcohol to remove all traces of old glue, dust, and oil. If the surface isn’t perfectly clean, the new glue won’t stick, and you’ll have sagging again in two years.
- Prepare the New Liner: Lay the new fabric and foam flat on a clean floor. Apply the spray adhesive evenly to both the roof metal and the back of the new liner. Wait the recommended time (usually 10-15 minutes) for the glue to become tacky but not wet.
- Install the New Liner: Lift the liner into position and press it firmly against the roof, starting from the center and working outward to push out air bubbles. Smooth it down gently. Avoid stretching the fabric, which causes wrinkles later.
- Reinstall Trim and Test: Put all the plastic pieces, lights, and visors back. Check that everything clicks into place securely.
DIY vs. Professional Service
You might wonder if it’s worth paying someone else to do this. Here is a realistic comparison of the two approaches.
| Factor | DIY Approach | Professional Shop |
|---|---|---|
| Cost | $80 - $150 (parts only) | $400 - $800 (labor + parts) |
| Time Required | 6 - 10 hours | 1 - 2 days |
| Risk of Damage | Moderate (cracked trim, dents) | Low (experienced technicians) |
| Warranty | None | Usually 1 year on labor |
For a first-time user, the risk of cracking a $100 plastic pillar trim while trying to pop it off can wipe out any savings. However, if you have experience with basic auto repairs and a steady hand, the DIY route saves significant money. Professionals also handle complex issues like sunroof seals or integrated camera systems that can complicate the removal process.
Common Mistakes to Avoid
Even experienced mechanics make mistakes on this job. Here are the pitfalls that trip up the most people.
- Applying Glue Too Early: If you spray the glue and immediately stick the fabric, it won’t bond properly. You must wait for the solvent to evaporate until the glue feels sticky, not wet.
- Ignoring Sunroof Seals: On cars with sunroofs, failing to check the rubber seals can lead to leaks after the liner is installed. Always inspect these before closing up the cabin.
- Using Metal Scrapers: One slip with a putty knife can leave a permanent dent in the roof metal. Stick to plastic tools or wooden dowels wrapped in cloth.
- Skipping the Cleaning Step: Dust particles between the glue and the roof create weak spots. These spots fail first, leading to localized sagging months later.
When to Consider a Full Interior Refresh
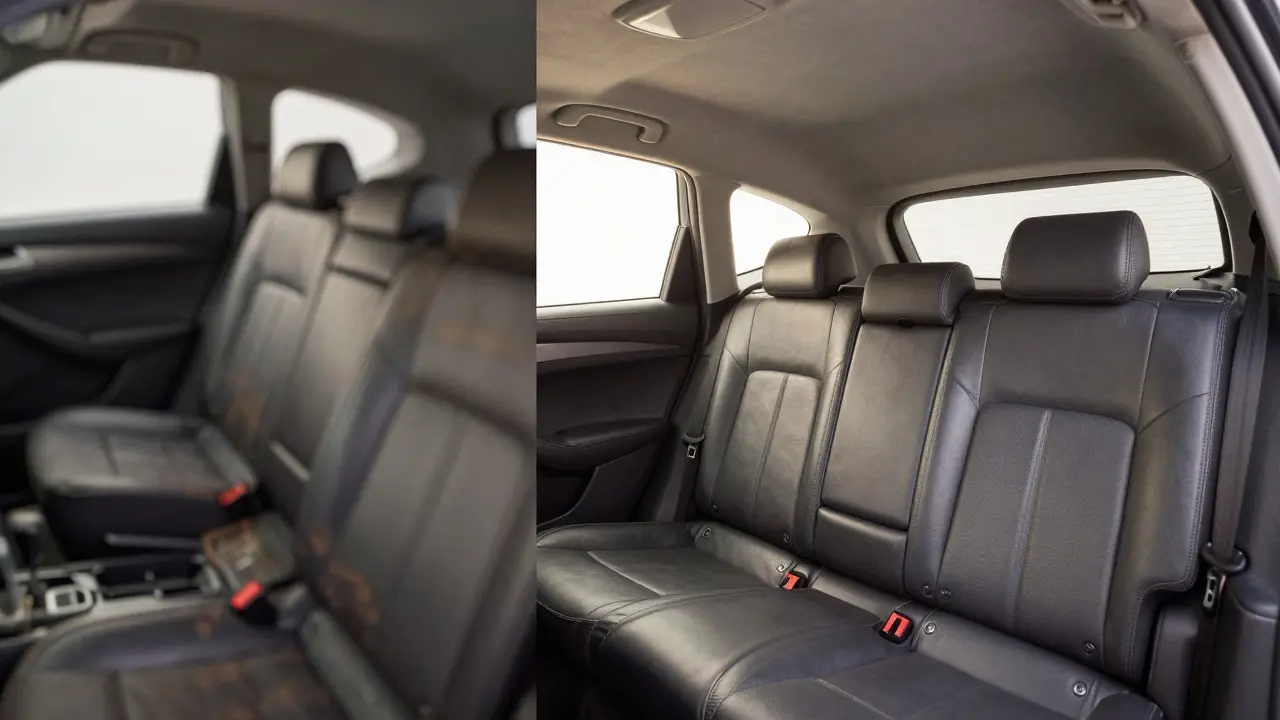
If your car is over ten years old, the seats and carpets might be showing wear too. Replacing the headliner is a good opportunity to upgrade other interior elements. Matching the new headliner fabric to freshly upholstered seats creates a cohesive look that makes the car feel brand new. Many owners find that a fresh interior increases their confidence in selling the vehicle at a higher price point.
Frequently Asked Questions
How much does it cost to replace a car roof liner?
If you do it yourself, expect to spend between $80 and $150 on materials. At a professional auto shop, the total cost typically ranges from $400 to $800, depending on the complexity of the vehicle's interior features like sunroofs or premium sound systems.
Can I just glue the sagging part instead of replacing the whole liner?
You can try spot-repairing small sags with specialized headliner adhesive, but it is rarely a permanent solution. The surrounding area is likely already compromised, so the sag usually returns within a few months. For a lasting fix, full replacement is recommended.
What happens if I don't replace a damaged headliner?
Beyond looking unprofessional, a damaged headliner can allow moisture to seep into the roof structure, potentially causing rust. It can also harbor mold and mildew, which affects air quality inside the car. Additionally, it significantly lowers the vehicle's resale value.
Do I need to remove the seats to replace the headliner?
No, you generally do not need to remove the seats. The headliner is accessed through the door jambs, C-pillars, and overhead consoles. However, moving the front seats forward provides better access to the rear roof area and prevents accidental damage to the seat upholstery during the process.
Is headliner replacement covered under warranty?
Rarely. Headliner sagging is usually considered normal wear and tear rather than a manufacturing defect. Unless the liner fell off within the first few years due to a documented adhesive failure, most manufacturers will not cover the cost of replacement.