Imagine driving your car on a hot summer day, only to watch the temperature gauge climb into the red zone. You pull over, heart pounding, knowing that ignoring it could mean a blown head gasket or a warped cylinder head-repairs that easily run into the thousands of dollars. Now imagine if you had caught the tiny drip under the car three weeks ago, when it cost nothing more than a quick inspection and maybe a $20 hose clamp.
A cooling system pressure test is a diagnostic procedure that pressurizes your vehicle's liquid cooling system to simulate operating conditions without running the engine, allowing you to find leaks before they cause catastrophic damage.
This isn't just for professional mechanics with expensive tools. With a basic kit costing around $50-$150, any DIYer can perform this test safely at home. The goal is simple: catch small weeps at hoses, radiators, or water pumps while they are still minor issues, rather than waiting for your engine to overheat and suffer irreversible damage.
Why Pressure Testing Beats Visual Inspection
You might think looking under the hood and checking for puddles is enough. It’s not. Modern cooling systems are sealed and pressurized, typically between 13 and 18 psi (pounds per square inch). At these pressures, a microscopic crack in a plastic radiator tank or a slightly loose hose clamp won’t drip visibly until the engine gets hot and expands. By then, coolant has already been lost, and air pockets may have formed, leading to overheating.
When you use a pressure tester, you force the system to hold that 13-18 psi range statically. If there is a leak, the pressure drops, and the coolant is forced out through the weak point, making even tiny leaks obvious. This method reveals problems that visual inspections miss entirely because it simulates the stress the system faces during normal operation but without the heat and moving parts that complicate diagnosis.
| Method | Best For | Limitations | Cost |
|---|---|---|---|
| Visual Inspection | Large, obvious spills | Misses slow weeps; requires heat to see | Free |
| Pressure Test | External leaks, hose clamps, radiator seams | May miss temperature-dependent internal leaks | $40-$150 (tool) |
| UV Dye | Very small, elusive leaks | Requires engine run time; cleanup needed | $10-$30 (dye) |
| Combustion Gas Test | Internal head gasket leaks | Does not detect external leaks | $15-$40 (kit) |
Gathering Your Tools: What You Need
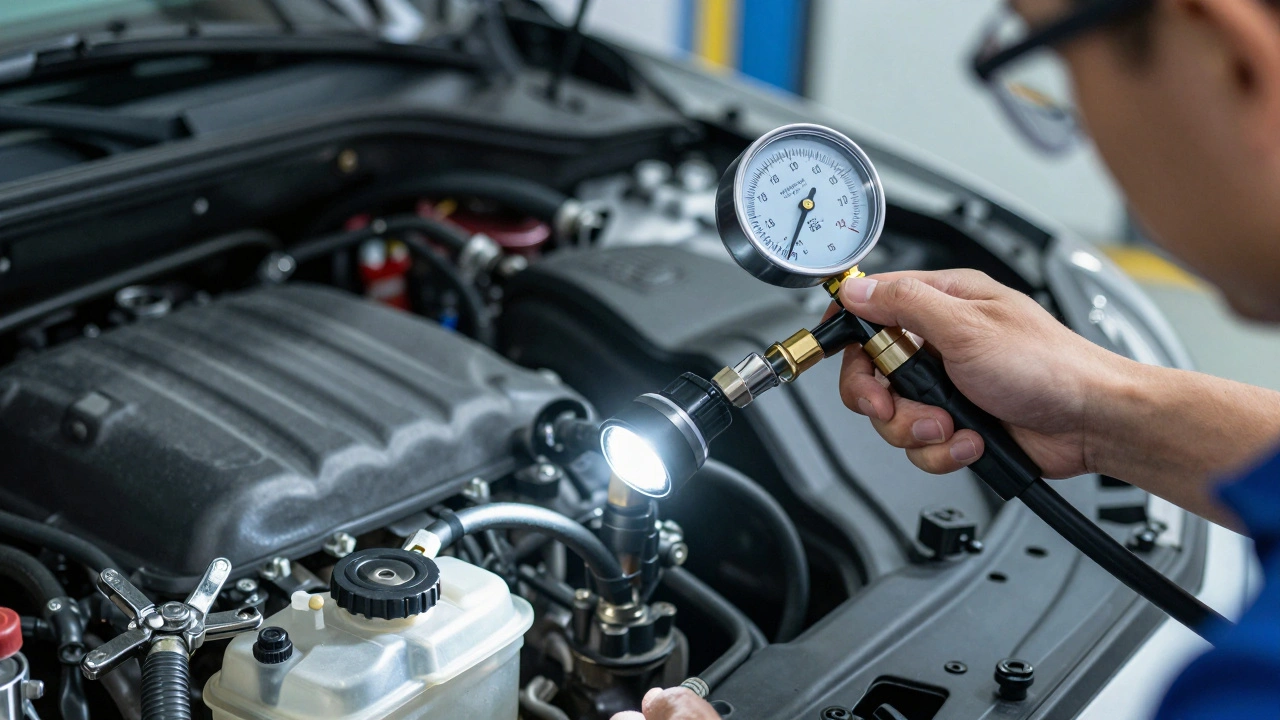
To perform a reliable pressure test, you need a few specific items. The core tool is a coolant pressure tester, which usually consists of a hand pump, a pressure gauge, and a set of adapters. Brands like Stant, Lisle, and Snap-on offer kits ranging from consumer-grade universal sets to professional dealership tools.
- Pressure Tester Kit: Look for one with multiple adapters. Modern cars often use expansion tanks instead of traditional radiator caps, so having the right plastic adapter is crucial. A good universal kit costs between $50 and $150.
- Flashlight: Engine bays are dark and cluttered. A bright LED light helps you spot wet spots on hoses, clamps, and the water pump.
- Rags: Keep them handy to wipe away old grime so you can clearly see fresh coolant leaks.
- Safety Glasses: Coolant under pressure can spray unexpectedly. Protect your eyes.
If you suspect your radiator cap is faulty, consider buying a separate cap tester attachment. Caps degrade over time, losing their ability to hold pressure. A cap rated for 16 psi that vents at 12 psi will lower your coolant’s boiling point, causing chronic loss via the overflow bottle. Testing the cap is cheap insurance against unnecessary repairs.
Step-by-Step: Performing the Pressure Test
Safety is non-negotiable here. Never attempt this test on a hot engine. Wait at least 2-3 hours after driving, or ideally until the next morning, ensuring the coolant temperature is below 40°C (104°F). Hot coolant under pressure can erupt and cause severe burns.
- Locate the Cap: Identify whether your vehicle uses a traditional radiator cap or a modern expansion tank/reservoir cap. On many BMWs, Mercedes-Benz, and newer Fords, the radiator itself is sealed, and you must test via the plastic reservoir.
- Remove the Cap Carefully: Place a rag over the cap and slowly loosen it to vent any residual pressure. If you hear hissing, wait longer. Once open, inspect the rubber seal and spring for cracks or corrosion.
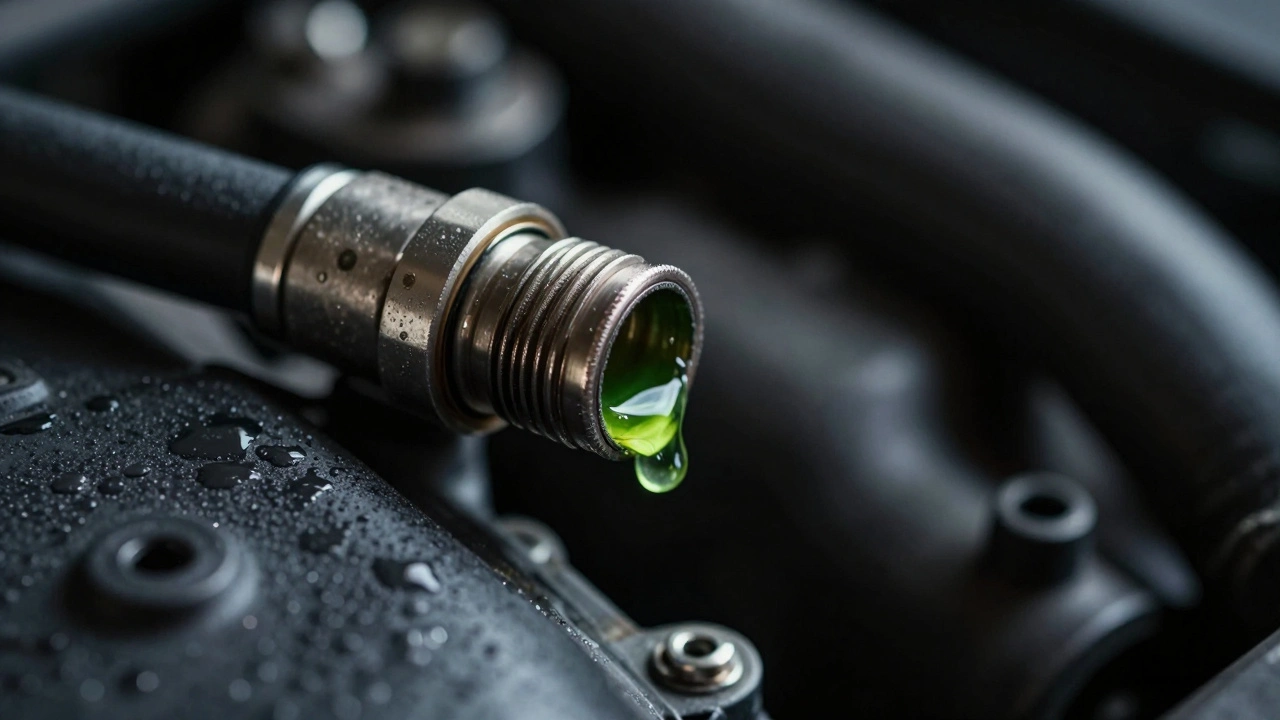
- Select the Adapter: Match the adapter from your kit to the opening. Ensure it fits snugly. A poor seal here will give you false readings. Tug gently on the adapter to confirm it’s seated correctly.
- Pump to Rated Pressure: Check the rating printed on your cap (e.g., 13, 15, or 18 psi). Pump the tester to this number. Do not exceed it. Over-pressurizing can burst old plastic tanks or hoses, especially on vehicles older than 10 years.
- Hold and Observe: Stop pumping and watch the gauge. Let the system sit for 10-20 minutes. A healthy system should hold steady, perhaps dropping 1-2 psi initially as hoses expand. Any further drop indicates a leak.
- Inspect for External Leaks: Use your flashlight to check hose clamps, the radiator seams, the water pump weep hole, heater core lines, and the thermostat housing. Look for fresh coolant drips or wetness.
If the pressure holds steady, your external cooling system is likely intact. If it drops, you’ve found a leak path. Follow the trail of coolant to pinpoint the source.
Diagnosing Internal Leaks When No External Drips Appear
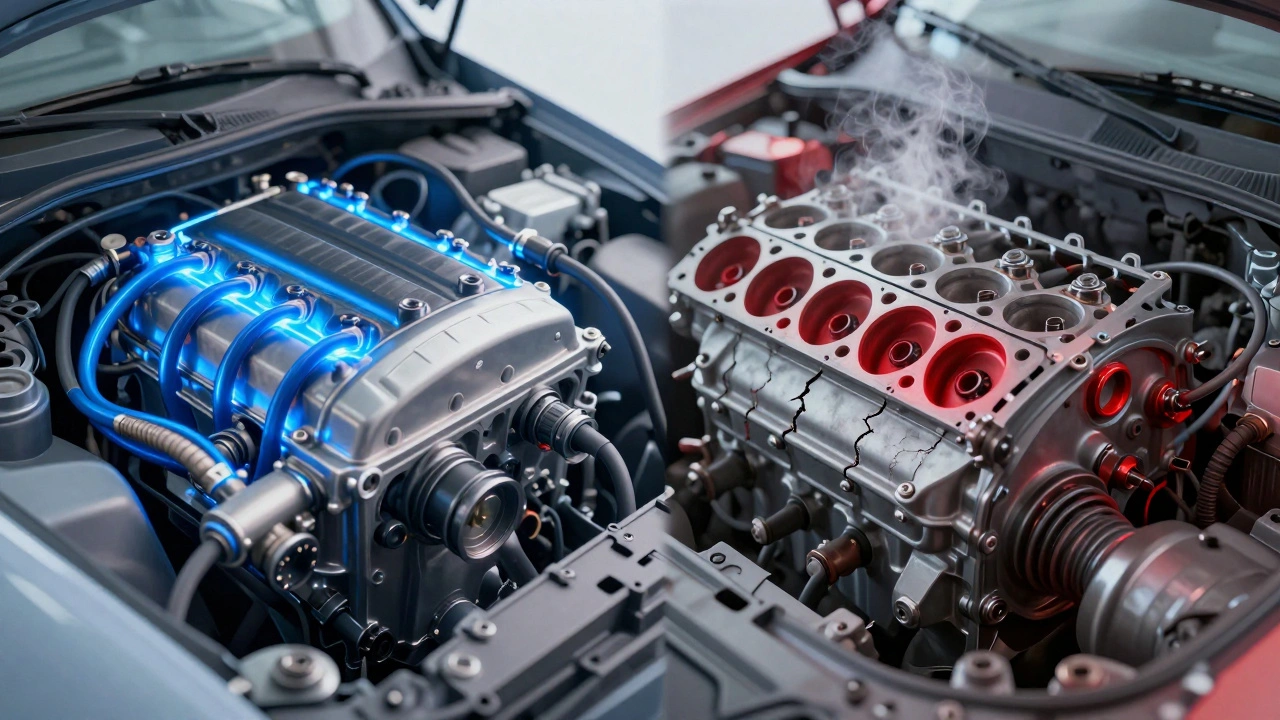
Sometimes the gauge drops, but you see no wetness under the hood or beneath the car. This points to an internal leak, where coolant is escaping into the combustion chamber or oil system. Common culprits include a blown head gasket, a cracked cylinder head, or a leaking intake manifold gasket (especially in V-engines).
To investigate further:
- Check the Oil: Pull the dipstick. If the oil looks milky or frothy, coolant is mixing with it-a serious sign of head gasket failure.
- Inspect Spark Plugs: Remove the spark plugs. If you see steam-cleaned deposits or actual droplets of coolant in the cylinder wells, combustion gases are pushing into the cylinders, or coolant is being sucked in.
- Perform a Combustion Gas Test: Also known as a block test, this involves using a chemical fluid that changes color when exposed to exhaust gases in the coolant. If the fluid turns yellow or green, combustion gases are leaking into the cooling system.
For stubborn cases, technicians may leave the system pressurized overnight. A drop of several psi by morning, accompanied by dried coolant stains under the car, confirms a slow leak that wasn’t visible during the short test.
Common Pitfalls and How to Avoid Them
Even experienced DIYers make mistakes during pressure testing. Here’s what to watch out for:
- Using the Wrong Adapter: If the adapter doesn’t seal perfectly, pressure escapes through the tester connection, not the car. Always double-check the fit.
- Over-Pressurizing: Pumping beyond the cap’s rating can rupture fragile components. Stick to the labeled psi.
- Ignoring Air Pockets: If the system wasn’t properly bled after a recent coolant flush, trapped air can compress and mimic a pressure drop. Ensure the system is full and bled before testing.
- Misreading Gauge Drift: Cheap testers sometimes have leaky gauges. If you’re unsure, compare with a known-good tool or listen for hissing near the tester itself.
Another pro tip: remove plastic engine covers and splash shields before testing. These parts hide leaks, especially around the water pump and thermostat housing. Without removing them, you might miss the exact source of the problem.
When to Call a Professional
While pressure testing is accessible to DIYers, some situations warrant professional help. If you suspect a head gasket failure, the repair complexity and cost ($1,000-$3,000+) require expert diagnosis. Similarly, if you lack the correct adapters for your specific vehicle model, forcing a fit can damage the reservoir threads.
Professionals also have access to advanced tools like smoke machines adapted for cooling systems or borescopes to visually inspect inside cylinders and coolant passages. If your initial pressure test shows a drop but you can’t locate the leak despite thorough inspection, a shop’s additional resources can save you time and frustration.
How much pressure should I use for a cooling system pressure test?
Use the pressure rating stamped on your radiator or reservoir cap, typically between 13 and 18 psi for most passenger vehicles. Never exceed this rating, as it can damage hoses or plastic tanks. If the cap says 16 psi, pump to 16 psi.
Can I perform a pressure test on a hot engine?
Absolutely not. Only perform pressure tests on a cold engine, ideally after 2-3 hours of cooling. Hot coolant under pressure can spray violently, causing severe burns. Wait until the coolant temperature is near ambient (below 40°C/104°F).
What does it mean if the pressure drops but I see no external leaks?
A pressure drop without visible external leaks suggests an internal leak, such as a blown head gasket, cracked cylinder head, or leaking intake manifold gasket. Check your oil for milky residue, inspect spark plugs for coolant contamination, or perform a combustion gas test to confirm.
Do I need a special adapter for my car?
Yes, most pressure tester kits come with multiple adapters because different vehicles use different cap types (threaded, bayonet, plastic reservoir). Using the wrong adapter will result in a poor seal and inaccurate readings. Match the adapter to your specific reservoir or radiator neck.
How long should I hold the pressure during the test?
Hold the pressure for at least 10-20 minutes. A healthy system may drop 1-2 psi initially due to hose expansion, but should remain stable thereafter. For very slow leaks, leaving the system pressurized overnight can reveal drops that aren’t apparent in shorter tests.
Is UV dye necessary for finding coolant leaks?
UV dye is helpful for detecting very small or elusive leaks that don’t show up during standard pressure testing. However, for most common leaks at hoses, clamps, or radiators, a standard pressure test is sufficient and faster. Use UV dye if the pressure test shows a drop but no visible source is found.