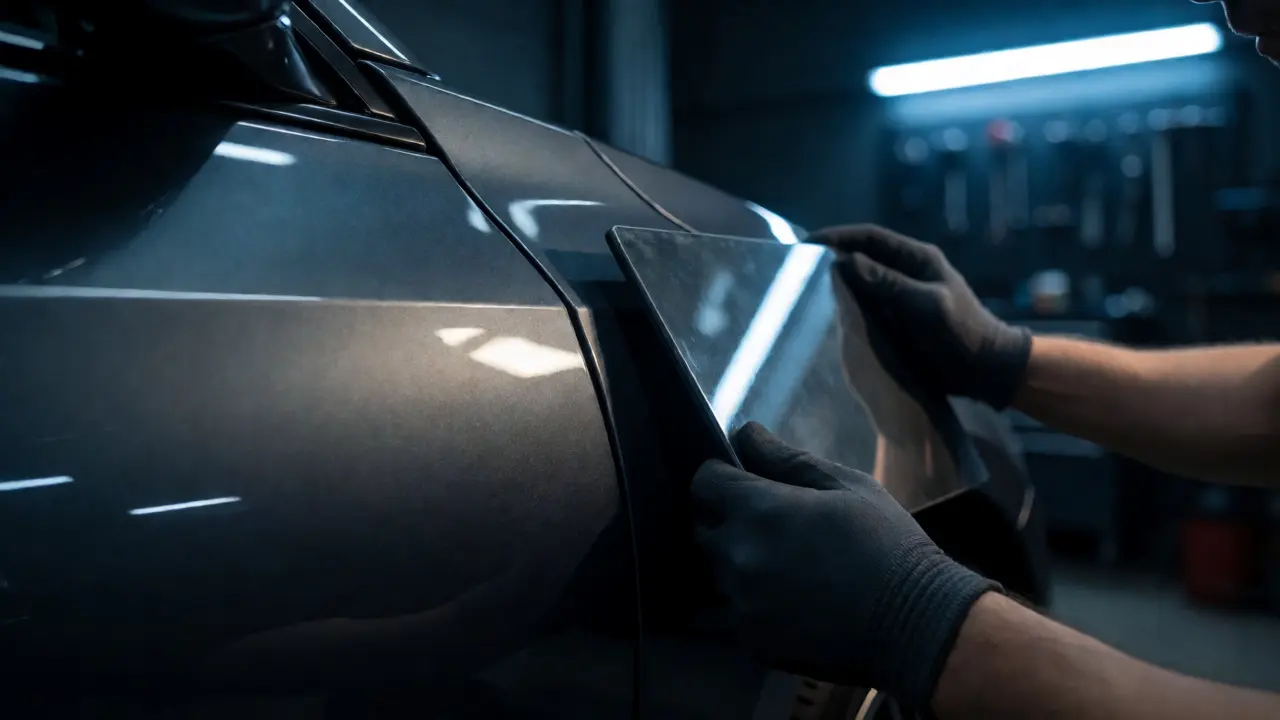
You know that sickening sound when your door hits the concrete pillar of a parking garage? It’s not just a simple ding. It’s a sharp, angular crease running along the shoulder line of your car body panel. Unlike a round hail dent you can pop out with a suction cup in ten minutes, a crease is a structural deformation. The metal has been stretched and folded, often compromising the paint layer. Trying to fix this yourself or handing it off to an inexperienced tech can turn a $300 job into a $1,500 repaint.
Here is the reality: most standard Paintless Dent Repair (PDR) technicians will look at a deep crease and say no. They are used to working with soft, rounded impacts. A crease requires a different mindset, specialized tools, and a lot more patience. But if you understand how the metal behaves, you can often save the original factory paint, which retains significantly more value than a resprayed panel.
Why Creases Are Different From Standard Dents
To fix a problem, you have to understand its anatomy. A standard dent is usually a compression issue-the metal was pushed inward, but the surface area remained roughly the same. You just push it back out. A crease is different. It involves both compression and tension. When the edge of another car or object hits your panel, the metal folds. This folding stretches the steel or aluminum beyond its elastic limit in specific zones.
This stretching is why creases are so stubborn. If you try to hammer the low spot directly without addressing the high ridges of the fold, you’ll just stretch the metal further, creating a wavy surface that looks worse than the original dent. You aren't just pushing metal; you are managing grain structure and stress points.
| Dent Type | Metal Behavior | Repair Difficulty | Typical Toolset |
|---|---|---|---|
| Hail / Door Ding | Compression only | Low | Pickup tools, glue puller |
| Sharp Crease | Compression + Tension (Stretching) | High | Sandwich rollers, knockdowns, hot melt |
| Body Line Damage | Structural distortion | Very High | Brace kit, stud welder, precise tapping |
The Golden Rule: Work the Perimeter First
If there is one mistake beginners make with creases, it’s attacking the center immediately. Don’t do it. The center of a crease is under the most tension. If you push there first, you risk cracking the paint or popping the metal outward too far, creating a high spot that is incredibly difficult to flatten.
Instead, start at the edges of the crease where the damage tapers off. These areas have less stress. By gently massaging the metal from the outside in, you relieve the tension surrounding the core of the fold. Think of it like unknotting a rope-you don’t pull the tight knot; you loosen the loops around it until the knot becomes accessible.
- Identify the high points: Use a magnetic light or a reflection board to see exactly where the ridge peaks.
- Tap down the highs: Before lifting anything, use a knockdown tool to tap down any high spots along the perimeter of the crease.
- Work in small sections: Move inch by inch along the length of the crease, never jumping around randomly.
Essential Tools for Complex Crease Removal
You cannot fix a complex crease with a generic PDR kit from Amazon. You need tools designed to handle leverage and precision. Here is what actually works in a professional shop environment.
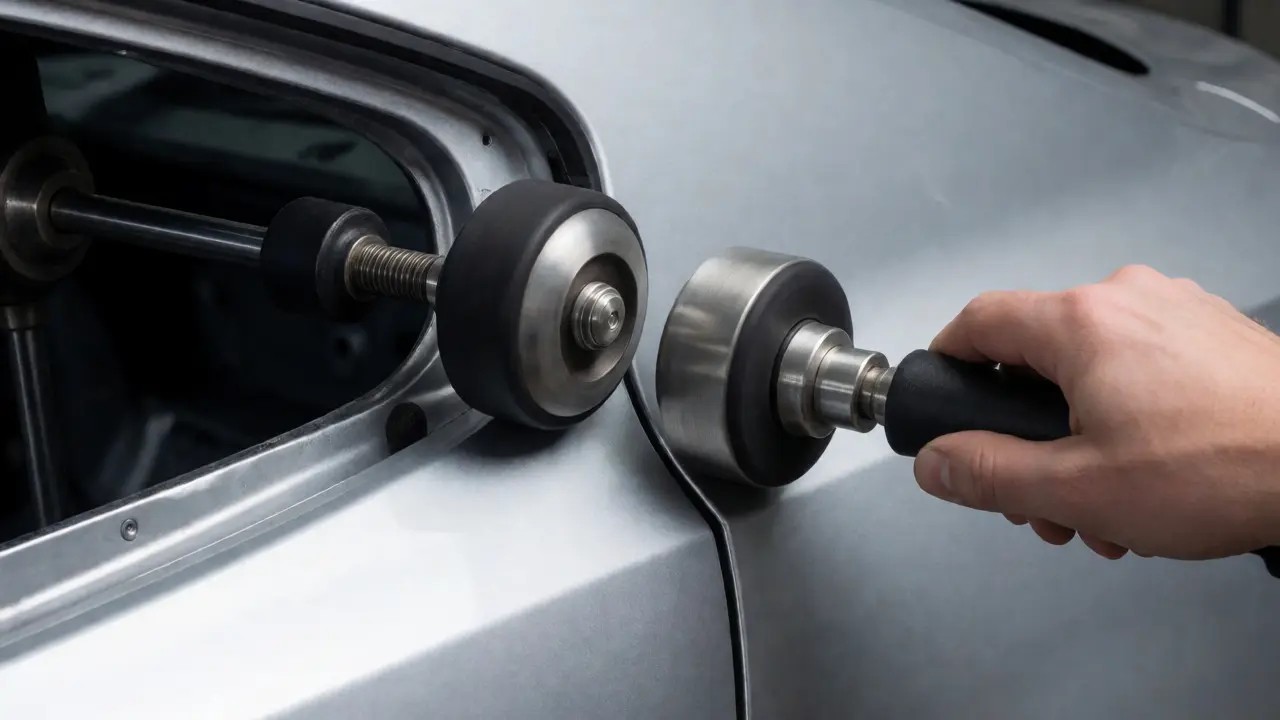
Sandwich Rollers are non-negotiable for creases. These consist of two heads-one attached to a rod inside the panel, and one held against the outside. You place them on either side of the crease and roll them together. This action pinches the metal, forcing the stretched area to contract and the low spot to rise simultaneously. It is the single most effective technique for flattening the "valley" of a crease without over-stretching it.
For access issues, consider Hot Melt Adhesive rather than traditional glue tabs. While glue tabs are great for dings, they often fail on creases because the adhesive bond isn't strong enough to pull against the rigid, folded metal. Hot melt allows for a stronger, more immediate pull force, though it requires careful temperature control to avoid damaging clear coat.
Technique Breakdown: The Sandwich Method
Let’s walk through the actual process using the sandwich method on a quarter panel crease.
- Access Preparation: Remove interior trim pieces if necessary. On a door, this might mean removing the window regulator motor. On a fender, you might need to remove the wheel well liner. You need direct hand access behind the panel.
- Rod Selection: Choose a PDR rod that matches the depth of the crease. Too short, and you lack leverage; too long, and you lose control. For deep creases, a shorter, stiffer rod often provides better feedback.
- Placement: Insert the rod tip into the lowest point of the crease. Place the external roller head directly opposite the internal tip.
- The Squeeze: Apply gentle pressure to bring the two heads together. Do not slam them. Slowly squeeze while moving slightly along the crease. You are trying to pinch the metal flat.
- Check Reflection: Stop every few inches. Check the reflection of your LED light bar. If the line straightens, move to the next section. If it creates a new wave, ease off.
When to Call a Pro vs. DIY
Not every crease is a DIY candidate. There are hard limits based on material and location.
Aluminum Panels: Many modern cars, especially Ford F-150s and Jaguar models, use aluminum body panels. Aluminum has a "memory" that is much stronger than steel. Once it stretches, it rarely returns to its original shape without heat treatment or replacement. If your crease is on an aluminum hood or fender, call a specialist. Attempting PDR on aluminum often results in a cracked panel or visible waviness that persists forever.
Double-Walled Panels: Some doors and rear quarters have double-walled construction for safety. You cannot reach behind the inner wall with a rod. In these cases, you must use glue pulling or hot melt exclusively. Without internal access, the sandwich method is impossible, making crease removal exponentially harder.
Paint Condition: If the paint is already cracked or chipped all the way through to the primer, PDR is likely not the right path. You will still need body filler and paint. However, if the paint is intact but stretched, PDR can save you the cost of a full respray.
Common Pitfalls That Ruin Repairs
I’ve seen plenty of botched jobs in Portland shops, and they usually stem from three errors.
Overworking the Metal: Patience is key. If you keep poking the same spot, you thin the metal. Thinned metal loses its rigidity and feels spongy. If you feel the metal getting softer as you work, stop. Let it rest, or switch to a different angle.
Ignoring the "Halo": Sometimes, fixing the crease leaves a raised halo around it. This happens when you lift the center but forget to knock down the surrounding high spots. Always finish with a final pass of knocking down the highs before declaring victory.
Temperature Ignorance: Cold weather makes metal brittle and paint stiff. If you are working in a garage in winter, warm the panel up to at least 60°F (15°C) before starting. Cold metal cracks easier; cold paint shatters. A simple space heater pointed at the panel for 15 minutes can make a huge difference.
Preserving Value: Why Original Paint Matters
You might ask, "Why go through all this trouble? Just fill it and paint it." Because original paint is a major value driver. A car with its original factory finish typically sells for 10-15% more than one with repainted panels, assuming the condition is equal. Buyers trust original paint because it signals that the car hasn’t had major accident history.
A skilled PDR technician can restore a crease to near-invisibility while keeping that factory coat intact. Even if the repair isn't perfect, preserving the original clear coat is worth the extra effort. It keeps the resale value higher and avoids the mismatch risks associated with blending new paint into old.
Can I fix a crease myself with a DIY kit?
You can attempt minor creases with a high-quality glue puller kit, but results vary. Deep creases usually require internal access tools (rods) and the sandwich technique, which are difficult to master without practice. If the crease is on a critical body line, DIY attempts often lead to visible waves that require professional correction later.
How much does professional crease repair cost?
Costs depend on length and complexity. A simple 4-inch crease might cost $150-$300. A long crease running across a whole door or quarter panel can range from $400 to $800+. This is generally cheaper than a full repaint, which can cost $1,000-$2,000 per panel depending on quality.
Does heat help with crease removal?
Yes, controlled heat helps relax the metal and paint, making it more pliable. However, excessive heat can burn the clear coat or cause paint to peel. Professionals use infrared lamps to maintain a safe working temperature (around 100-120°F), avoiding the risk of thermal shock.
What if the crease is on a body line?
Body lines are the hardest to fix because they define the car's aesthetic profile. Any deviation is immediately noticeable. These repairs require the highest level of skill, often involving precise tapping and rolling. If a tech hesitates on a body line crease, believe them-it’s a high-risk job.
Will insurance cover crease repair?
If the crease resulted from a covered incident (like a shopping cart hit or vandalism), comprehensive coverage may pay for it. However, many insurers prefer replacement or conventional bodywork because it’s predictable. PDR is sometimes considered a "betterment" or alternative repair, so check with your adjuster about their policy on paintless methods.