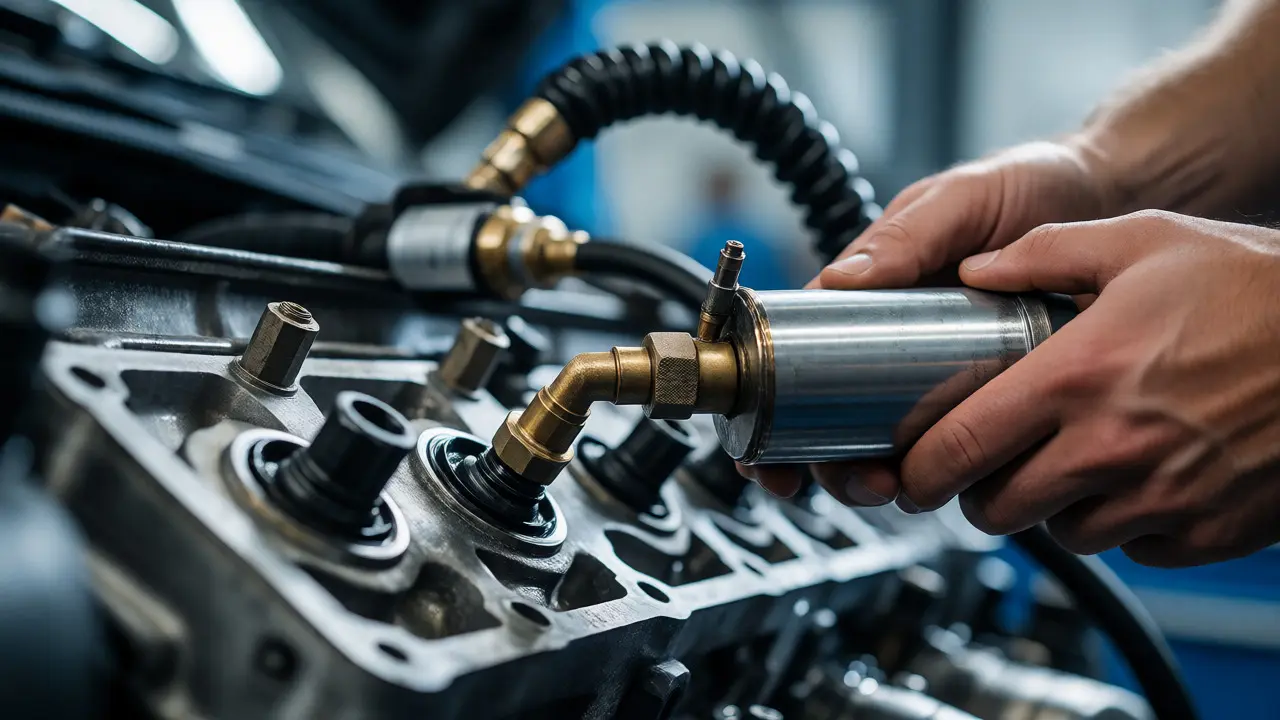
There is a moment in every mechanic’s career when the cylinder leak-down test becomes the only diagnostic tool that matters. You’ve checked the spark plugs. You’ve scanned for error codes. The engine still runs rough, loses power, or burns oil, but you can’t see why. Standard compression tests tell you if the engine has pressure, but they don’t tell you where that pressure is going. That is the critical difference. A leak-down test doesn't just measure strength; it tracks the escape route of compressed air, turning your ears and eyes into precision instruments for diagnosing internal failures.
If you are dealing with a high-mileage vehicle or an engine that feels like it’s fighting itself, this procedure saves hours of guessing. It separates a simple ignition issue from a catastrophic mechanical failure before you spend money on parts that won’t fix the problem. Here is how to perform the test, interpret the sounds, and make the right repair decision.
Why Compression Tests Are Not Enough
Most DIYers start with a compression tester because it is cheap and easy. You screw it into the spark plug hole, crank the engine, and read the PSI. If cylinder one reads 150 PSI and cylinder two reads 80 PSI, you know there is a problem. But do you know what caused it? Maybe the piston rings are worn. Maybe the intake valve isn’t seating properly. Maybe the head gasket blew between cylinders. A compression gauge gives you a number, but it remains silent on the cause.
The leak-down tester solves this ambiguity. Instead of measuring how much pressure the engine creates, you inject compressed air into the cylinder at Top Dead Center (TDC) on the compression stroke. Then, you listen. Where does the air go? If it hisses out of the exhaust pipe, your exhaust valve is leaking. If it whistles through the dipstick tube, your piston rings are shot. This direct correlation between sound and component failure removes the guesswork from engine diagnostics.
Gathering Your Tools and Prep Work
You cannot run this test without specific equipment. While professional shops use expensive digital units, a basic manual leak-down tester costs between $50 and $100 and works perfectly fine for home garages. These kits typically include a regulator, a gauge, and an adapter that screws into the spark plug hole. You also need a reliable source of compressed air. An electric compressor with a 20-gallon tank is ideal because it maintains steady pressure during the test. Small pancake compressors often struggle to keep up, leading to inaccurate readings.
- Leak-down Tester Kit: Ensure it includes adapters for various thread sizes (M14x1.25 is common for modern cars).
- Air Compressor: Set to deliver approximately 90-100 PSI.
- Tachometer or Timing Light: To locate TDC accurately.
- Safety Glasses: Air pressure can blow debris back into your face.
- Shop Towels: For catching any minor oil leaks around the tester.
Before connecting anything, ensure the engine is cold or lukewarm. Hot metal expands, which can temporarily seal small gaps in valves or rings, giving you a false sense of security. Letting the engine cool down ensures thermal contraction reveals actual wear patterns. Also, disconnect the ignition coil or fuel injector for the cylinder you are testing. You do not want the engine trying to fire while you are pumping air into it.
Locating Top Dead Center (TDC)
This is the step where most beginners fail. If you inject air when the piston is halfway down its stroke, both the intake and exhaust valves might be open. The air will flow freely through both ports, giving you a misleadingly high leak percentage. You must position the piston at the very top of its travel, where the valves are closed and the combustion chamber is sealed.
To find TDC on the compression stroke, remove the spark plug and place a long, thin screwdriver or a piece of flexible wire into the hole. Turn the crankshaft clockwise by hand using a socket on the harmonic balancer bolt. Watch the wire move up and down. When it reaches its highest point, mark the timing cover or pulley. Rotate the crank another full revolution (360 degrees). If the wire returns to that same high point, you have found TDC. However, you must confirm it is the compression stroke, not the overlap stroke. Check your service manual for the timing marks. On many engines, aligning the camshaft sprocket dots is the surest way to guarantee TDC compression.
| Sound Location | Likely Cause | Severity |
|---|---|---|
| Exhaust Pipe | Leaking Exhaust Valve | Moderate to High |
| Intake Manifold / Throttle Body | Leaking Intake Valve | Moderate to High |
| Dipstick Tube / Oil Cap | Worn Piston Rings | High |
| Adjacent Cylinder Spark Plug Hole | Blown Head Gasket | Critical |
| Radiator Coolant Overflow | Head Gasket Failure (Coolant Passage) | Critical |

Running the Test and Reading the Gauge
With the piston at TDC and the ignition disabled, screw the leak-down tester adapter into the spark plug hole. Connect your air hose and slowly introduce pressure. Most testers have a ball valve that you open gradually. Once the gauge stabilizes, note the percentage of leakage. A healthy engine should show less than 5% leakage. Anything above 10% indicates wear, and anything above 20% usually requires immediate attention.
But the number on the dial is secondary to the auditory evidence. Have a helper stand near the exhaust tip, the air intake, and the radiator cap while you hold the pressure. Listen carefully. A sharp hiss from the exhaust means the exhaust valve seat is burned or warped. This is common in diesel engines or turbocharged gasoline engines running lean. A whistle coming from the throttle body points to the intake valve. If you hear air escaping through the dipstick tube, the seal between the piston and the cylinder wall has failed. This is the classic sign of ring wear, often accompanied by blue smoke from the tailpipe during acceleration.
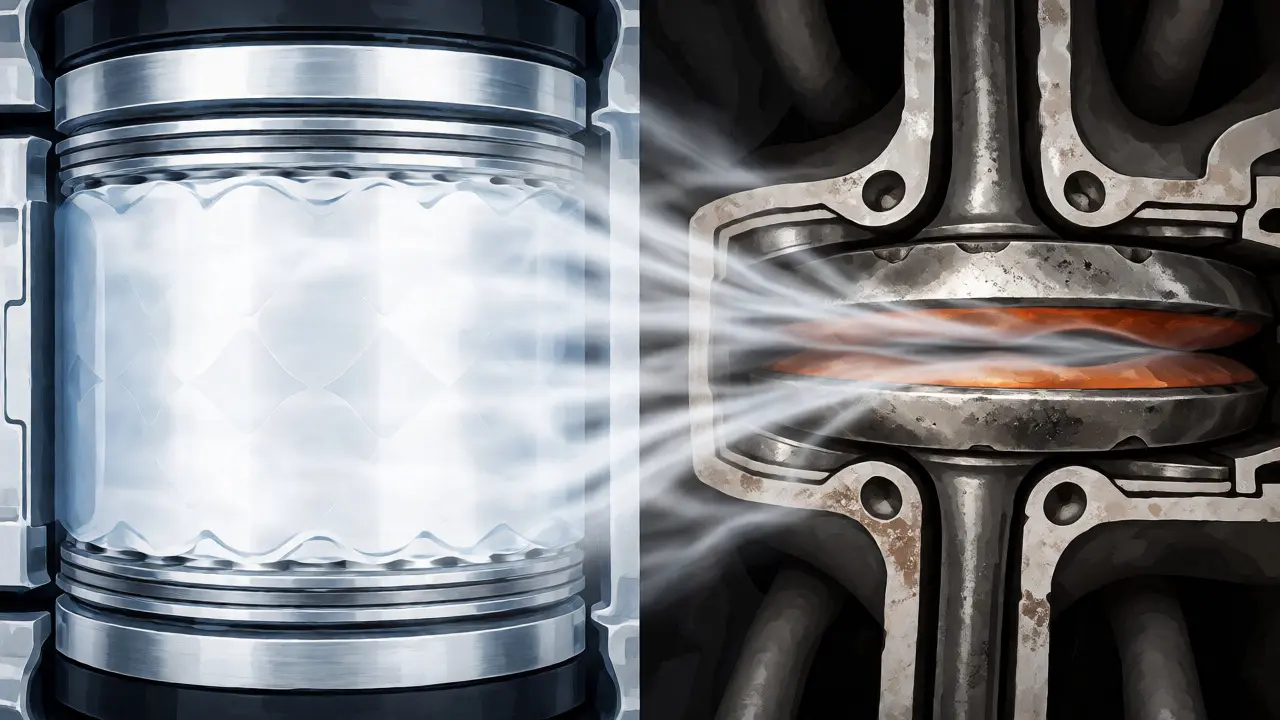
Pay close attention to the adjacent cylinder. If you hear air rushing out of the neighboring spark plug hole, you have a breach in the head gasket between those two cylinders. This is rare but serious. Similarly, if bubbles appear in the coolant reservoir when you pressurize the cylinder, the head gasket has compromised the water jacket. This allows combustion gases to pressurize the cooling system, leading to overheating and potential warping of the cylinder head.
Common Pitfalls and False Positives
Even experienced technicians fall into traps with this test. One major pitfall is carbon buildup. Heavy carbon deposits on the piston crown or valve heads can prevent valves from seating fully, mimicking a bad valve job. Before condemning a valve, try adding a teaspoon of engine oil into the cylinder and repeating the test. If the leak percentage drops significantly, the rings were the culprit, as the oil temporarily seals the gap. If the number stays the same, the issue is likely with the valves or head gasket.
Another common error is failing to account for variable valve timing (VVT). Modern engines adjust cam phasing dynamically. If the VVT solenoid is stuck or the camshaft is not locked in the correct position, the valves may remain slightly open even at TDC. Always consult the factory service information for the specific lock-out procedure for your engine model. Some manufacturers require removing the VVT actuator or using a special pin to lock the camshaft before testing.
Also, consider the condition of the spark plug threads. If the threads are damaged, the adapter may not seal correctly, causing air to leak out of the plug hole itself rather than entering the cylinder. Clean the threads thoroughly and use thread seal tape if necessary. A leak at the connection point renders the entire test invalid.
Deciding on Repairs Based on Results
Once you have identified the leak source, the path forward becomes clearer. Leaking valves usually require a head removal and a valve job. Depending on the severity, you might get away with grinding the seats and replacing the seals, or you may need new valves entirely. This is labor-intensive work, often costing more than the part itself.
Piston ring wear presents a different dilemma. Replacing rings requires pulling the engine or at least the pistons out of the block. For older vehicles, this cost often outweighs the value of the car. In some cases, using a higher viscosity oil or an additive designed to swell old rubber seals can buy time, but it is not a permanent fix. If the leak-down test shows 30%+ leakage due to rings, expect significant power loss and oil consumption.
Head gasket failures are non-negotiable repairs. Driving with a blown head gasket risks hydro-locking the engine if coolant floods the cylinder, or warping the aluminum head beyond repair. If the test confirms a head gasket breach, plan for a complete head resurfacing and gasket replacement. Do not attempt to use stop-leak products on a confirmed leak-down failure; they rarely work for high-pressure combustion gas leaks and can clog oil passages.
Frequently Asked Questions
Can I perform a leak-down test on a diesel engine?
Yes, absolutely. In fact, it is often more effective on diesels because their higher compression ratios amplify small leaks. However, be cautious: diesel injectors create massive pressures. Ensure the glow plugs are disconnected and the engine is at proper TDC to avoid damaging the tester or the engine.
How much air pressure should I use?
Standard practice is to set your regulator to 90 PSI. This is low enough to be safe but high enough to detect small leaks. Never exceed the maximum rating of your specific tester, which is usually around 100-120 PSI. Using too little pressure makes it hard to hear faint leaks; using too much can damage the gauge or blow the adapter out.
What if all cylinders leak evenly?
If all cylinders show similar, moderate leakage (e.g., 10-15%), it usually indicates general engine wear rather than a single component failure. This suggests the engine is reaching the end of its service life uniformly. There is no single part to replace; instead, consider an engine rebuild or replacement if performance is unacceptable.
Does a leak-down test hurt the engine?
No, provided you follow safety procedures. Since the engine is not running, there is no risk of burning components. Just ensure the transmission is in neutral and the parking brake is engaged so the car does not roll if the starter engages accidentally.
Can I use a standard tire inflator for the test?
You can use the air source from a tire inflator, but you need the specific leak-down gauge assembly. A standard tire inflator gauge does not measure leakage percentage; it only measures input pressure. You need the specialized meter that compares input pressure against retained pressure to calculate the loss percentage.