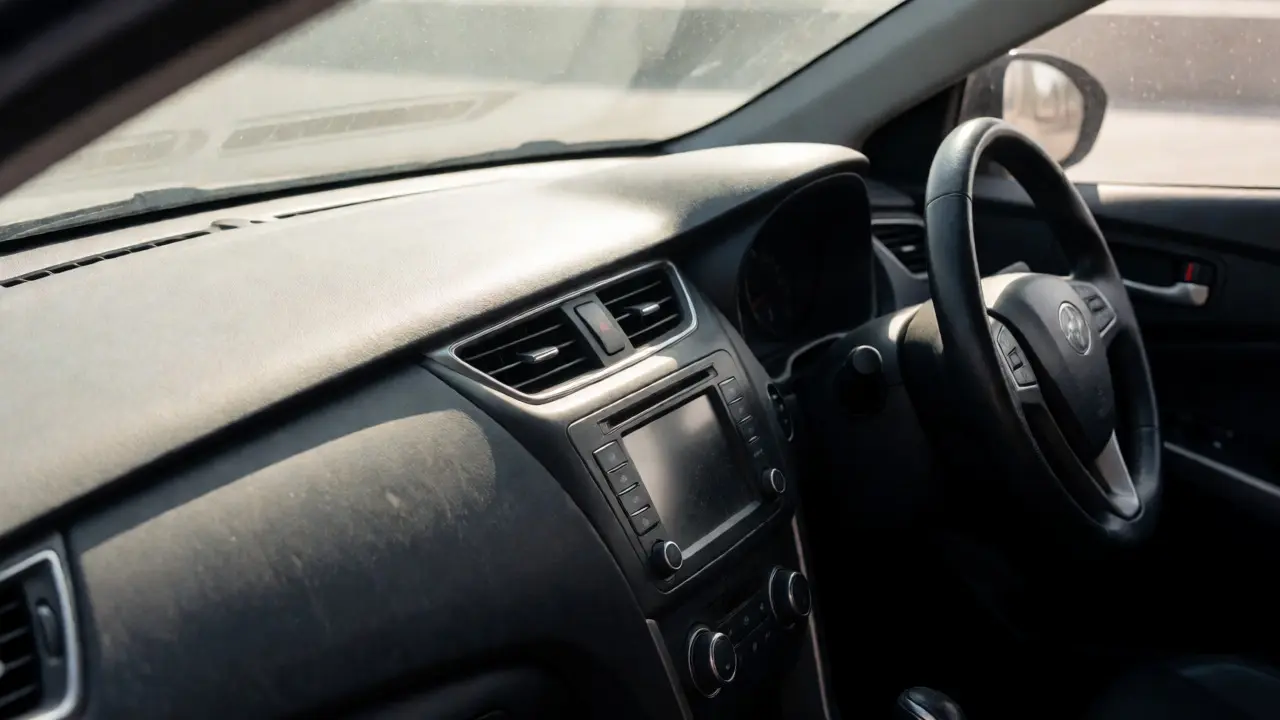
You know that feeling. You just spent an hour vacuuming the carpets and wiping down the seats, but when you look at the dashboard, it still looks tired. The black plastic has turned a dull gray, or worse, it’s got that sticky, oily residue from cheap silicone sprays that attract dust like crazy. Most people think restoring their interior means slapping on some "shine" product. That is exactly why your dash looks fake and feels greasy within days.
Dashboard cleaning is the process of removing accumulated oils, UV damage, and grime from vehicle interior surfaces while applying protective conditioning that restores color without adding artificial gloss. The goal isn’t to make your car look like a showroom floor under halogen lights; it’s to make the materials look like they did when they left the factory. In 2026, modern interiors use complex blends of polyurethane, vinyl, and soft-touch coatings that react differently to chemicals than the hard plastics of the 1990s. If you use the wrong stuff, you can actually strip the UV inhibitors right out of the material, leading to faster cracking.
Why Your Dashboard Turns Gray (And Sticky)
Before you buy a single bottle of cleaner, you need to understand what you are fighting. It’s not just dirt. Sunlight contains ultraviolet (UV) radiation that breaks down the chemical bonds in plasticizers-the additives that keep plastic flexible. As these bonds break, the surface oxidizes, turning dark plastics gray or brown. This is photo-degradation.
On top of that, our hands transfer natural oils onto the steering wheel and shifter. These oils mix with airborne dust and pollen. Over time, this mixture polymerizes, creating a sticky film that standard water-and-dish-soap won’t touch. When you apply generic silicone-based dressings over this grime, you’re essentially sealing the dirt in. The result? A dashboard that looks shiny for two hours and then collects a thick layer of dust because the surface remains tacky.
The Right Tools for the Job
You don’t need a professional garage setup, but you do need to ditch the paper towels and the old rags. Paper towels leave lint behind, which sticks to soft-touch coatings. Old rags might have grit trapped in the fibers that will micro-scratch your display screens.
- Microfiber Towels: Get at least four. Use one for cleaning, one for buffing, and two for drying. Look for waffle-weave or low-pile towels for glass and high-pile for textured plastics.
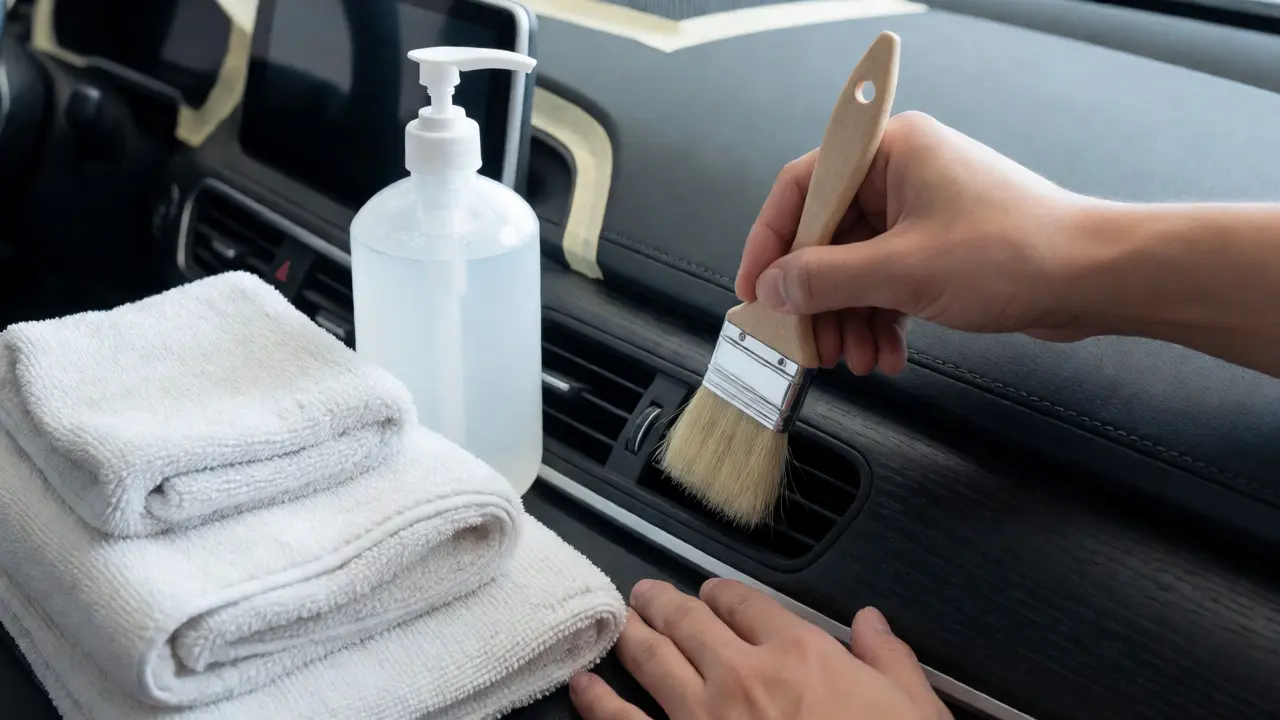
- Soft-Bristled Brush: A detailing brush with horsehair or synthetic soft bristles is essential for air vents and speaker grilles. Toothbrushes work, but they can be too stiff for delicate trim.
- pH-Neutral All-Purpose Cleaner (APC): This is crucial. Avoid acidic cleaners (like wheel cleaners) or highly alkaline degreasers unless specifically labeled safe for interiors. High pH strips protective wax layers.
- Interior Dressing: Choose between water-based sealants or solvent-based conditioners based on the finish you want (more on this below).
Step-by-Step Restoration Process
Work from top to bottom. Gravity pulls dust and runoff downward, so if you clean the lower console first, the upper dashboard drip will ruin your work later.
1. Dry Removal
Start by blowing out loose debris. Use a compressed air duster or a handheld vacuum with a crevice tool. Pay attention to the gaps between the center stack and the dashboard. Crumbs here turn into mud when you apply liquid cleaner.
2. Deep Clean the Surface
Mix your APC according to the label-usually 1:10 or 1:20 with water. Do not spray directly onto the electronics. Spray onto your microfiber towel instead. Wipe the dashboard in straight lines rather than circles. Straight lines help you see where you’ve cleaned and prevent swirl marks on glossy trim pieces.
For textured plastics, use your detailing brush. Dip the brush in the APC solution and gently agitate the texture to lift embedded oils. Follow up immediately with a clean, dry microfiber towel to wipe away the suspended dirt. If you let the cleaner dry on its own, it leaves streaks.
| Dressing Type | Finish Look | Durability | Best For |
|---|---|---|---|
| Water-Based Sealant | Natural/Matte | 4-8 Weeks | Daily drivers, sun exposure |
| Solvent-Based Conditioner | Glossy/Wet | 2-4 Weeks | Show cars, older hard plastics |
| Ceramic Interior Coating | Satin/Low-Gloss | 6+ Months | New vehicles, stain resistance |
| Silicone Spray | High Shine/Greasy | 1 Week | Tires, not recommended for dashboards |
3. Address the Screens
Your infotainment screen is likely coated with oleophobic (oil-repellent) layers similar to smartphone screens. Using harsh alcohol wipes or ammonia-based glass cleaners can degrade this coating over time. Use a dedicated electronics cleaner or a tiny amount of diluted APC on a very soft microfiber. Never spray liquid directly onto the screen bezel, as it can seep behind the panel and cause electrical shorts.
4. Apply Protection
This is where most people mess up. They pump three squirts of dressing onto the dash. Less is more. Apply a small amount of your chosen interior dressing to a foam applicator pad or a folded microfiber towel. Spread it evenly across the surface. Let it sit for the time specified on the bottle (usually 1-5 minutes). Then, take a fresh, dry towel and buff off all excess product.
If your dashboard feels slippery after buffing, you used too much. The correct amount should feel smooth but not slick. Excess product attracts dust. Properly buffed dressing protects against UV rays and repels stains without looking wet.
Special Considerations for Modern Interiors
Many cars built after 2020 feature "soft-touch" dashboards. These have a rubberized coating that provides a premium feel. However, this coating is notorious for degrading into a sticky mess due to humidity and heat. If your dashboard feels tacky even after cleaning, the coating itself may be breaking down. In this case, regular cleaning won't fix it. You might need a specialized restorer designed for soft-touch coatings, or in severe cases, a re-coating service.
Also, watch out for stitched leather accents on the dash. While the plastic parts can handle APC, leather requires a pH-balanced leather cleaner and conditioner. Getting APC on leather can dry it out. Mask off leather sections with painter's tape if you are using a stronger cleaner on the surrounding plastics.
Avoid These Common Mistakes
First, never use household kitchen sponges. The green scrubby side is abrasive enough to scratch clear coats and textured plastics. Second, avoid products containing heavy solvents like acetone or nail polish remover for spot cleaning. These can dissolve the dye in the plastic, leaving permanent white spots.
Third, don't ignore the steering wheel. It accumulates more bacteria and oil than any other surface. Clean it thoroughly, but ensure it’s completely dry before driving. A slippery steering wheel is a safety hazard. Finally, skip the aerosol cans. They overspray onto windshields and create a haze that is difficult to remove. Pump bottles give you control.
Maintenance Schedule
You don’t need to deep clean your dashboard every week. Here is a realistic schedule:
- Weekly: Dust with a dry microfiber cloth. Check for spills.
- Monthly: Light clean with diluted APC and reapply a thin layer of dressing if needed.
- Quarterly: Deep clean with brushes, full application of UV protectant, and check for early signs of cracking or fading.
If you park outside in direct sunlight, shorten the interval for protection. UV damage is cumulative. Consistent care costs pennies compared to replacing a cracked dashboard assembly, which can cost hundreds of dollars depending on your vehicle model.
Frequently Asked Questions
Can I use vinegar to clean my car dashboard?
You can, but it is not recommended for frequent use. Vinegar is acidic and can slowly degrade the protective coatings on modern plastics and soft-touch surfaces. It also leaves a strong smell that lingers in the cabin. A pH-neutral automotive interior cleaner is safer and formulated to rinse cleanly without residue.
Why does my dashboard look streaky after cleaning?
Streaks usually happen for two reasons: using dirty towels or letting the cleaner dry on the surface. Always flip your microfiber towel to a clean side frequently. Additionally, ensure you are working in the shade or a garage. Heat causes cleaners to evaporate too quickly, leaving behind mineral deposits and surfactant residues that appear as streaks.
Is silicone bad for car interiors?
Silicone isn't inherently "bad," but cheap silicone sprays often contain fillers that build up over time, attracting dust and making the surface feel greasy. High-quality silicone emulsions can provide good shine for show cars, but for daily drivers, water-based acrylic or ceramic sealants are better because they offer UV protection without the sticky buildup.
How do I get rid of the sticky feeling on my dashboard?
If the stickiness is due to product buildup, use an isopropyl alcohol solution (70%) mixed with water to strip the old dressing. Test in an inconspicuous area first. If the stickiness comes from the degradation of the soft-touch coating itself, stripping won't help. You may need to sand and repaint the section or replace the trim piece entirely.
Do I need to cover my dashboard when parking?
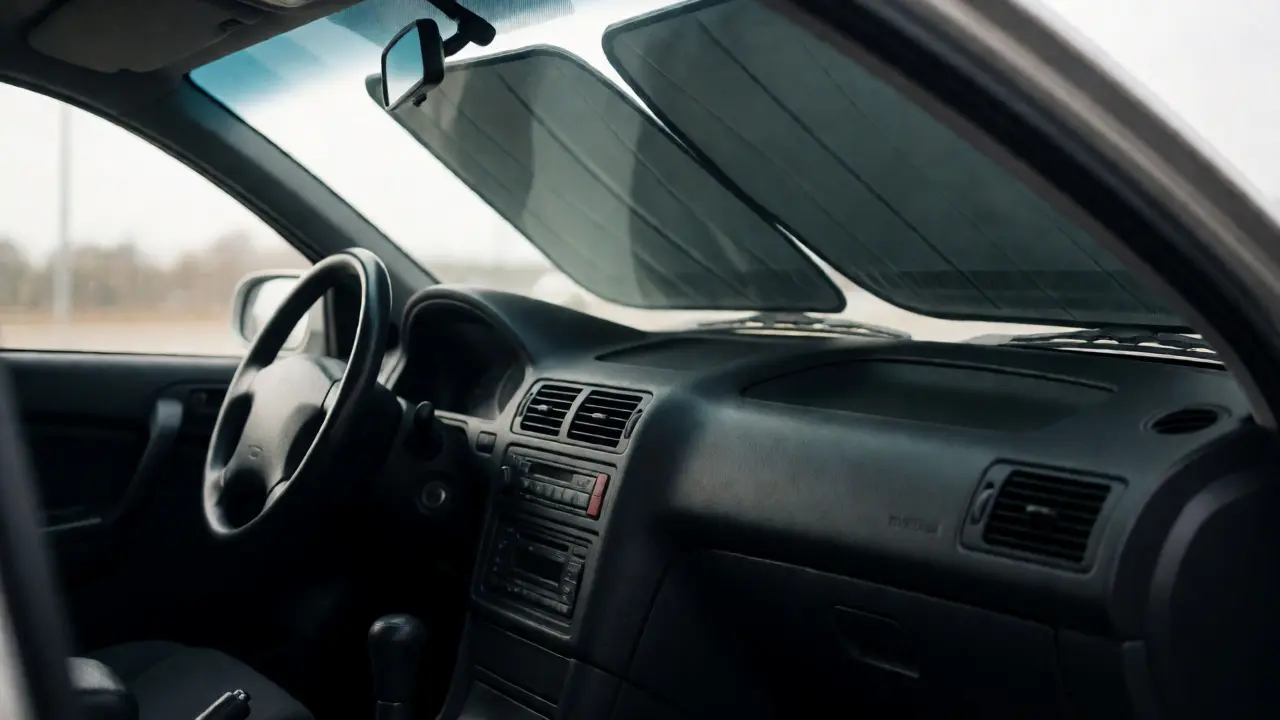
Yes, especially if you live in sunny climates. A windshield sunshade blocks a significant portion of UV radiation and reduces cabin temperature. Lower temperatures slow down the chemical breakdown of plasticizers. It is the cheapest and most effective way to extend the life of your interior plastics.