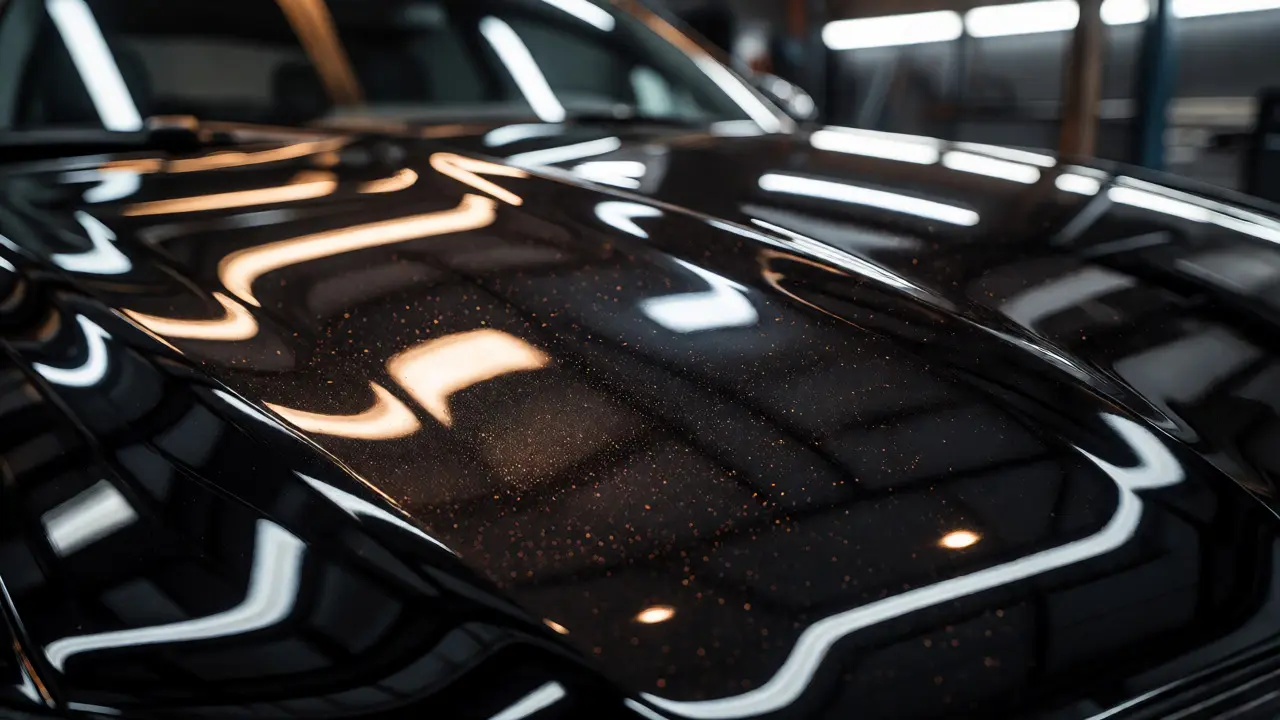
You just spent hours polishing your car’s clear coat to a mirror finish. It looks perfect under the garage lights. But then you take it outside, and the sun reveals tiny bumps and specks that weren’t there before. You try to wipe them off with a microfiber towel, but they won’t budge. This is the hidden enemy of every detailer: bonded contaminants like industrial fallout (iron particles) and road tar. If you skip decontamination wash steps before applying wax or a ceramic coating, you’re essentially sealing dirt into the paint. The result? A rough texture that ruins the gloss and causes premature failure of your protection.
Most people think washing their car removes all the dirt. It doesn’t. Standard soap lifts loose dust and mud, but it leaves behind embedded debris. To get a truly smooth surface ready for protection, you need chemical decontamination. This guide breaks down exactly how to remove iron and tar effectively, ensuring your paint is chemically clean and physically smooth before you apply any sealant.
Why Washing Alone Isn't Enough
Think of your car’s paint like a microscopic landscape. Even after a thorough wash, this landscape holds onto particles that cling through static electricity, heat fusion, or simple mechanical embedding. Two main culprits cause most texture issues: Industrial Fallout and Tar. Industrial fallout consists of tiny iron particles from brake pads, train tracks, and construction sites. When these hot particles land on your paint, they often embed slightly into the clear coat. Over time, they oxidize, creating rust spots that look like brown freckles.
Tar, on the other hand, comes from fresh asphalt roads. In summer heat, the sticky binder in road tar softens and splatters onto lower panels and wheel arches. Unlike iron, which sits on top or slightly embedded, tar bonds chemically with the paint surface. Water beads up around it, but the soap slides right over it. If you apply a ceramic coating over tar, the coating cannot bond directly to the clear coat. Instead, it bonds to the tar. As soon as the tar lifts or degrades, your expensive coating peels off with it.
| Contaminant | Source | Detection Method | Primary Removal Agent |
|---|---|---|---|
| Iron Particles | Brakes, rail lines, industry | Visual (rust dots), Chemical reaction | Iron Remover Spray |
| Tar/Bugs | Fresh asphalt, insects | Touch (sticky/tacky feel) | Citrus Degreaser or Tar Remover |
| Tree Sap | Overhanging trees | Hardened droplets | Solvent-based cleaner |
| Overspray | Paint shops, road debris | Rough texture everywhere | Clay Bar or Synthetic Clay |
The Decontamination Sequence Matters
Order is critical here. Many DIYers make the mistake of using a clay bar first. Don’t do that. If you use a clay bar on a car covered in grit and iron, you risk dragging those hard particles across the paint, creating swirl marks. The goal is to remove what you can chemically before you touch the paint mechanically.
Start with a standard two-bucket wash to remove loose dirt. Rinse thoroughly. Then, move to the chemical stage while the paint is still wet or immediately after drying. Why? Because some products work better when applied to damp surfaces, and others need dry paint to avoid dilution. Always check the label, but generally, iron removers are forgiving on wet paint, while tar removers work best on dry surfaces to prevent spreading.
Step-by-Step Iron Removal
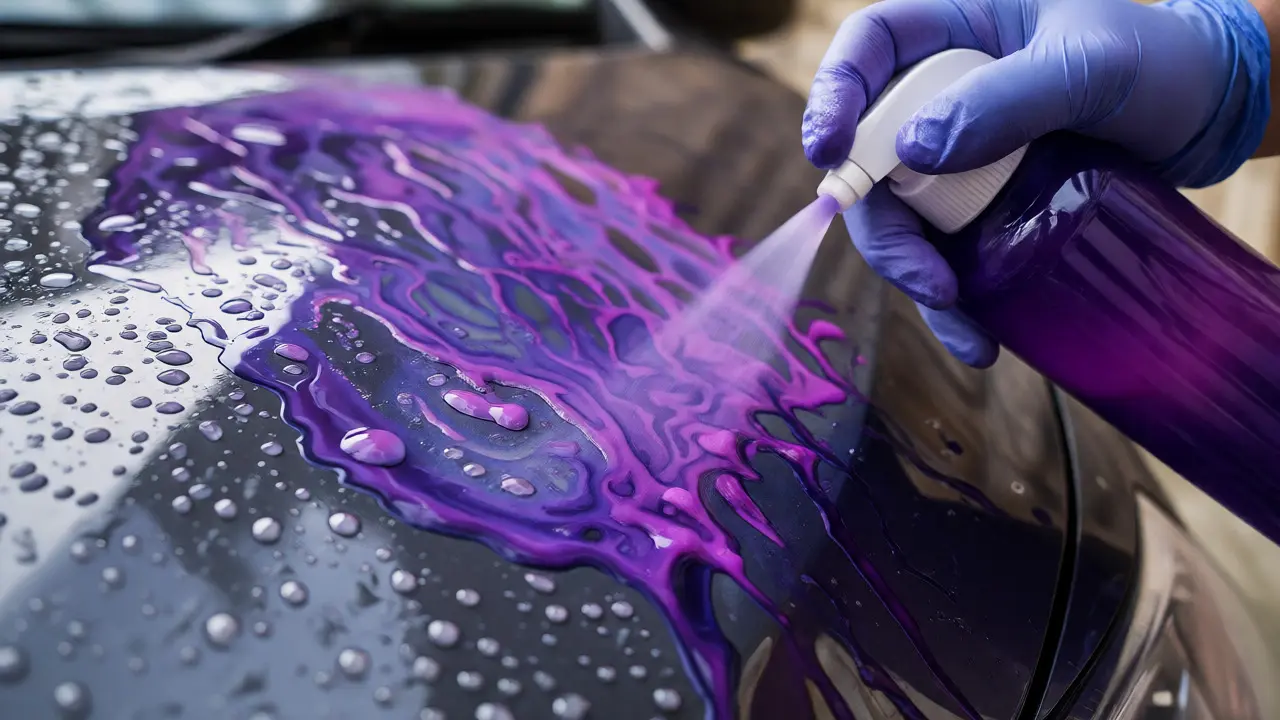
Removing iron requires a specific chemical agent known as an Iron Remover. These sprays contain thioglycolic acid or similar chelating agents that react with iron oxide. When sprayed, the solution turns purple as it dissolves the rust particles. This visual cue tells you the product is working.
- Spray the Panels: Work in small sections (one panel at a time). Spray the iron remover generously. Do not let it dry completely on the paint, especially in direct sunlight, as dried acids can etch the clear coat.
- Wait for the Reaction: Watch for the color change. If you see purple streaks forming, that’s the iron reacting. Let it sit for 3-5 minutes. Agitate gently with a soft brush if needed, but usually, the chemistry does the heavy lifting.
- Rinse Thoroughly: Use a high-pressure rinse to wash away the dissolved residue. Any leftover chemical film can interfere with coating adhesion later.
- Inspect: Run your hand over the paint inside a plastic bag (this eliminates friction from skin oils). If it feels gritty, repeat the process. Some older cars may need multiple passes.
A pro tip: Check your wheels and calipers too. Brake dust is pure iron. If you don’t treat them, the runoff during future washes will re-contaminate your body panels.
Tackling Tar and Sticky Residues
Once the iron is gone, you’ll likely find tar spots, especially on the lower doors, rocker panels, and front bumper. Tar is stubborn because it’s hydrophobic-it repels water-based soaps. You need a solvent or a strong citrus-based degreaser to break down the hydrocarbon chains in the tar.
Apply a dedicated Tar Remover or a high-strength APC (All-Purpose Cleaner) to the affected areas. Let it dwell for 60 seconds. You should see the tar start to lift and slide. Wipe it away with a premium microfiber towel. Flip the towel frequently to ensure you aren’t rubbing the tar back into the paint.
For severe cases where tar has hardened and cracked, you might need a gentle razor blade held at a shallow angle to scrape off large chunks before applying the chemical. Be extremely careful; one slip can scratch the clear coat. After removing the bulk, follow up with a solvent wipe-down to remove any oily film left by the tar remover.
Mechanical Decontamination: The Final Polish
Even after iron and tar removal, your paint might still feel rough due to overspray or fine embedded grit. This is where mechanical decontamination comes in. Using a clay bar or a synthetic clay mitt pulls out remaining subsurface contaminants.
Lubricate the panel heavily with a clay lubricant or diluted detailing spray. Glide the clay lightly over the surface. You’re not scrubbing; you’re gliding. The clay grabs the particles sticking out of the clear coat. Fold the clay frequently to expose a clean face. Once the panel feels glass-smooth, wipe it down with a quick detailer or isopropyl alcohol mix to remove any clay residue.
This step is non-negotiable for ceramic coatings. Ceramic coatings form a covalent bond with the paint. If there’s even a micron of contamination between the coating and the paint, the bond weakens. That’s why professionals spend more time on prep than application.
Pre-Coating Surface Prep Checklist
- Wash: Remove loose dirt and grime.
- Iron Treatment: Dissolve and rinse iron fallout.
- Tar Removal: Solvent-clean sticky residues.
- Clay Bar: Remove remaining bonded grit.
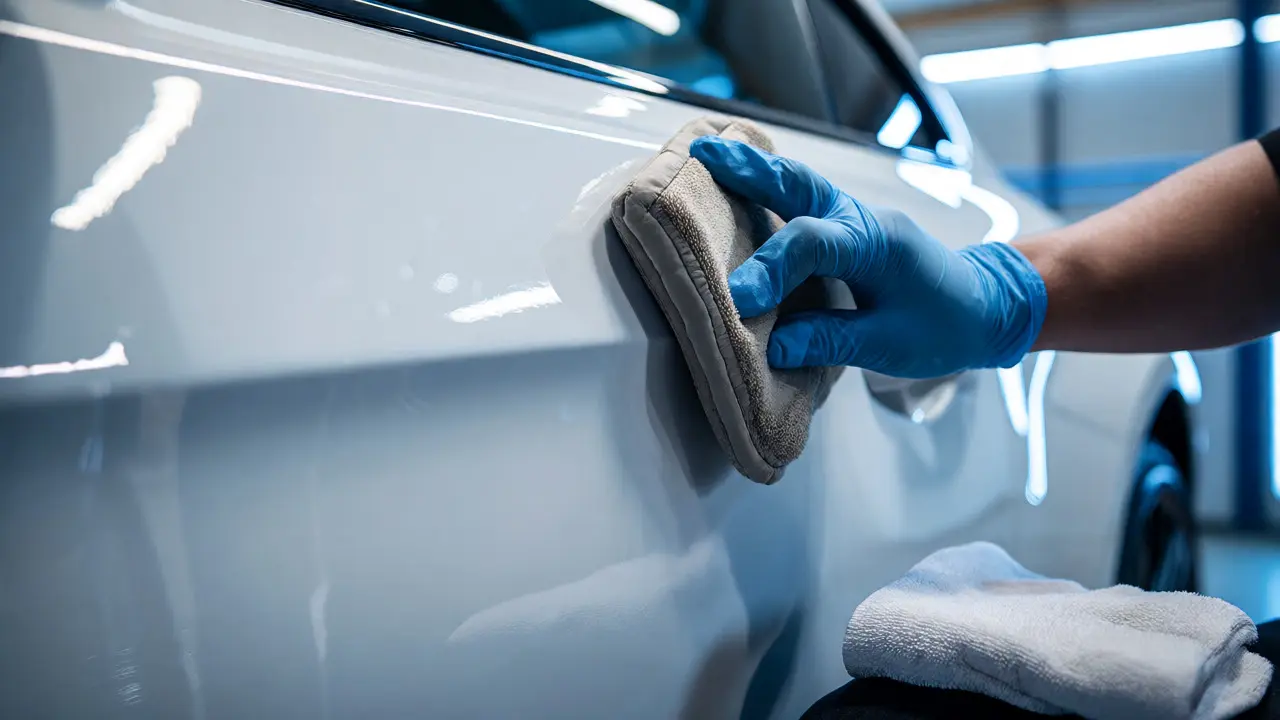
- Panel Wipe: Use IPA (Isopropyl Alcohol) or a dedicated prep spray to strip oils and waxes.
- Inspection: Verify smoothness with the "baggy hand" test.
Skipping the final panel wipe is a common error. Oils from your hands, previous waxes, or silicones from shampoos can leave a invisible barrier. A quick wipe with a 15-20% IPA solution ensures the surface is chemically neutral and ready to accept the new layer of protection.
Common Pitfalls to Avoid
One major mistake is using dish soap. Dish soap strips existing wax and can leave a film that interferes with coating cure. Stick to pH-neutral automotive shampoos. Another issue is working in direct sunlight. Heat causes chemicals to evaporate too quickly, leading to spotting and uneven results. Shade is your friend.
Also, don’t ignore the interior door jambs. They collect massive amounts of brake dust and road grime. If you coat the exterior but leave the jambs dirty, you’re missing part of the protection package. Clean them with a dedicated trim cleaner or diluted APC.
Finally, remember that decontamination is not a substitute for polishing. Decontamination makes the paint smooth; polishing makes it glossy. You can have a perfectly smooth car that looks dull if you haven’t corrected the clear coat defects. However, you cannot polish effectively without decontaminating first, as the machine polisher will drag contaminants across the surface, causing scratches.
FAQ
Can I skip the clay bar if I use iron remover?
Not always. Iron remover only targets metallic particles. It does not remove tree sap, bug splatter, or general overspray. If your paint feels rough after iron treatment, you still need mechanical decontamination via clay or a synthetic equivalent.
How often should I perform a full decontamination wash?
For daily drivers, once or twice a year is sufficient. If you live near the coast, in industrial areas, or park outdoors under trees, quarterly decontamination is recommended to prevent permanent staining from iron oxidation and sap etching.
Does iron remover damage clear coat?
Modern iron removers are formulated to be safe on clear coats, chrome, and plastics. However, leaving them on too long or allowing them to dry in direct sun can potentially spot the surface. Always follow the manufacturer's dwell time instructions and rinse promptly.
What is the "baggy hand" test?
Place your hand inside a clean Ziploc bag and glide it over the paint. The plastic reduces friction, allowing you to feel tiny bumps and grit that your bare hand might miss. If it feels like sandpaper, you need more decontamination. If it feels like glass, you're ready to coat.
Can I use WD-40 to remove tar?
Yes, WD-40 works well on tar, but it leaves an oily residue that must be thoroughly cleaned off with IPA or a panel wipe before coating. Dedicated tar removers are often less messy and easier to rinse, but WD-40 is a viable household alternative.