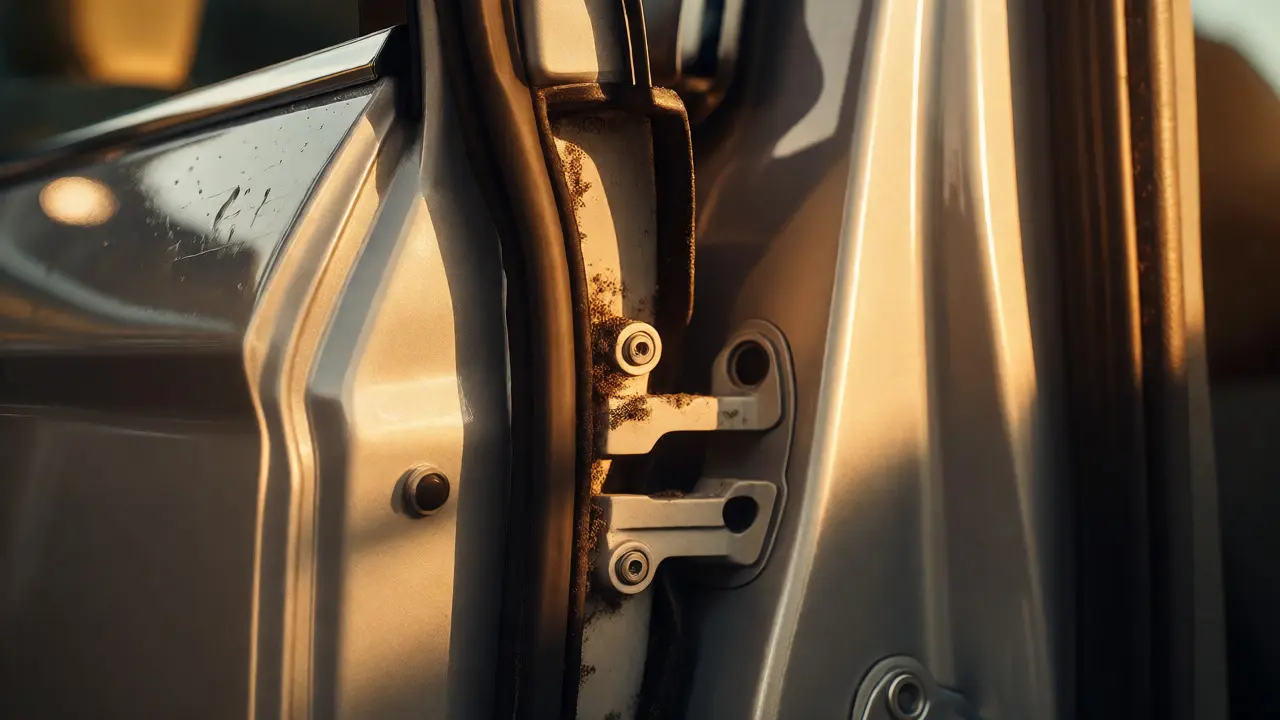
You just spent three hours waxing your paint until it mirrors the sky. You vacuumed the carpets until they looked brand new. But open that driver’s side door, look up at the top edge of the frame, or lift the trunk lid, and you’ll likely find a graveyard of dust, dead bugs, and grime. This is where door jamb detailing becomes the difference between a "clean" car and a truly detailed one. Most people ignore these areas because they’re tucked away, but they are the first things a buyer, a police officer, or a date notices when they step inside.
Why does this matter? Because car detailing isn’t just about aesthetics; it’s about preservation. The seals in your door jambs and the lining in your trunk are made of rubber and fabric materials that degrade faster than you think. Dirt acts like sandpaper. Every time you slam that door, grit gets ground into the rubber weatherstripping, causing it to crack and let water in. In the trunk, spilled fluids from groceries or sports gear can stain carpet fibers permanently if not addressed quickly. Cleaning these spots isn’t just vanity-it’s maintenance.
The Anatomy of the Door Jamb
Before you grab a rag, you need to understand what you’re looking at. A door jamb isn’t just one surface; it’s a complex assembly of metal, plastic, and rubber. When we talk about door jambs, we refer to the vertical pillars (A-pillar, B-pillar) and the horizontal sections around the opening where the door latches.
- Metal Panels: These are painted surfaces exposed to rain, road salt, and UV rays. They often hold rust spots if neglected.
- Rubber Weatherstripping: The black seal around the door. It traps moisture and dirt. If it’s dry and cracked, your cabin will be noisy on the highway.
- Latch Mechanism: The metal hook that catches the striker plate. It collects grease and dust, leading to stiff doors.
- Plastic Trim: Covers wiring and mechanical parts. It fades and turns gray without protection.
Most DIYers wipe the visible part of the jamb but miss the crevices. Use a flashlight. Shine it into the latch area. You’ll see buildup that regular washing never touches. This accumulation attracts pests. Ants love the sugary residue from spilled drinks near the sill. Mice nest in the folds of the weatherstrip during winter. Ignoring this means inviting guests you didn’t ask for.
Step-by-Step Door Jamb Restoration
Doing this right takes about ten minutes per door. You don’t need expensive equipment, but you do need the right tools. Grab a stiff-bristled brush, microfiber towels, an all-purpose cleaner (APC), and a rubber protectant. Here is the workflow that professionals use.
- Dry Brush First: Before adding any liquid, use a soft detailing brush to sweep out loose debris from the latch mechanism and deep crevices. Vacuum this up immediately. If you add water now, you create mud that’s harder to remove.
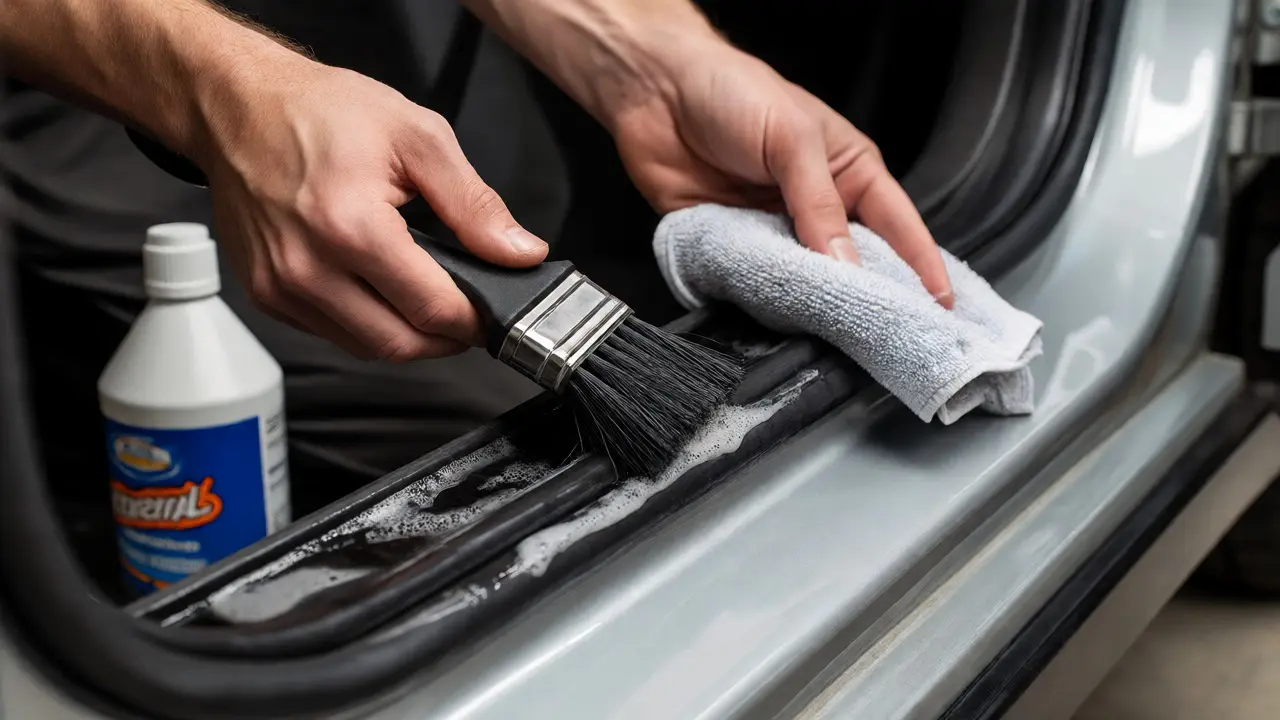
- Apply All-Purpose Cleaner: Spray APC onto a microfiber towel, not directly onto the jamb. Direct spraying risks getting overspray on your freshly polished paint or electrical components. Wipe down the metal panels and plastic trim. Let it dwell for 30 seconds to break down bonded grime.
- Scrub the Rubber: Dip your brush in the damp towel and scrub the weatherstripping. Work along the entire length of the seal. Pay special attention to the bottom corner where water pools. Rinse the brush frequently.
- Wipe Dry: Use a clean, dry microfiber towel to remove the cleaner and lifted dirt. Check for streaks. Repeat if necessary.
- Protect the Rubber: Apply a dedicated rubber dressing or a silicone-free protectant to the weatherstripping. This keeps it pliable. Avoid petroleum-based products like Vaseline, which can degrade certain modern synthetic rubbers over time.
Pro Tip: Open the door fully and stand back. Look at the reflection in the glass. Does the jamb match the rest of the car? If it looks dull while your paint shines, you missed a spot.
Tackling the Trunk Interior
Your trunk is the dumping ground of your vehicle. It holds gym bags, dog leashes, emergency kits, and forgotten fast-food wrappers. Unlike the passenger cabin, the trunk rarely gets vacuumed regularly. Over time, this leads to odors and stained liners.
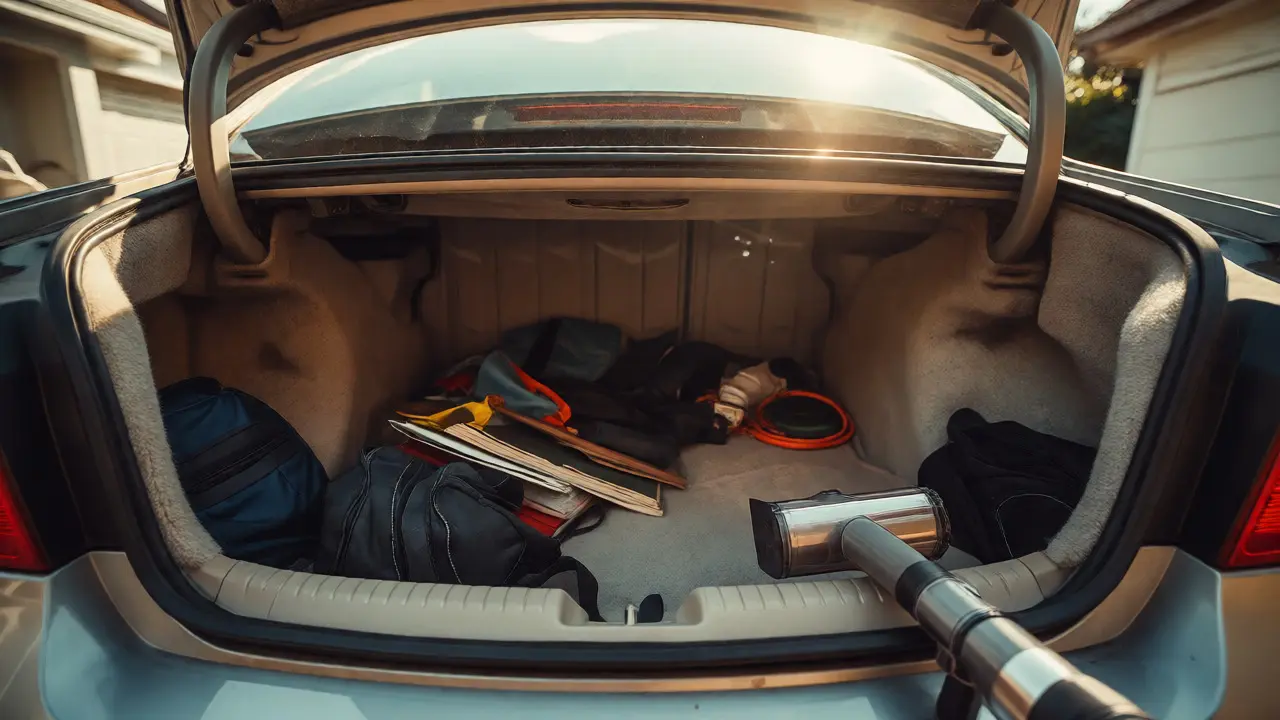
Start by removing everything. Yes, everything. That box of old manuals? Out. The spare tire cover? Lift it. You’d be surprised how many coins, screws, and food crumbs hide under the floor mat. Once empty, vacuum the carpet thoroughly. Use the crevice tool for the edges where the liner meets the body panel.
Next, address the stains. If you have a fabric liner, spot-clean with a mixture of warm water and mild detergent. Blot-don’t rub. Rubbing pushes the stain deeper into the fibers. For plastic-lined trunks, an all-purpose cleaner works wonders. Scrub the textured plastic with a brush to get into the grain pattern. Rinse with a damp cloth and dry completely.
| Material Type | Best Cleaning Agent | Protection Method | Common Issue |
|---|---|---|---|
| Carpet Fabric | Enzyme Cleaner / Mild Soap | Fabric Guard Spray | Odor retention, staining |
| Molded Plastic | All-Purpose Cleaner (APC) | Interior Dressing | Scratches, fading |
| Rubber Mat | Simple Green / Degreaser | Rubber Protectant | Slickness when wet |
If your trunk smells musty, check the spare tire well. Moisture often accumulates here, especially if the drain plugs are clogged. Remove the spare tire and inspect the metal underneath. If you see rust, clean it with a wire brush and apply a rust inhibitor. Leaving it alone can lead to holes in the floor pan within a few years.
The Hidden Costs of Neglect
Skipping these areas seems harmless until it costs you money. Cracked door seals allow water intrusion. Water leaks into the footwell, damaging electronics and causing mold. Replacing a full set of door seals can cost $200-$400 including labor. Cleaning them properly extends their life by years.
In the trunk, unaddressed spills can corrode the metal floor. Salt from road slush mixed with water accelerates this process. By keeping the trunk clean and dry, you preserve the structural integrity of the rear section of your car. Plus, resale value hinges on these details. Buyers assume that if the visible areas are dirty, the mechanical areas are worse. A pristine trunk signals ownership pride.
Tools You Actually Need
You don’t need a professional garage setup. Here is a minimal kit for maintaining these hard-to-reach zones:
- Detailing Brushes: Get a set with varying stiffness. Soft for trim, medium for rubber, stiff for plastic grains.
- Microfiber Towels: Have at least four dedicated to interior cleaning. Keep them separate from exterior towels to avoid transferring wax or grit.
- All-Purpose Cleaner (APC): Dilutable concentrates save money. Adjust strength based on the surface. Heavy-duty for engine bays, light-duty for plastics.
- Vacuum with Attachments: A handheld vacuum is perfect for quick touch-ups. Ensure it has a long nozzle for reaching under seat tracks and into trunk corners.
- Rubber Dressing: Choose a water-based formula for safety and ease of application.
Avoid using household cleaners like bleach or ammonia on automotive interiors. They can discolor fabrics and dry out plastics. Stick to products designed for automotive use. They balance cleaning power with material safety.
Frequency Matters
How often should you do this? It depends on your environment. If you live in Portland, Oregon, where rain is frequent, check your door jams monthly. Moisture promotes mold and mildew on the rubber seals. If you drive on gravel roads, increase frequency to bi-weekly due to increased dust and mud splash.
For most drivers, a quarterly deep clean is sufficient. Incorporate door jamb wiping into your monthly car wash routine. It takes five minutes and prevents major buildup. Trunk cleaning should happen whenever you unload heavy cargo or after seasonal changes, like switching from winter boots to summer sandals.
Remember, consistency beats intensity. Spending ten minutes every month is more effective than spending two hours once a year. The goal is to prevent dirt from bonding so tightly that it requires aggressive chemicals to remove.
Can I use WD-40 on door jambs?
You can use it on the metal latch mechanism to lubricate moving parts, but avoid spraying it on rubber weatherstripping. Petroleum distillates in standard WD-40 can degrade rubber over time, causing it to swell or crack. Use a silicone-based lubricant for rubber components instead.
How do I remove sticky residue from door sills?
Sticky residue usually comes from adhesive stickers or spilled sodas. Apply a small amount of isopropyl alcohol (70%) or a citrus-based adhesive remover to a microfiber cloth. Gently rub the affected area. Test in an inconspicuous spot first to ensure it doesn't damage the clear coat or plastic finish.
Is it safe to pressure wash door jambs?
Generally, no. High-pressure water can force moisture past the seals into the door cavity, leading to internal rust or frozen locks in winter. If you must rinse them, use a low-pressure setting and keep the nozzle at least 12 inches away. Always dry the area thoroughly afterward.
What causes white powder on my door jambs?
This is often efflorescence or dried mineral deposits from hard water. It can also be oxidation from the metal beneath the paint if the clear coat has failed. Clean it with a vinegar-water solution (1:1 ratio). If the paint feels rough or chalky after cleaning, you may need to polish the area to restore gloss.
Do leather door inserts need special care?
Yes. Leather requires pH-balanced cleaners and conditioners. Using APC on leather can strip natural oils, leading to cracking. Use a dedicated leather cleaner and follow up with a conditioner. Wipe off excess product to prevent a greasy feel on sleeves.