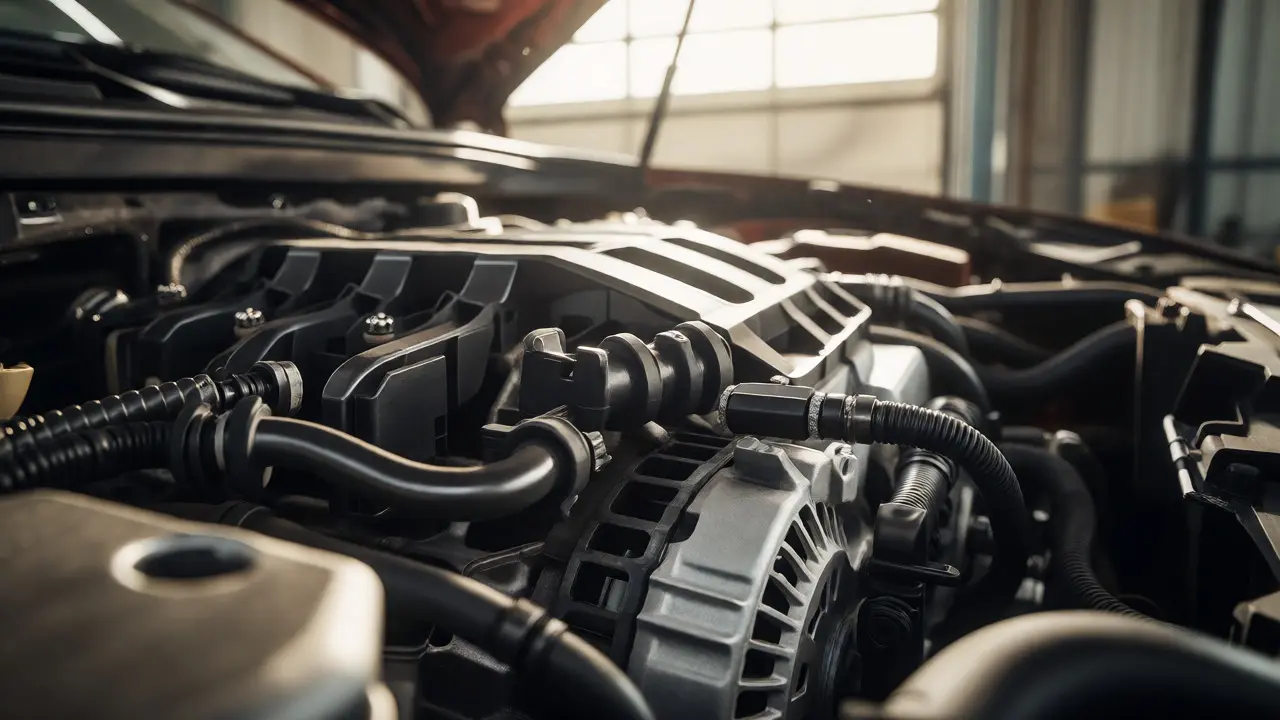
You’ve just spent hours polishing the paint on your sedan until it reflects the clouds above Portland. The exterior looks flawless. But pop the hood, and you’re likely greeted by a grimy mix of old oil residue, dust, and spiderwebs clinging to the engine bay. Cleaning this area feels like the logical next step, but it’s also where most DIY detailers make their biggest mistakes. One wrong spray or too much water pressure can turn a shiny engine into a check-engine-light nightmare.
The core problem isn’t the dirt itself-it’s the fragility of what sits beneath that grime. Modern engines are packed with electrical sensors, plastic connectors, and air intake systems that hate moisture and harsh chemicals. If you’ve ever wondered why some cars run perfectly after a wash while others sputter, it usually comes down to how well those sensitive car components were protected during the process. This guide breaks down exactly which parts need shielding, what materials work best, and how to avoid the common pitfalls that lead to expensive repairs.
Why Engine Bay Detailing Is Riskier Than It Looks
Think of your engine bay as the nervous system of your car. Unlike the wheel wells, which are built to withstand mud, rocks, and high-pressure hoses, the engine compartment houses delicate electronics. When you introduce water, degreasers, or compressed air, you’re risking short circuits, corrosion, and sensor failure.
For instance, the alternator generates electricity for your battery. If water gets inside its housing, it can corrode the internal windings, leading to charging issues days or weeks later. Similarly, the ECU (Engine Control Unit), often called the car’s brain, is highly sensitive to voltage spikes caused by wet connections. You don’t need to be an engineer to see the risk; you just need to respect the complexity of the machinery.
Most modern cars have plastic covers hiding these components, which helps, but they aren’t waterproof. They shed light rain, not a direct blast from a pressure washer. Understanding this distinction is the first step toward safe engine bay detailing.
Identifying the High-Risk Zones
Before you pick up a bottle of cleaner, you need to know what you’re protecting. Not every part of the engine bay reacts poorly to moisture, but several key areas demand strict coverage. Ignoring them is like leaving your laptop open in the rain while washing your hands.
Here are the primary targets you must shield:
- Air Intake System: This includes the air filter box and the mass airflow sensor. If water sucks into the engine through the intake, it can cause hydro-lock, which bends connecting rods. That’s a catastrophic, engine-replacement-level failure.
- Electrical Connectors: Look for black plastic plugs with wires running into them. These are everywhere-on fuel injectors, ignition coils, and sensors. Moisture here causes erratic behavior and false error codes.
- Alternator and Starter Motor: These are metal housings with vents. Water entry leads to corrosion and eventual failure. They are expensive to replace, so keeping them dry saves money.
- Battery Terminals: While robust, wet terminals combined with acidic battery fluid can accelerate corrosion. A simple plastic cap or towel usually suffices.
- Fuse Box: Usually located near the battery or firewall. If water seeps into the fuse box, it can blow fuses or damage the circuit board inside.
By mapping these zones mentally before you start, you create a mental checklist that prevents accidents. It’s not about avoiding all water; it’s about controlling where the water goes.
The Right Way to Cover Sensitive Components
So, how do you actually protect these parts? Many people grab whatever is lying around-a grocery bag, a piece of cardboard, or even a t-shirt. While creative, these methods often fail. Grocery bags slip off when wet, and cardboard disintegrates if it gets damp, leaving pulp stuck to hot engine parts.
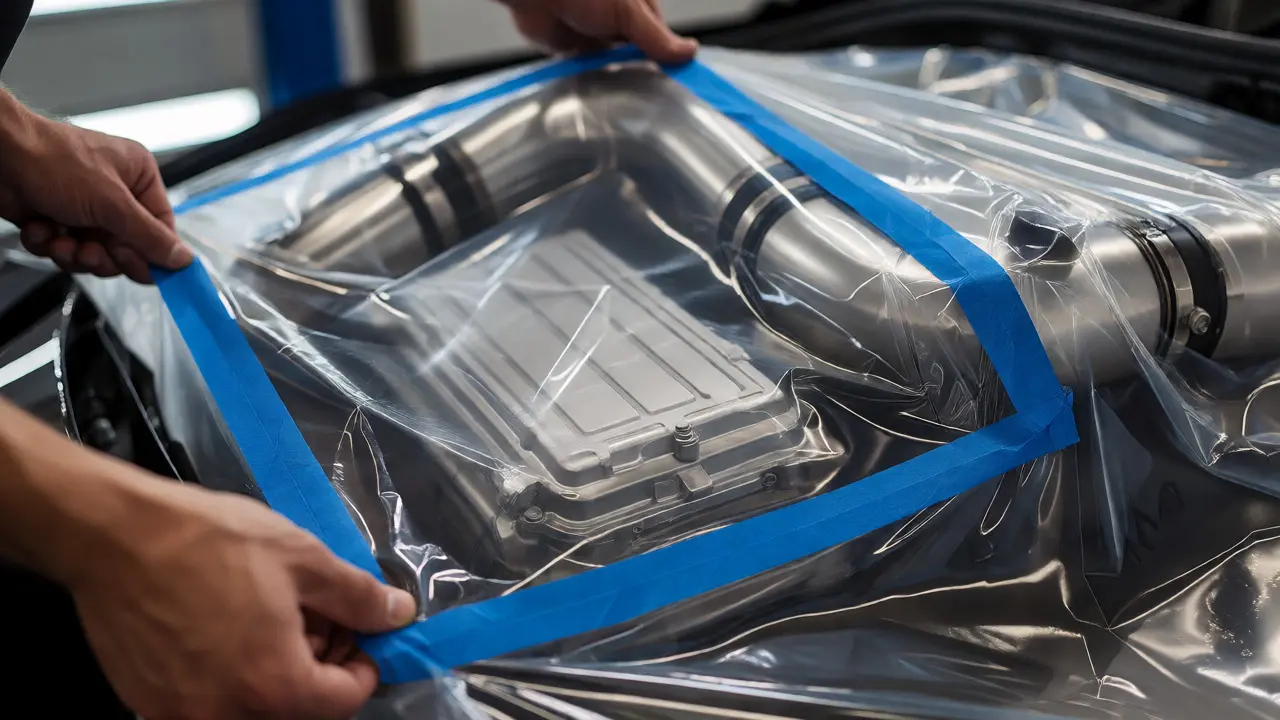
The gold standard for covering sensitive components is using plastic sheeting secured with painter’s tape or elastic bands. Here’s a practical approach that works whether you’re at home or in a professional shop:
- Dry the Engine First: Never cover a wet engine. If you just drove, let it cool down completely. Touch the engine block-if it’s too hot to hold your hand on, wait. Trapping heat under plastic can warp nearby plastic components.
- Cut Your Covers: Pre-cut rectangles of heavy-duty plastic sheeting. Thin trash bags tear easily. Use contractor-grade plastic or specific automotive masking films.
- Secure Tightly: Wrap the plastic around the component and secure it with low-tack painter’s tape. Avoid duct tape if possible, as it leaves sticky residue that attracts more dirt later. For irregular shapes like the alternator, use rubber bands over the plastic to keep it snug without adhesive.
- Check for Gaps: Once covered, look for any openings where water could pool or drip in. Gravity is your enemy here. Ensure the plastic slopes away from critical ports.
This method keeps moisture out while allowing you to spray aggressively on the surrounding metal surfaces. It’s a small investment of time that pays off by preventing thousand-dollar repairs.
Choosing Safe Cleaning Agents and Tools
Once your sensitive parts are covered, you need the right tools to clean the rest. Using household cleaners is a common mistake. Dish soap might strip wax off your body panels, but in the engine bay, it can leave residues that attract dust. Worse, some industrial degreasers contain solvents that eat away at rubber hoses and plastic clips.
Stick to products designed specifically for automotive engine bays. Look for biodegradable engine degreasers that are pH-neutral or slightly alkaline. These break down grease and oil without damaging seals or wiring insulation.
When it comes to application, avoid spraying directly onto the engine. Instead, spray your brush or sponge, then agitate the surface. This controls the overspray. If you must use a sprayer, set it to a fan pattern rather than a jet stream to reduce pressure.
For scrubbing, use stiff-bristled brushes for metal blocks and soft detailing brushes for plastic covers and hoses. Never use wire brushes on aluminum engine blocks-they scratch the surface, making it harder to clean next time.
The Drying Process: Where Most Fail
Rinsing is easy. Drying is where the magic happens-and where many cars end up in the shop. Leaving an engine bay wet invites corrosion. Water trapped in crevices evaporates slowly, oxidizing metal parts over time.
After rinsing, remove your plastic covers carefully. Inspect underneath to ensure no water pooled there. Then, move to drying.
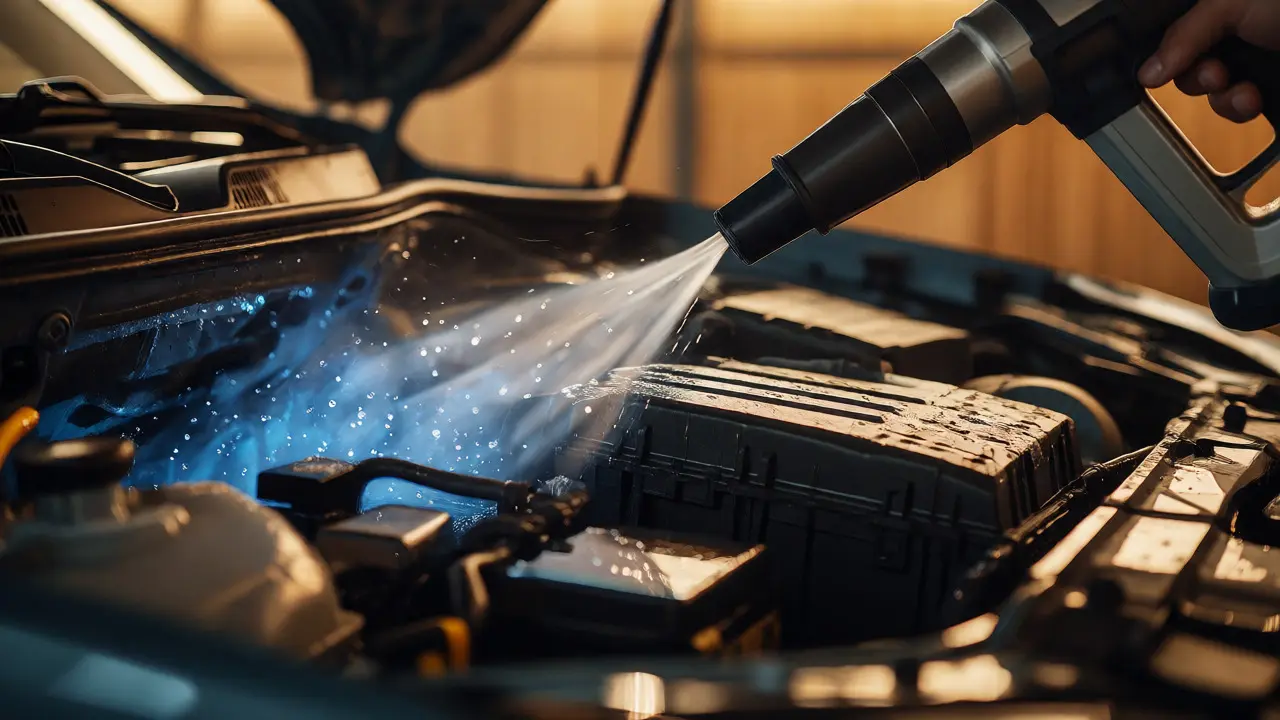
Do not rely solely on driving the car to dry it off. While heat helps, it doesn’t eliminate standing water in tight spaces. Use a leaf blower or compressed air to blow water out of crevices, connectors, and vents. Hold the nozzle at least six inches away to avoid forcing water deeper into sealed units.
Follow up with microfiber towels to wipe down accessible surfaces. Pay special attention to the battery tray and fuse box areas. If you see any remaining moisture in electrical connectors, apply a dielectric grease spray. This repels water and protects against future corrosion.
Common Mistakes to Avoid
Even with precautions, errors happen. Here are the three most frequent issues I see in my garage:
| Mistake | Consequence | Fix |
|---|---|---|
| Using a Pressure Washer on High Setting | Water forced into alternator vents and electrical plugs. | Use a garden hose with a spray nozzle set to "shower" or low pressure. |
| Cleaning a Hot Engine | Thermal shock cracks plastic; rapid evaporation leaves chemical stains. | Wait until the engine is warm to the touch, not hot. |
| Spraying Directly at the Air Filter Housing | Water enters the intake manifold, causing potential hydro-lock. | Remove the air filter and cover the intake tube opening securely. |
Another subtle mistake is neglecting the underside of the hood. Grease and road grime accumulate there, dripping down onto your cleaned engine. Wipe it down with an all-purpose cleaner before you finish. It completes the look and prevents re-contamination.
Final Thoughts on Maintenance
Engine bay detailing isn’t just about aesthetics. A clean engine runs cooler because heat dissipates better from clean metal surfaces. It also makes spotting leaks easier. If you have a fresh coat of dressing on your hoses, a new oil leak stands out immediately. Without it, you’re hunting for drops in a sea of accumulated grime.
Start slow. Practice on less critical areas first. Get comfortable with how much water your specific car model tolerates. Some older cars handle moisture better than newer, tightly packed turbocharged engines. Know your vehicle’s limits.
With proper preparation and respect for the sensitive components, you can achieve a showroom-quality engine bay without risking your car’s reliability. It’s a skill worth mastering, saving you money and boosting the resale value of your vehicle.
Can I use a pressure washer on my engine bay?
You can, but only if you use it correctly. Keep the pressure low (under 1,500 PSI) and maintain a distance of at least 12-18 inches. Never aim directly at electrical components, belts, or the air intake. Ideally, use a garden hose with a variable nozzle instead, as it offers more control and less risk of forcing water into sealed areas.
What should I cover before spraying the engine?
Always cover the alternator, starter motor, air intake opening, ECU (if exposed), fuse box, and battery terminals. Use plastic sheeting secured with painter's tape or rubber bands. These components are most susceptible to water damage and electrical shorts.
Is it safe to drive immediately after engine bay detailing?
It is generally safe once you have blown out excess water with compressed air and wiped down visible moisture. However, let the car idle for a few minutes with the hood open to allow residual heat to evaporate hidden moisture. Check for any unusual noises or warning lights before hitting the highway.
How often should I detail my engine bay?
Twice a year is sufficient for most drivers. If you live in an area with heavy road salt or dust, consider doing it quarterly. Frequent aggressive cleaning can wear down protective coatings on plastics, so balance cleanliness with preservation.
Can I use WD-40 on my engine bay?
WD-40 can be used sparingly as a water displacer on metal surfaces after cleaning, but it attracts dust and can degrade certain rubber hoses over time. It is better to use a dedicated engine bay dressing or a silicone-based protectant for long-term maintenance.