There is a specific kind of heart-sink moment every car owner knows. You’re driving along, maybe it’s raining, and you glance up to see the fabric ceiling of your car drooping like a tired curtain. That sagging car headliner isn’t just ugly; it’s a structural failure that costs hundreds to fix. But here is the good news: most headliner damage doesn't happen from age alone. It happens because someone tried to clean a coffee stain or remove smoke residue using too much water or the wrong chemicals. You can clean your headliner safely at home, but you have to treat it differently than your seats or carpets.
The core rule of headliner care is simple but strict: keep moisture away from the adhesive. Modern headliners are not solid panels. They are a composite sandwich consisting of a visible fabric layer (usually polyester), a thin layer of polyurethane foam for insulation, and a rigid substrate underneath. Holding this stack together is an adhesive that is highly sensitive to heat and liquid. If you spray cleaner directly onto the ceiling or scrub it with a wet sponge, that liquid soaks through the fabric, hits the foam, and dissolves the glue. Once that bond breaks, gravity takes over, and you get that dreaded sag.
Why Headliners Sag: The Science Behind the Damage
To clean effectively, you need to understand what you are fighting against. A typical automotive headliner relies on an adhesive bond that begins to weaken when exposed to temperatures above 60-80 °C or prolonged moisture. In hot climates, your car roof acts like an oven, stressing these bonds daily. When you add aggressive cleaning methods into the mix, you accelerate the failure.
The vulnerability lies in the layers:
- The Fabric: This top layer is durable. It can handle light brushing and gentle dabbing without tearing.
- The Foam: Beneath the fabric is a 2-4 mm layer of polyurethane foam. Over 10-20 years, this foam oxidizes and turns to powder. It cannot hold weight or absorb significant liquid without breaking down.
- The Adhesive: This is the weak link. Most OEM adhesives soften with heat and fail when saturated with alkaline or solvent-based cleaners.
When professionals talk about "low-moisture" cleaning, they aren't being vague. They mean that no liquid should penetrate past the surface fibers. If you use a carpet extractor or soak the area, the liquid bypasses the fabric and attacks the glue. This is why dry dusting and targeted spot treatment are the only safe approaches for DIYers.
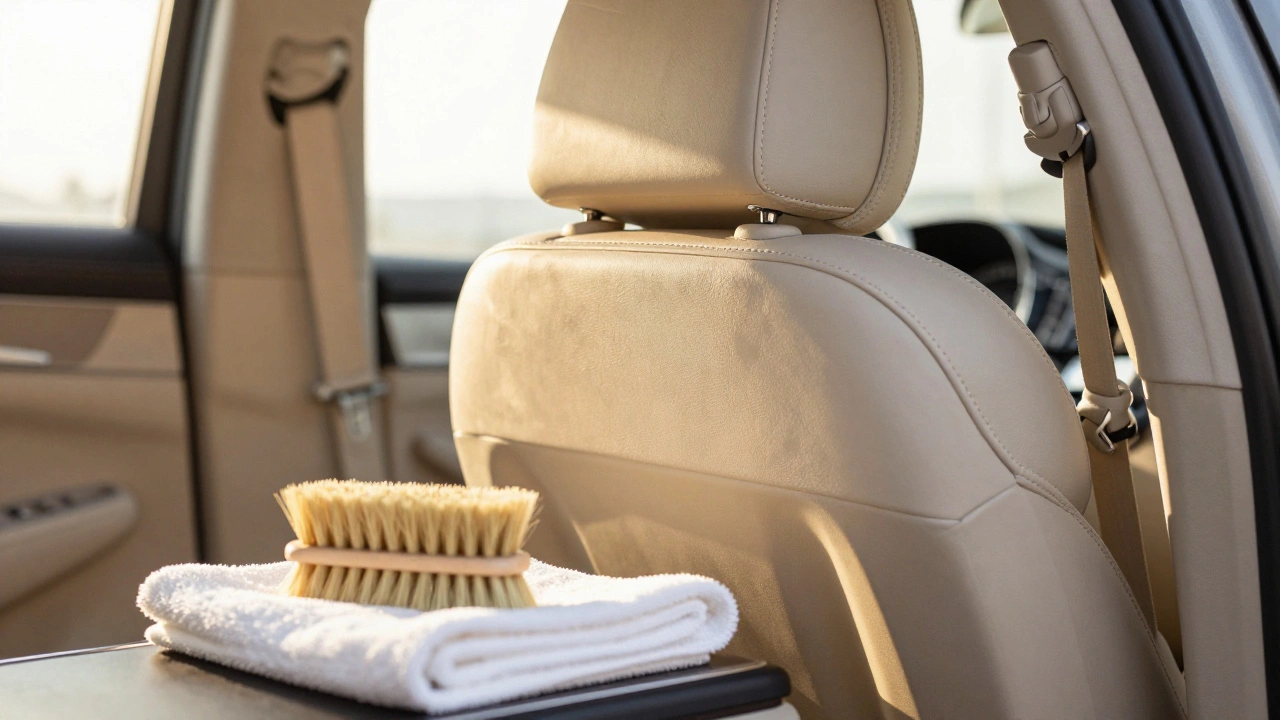
Essential Tools and Products for Safe Cleaning
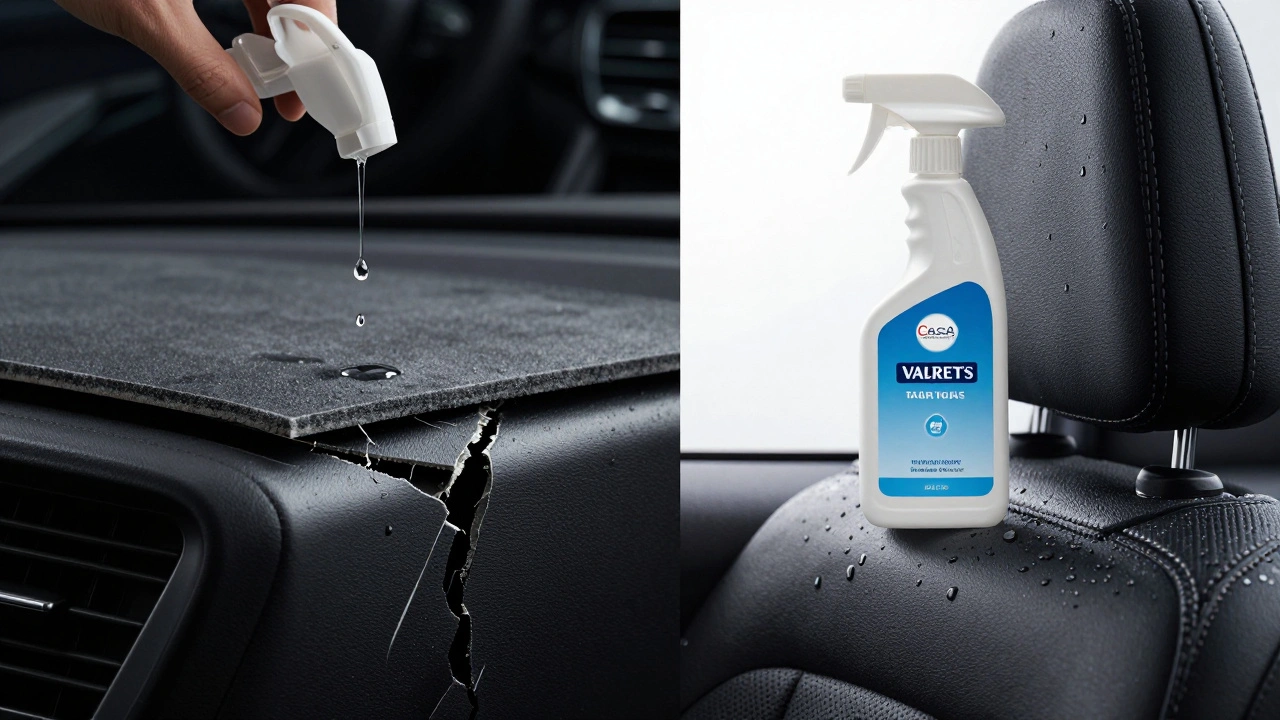
You don't need expensive equipment to clean a headliner, but you do need the right supplies. Using household all-purpose cleaners or heavy-duty degreasers is a recipe for disaster. These products often contain solvents that strip the adhesive instantly.
Here is the toolkit you should gather before starting:
- Soft-Bristle Detailing Brush: A clean, soft brush is essential for lifting dust without pressing hard on the foam. Avoid stiff bristles or drill brushes, which can compress the fragile foam backing.
- Microfiber Towels: Use high-quality, plush microfiber towels. You will need several: one for applying cleaner, one for blotting, and dry ones for final wiping. Microfiber lifts dirt better than cotton and holds less water.
- Interior-Safe Cleaner: Look for pH-neutral interior cleaners designed for fabrics. Products like Chemical Guys Lightning Fast Stain Extractor or P&S Xpress Interior Cleaner are popular choices. Dilute strong concentrates heavily (often 1:10 or more) to minimize chemical strength.
- Foaming Applicator: If your cleaner comes as a liquid, put it in a pump sprayer that creates foam. Foam encapsulates dirt while delivering far less liquid volume than a spray mist. This reduces the risk of saturation significantly.
- Distilled Water: Tap water contains minerals like calcium and magnesium. As tap water dries, these minerals leave behind white spots or rings. Distilled water ensures that any rinsing or dampening doesn't create new stains.
Step-by-Step Guide to Cleaning Your Headliner
This process focuses on removing common contaminants like dust, fingerprints, and minor spills without risking structural integrity. Always work in sections and never rush the drying phase.
1. Inspect for Pre-Existing Damage
Before you touch the fabric, look closely. Are there areas where the fabric is already loose? Is the foam crumbling when you lightly press it? If you see existing sagging or powdering foam, stop. Cleaning will likely worsen the situation. In these cases, professional re-trimming or replacement is the only viable option. Attempting to clean a failing headliner usually leads to immediate separation.
2. Dry Dusting First
Never apply liquid to a dusty surface. The dust will turn into mud, forcing you to use more water and agitation to remove it. Instead, use your soft-bristle brush to gently sweep the entire headliner. Move in long, smooth strokes, lifting the dust off the fibers. Follow up by vacuuming with a soft brush attachment on low suction, or simply wipe with a dry microfiber towel. This removes pollen, road grime, and loose dirt without any moisture.
3. Spot Testing
Even mild cleaners can react unpredictably with different fabric dyes or adhesives. Choose a hidden area, such as inside a visor pocket or behind a grab handle. Apply a small amount of your diluted cleaner to a microfiber towel and dab the spot. Wait 15 minutes. Check for color bleeding, texture changes, or any sign of the fabric loosening. If it looks fine, proceed. If not, find a different product.
4. Treating Localized Stains
For specific stains like coffee, soda, or grease near the visors:
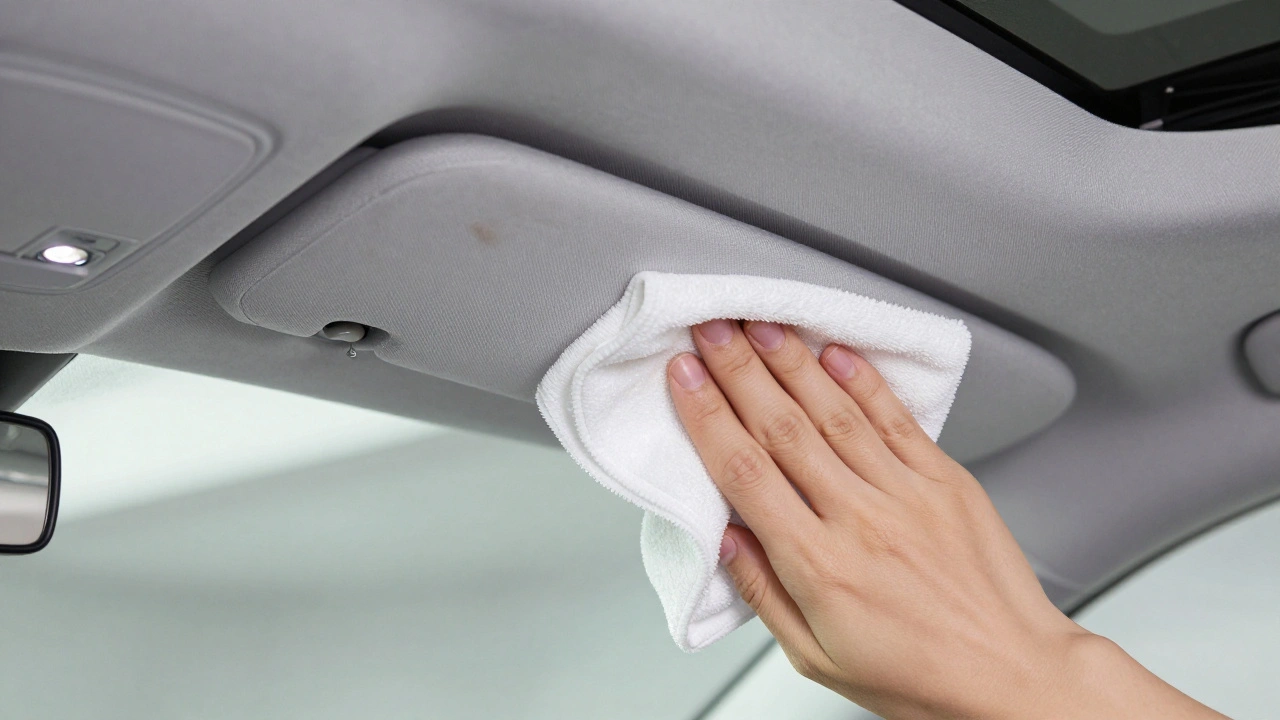
- Spray your cleaner onto the microfiber towel, never directly onto the headliner.
- Dab the stain gently. Do not scrub in circles, as this pushes dirt deeper and stresses the fibers.
- Let the cleaner dwell for about 30 seconds to break down the soil.
- Blot with a dry corner of the towel to lift the dissolved stain.
- Repeat if necessary, but always check that the area is drying quickly between applications.
5. Addressing General Grime and Odors
If the entire headliner feels grimy or smells stale, use a foaming fabric cleaner. Apply a light layer of foam to a soft sponge or brush. Work in small sections using very light circular motions. The goal is to agitate the surface fibers slightly to release trapped particles. Immediately follow each section with a dry microfiber towel to blot away the foam and lifted dirt. This "apply and immediately remove" technique keeps moisture levels low.
6. Drying and Protection
Allow the headliner to air dry naturally. Open the windows or doors to increase airflow. Never use a hair dryer, heat gun, or forced-air blower. High heat can soften the adhesive even if the fabric looks dry. Once completely dry, consider applying a hydrophobic fabric protectant like Chemical Guys HydroThread or Gtechniq I1 Smart Fabric. These ceramic-based coatings create a microscopic barrier that repels future liquids and oils, making subsequent cleanings easier and reducing the frequency of deep cleaning.
Handling Tough Contaminants: Smoke and Water Stains
Some stains require special attention. Standard cleaning might not be enough, and the risks are higher.
| Contaminant Type | Recommended Method | Key Risk to Avoid | Product Recommendation |
|---|---|---|---|
| Loose Dust & Pollen | Dry brushing + Vacuuming | Using liquid on dry dust (creates mud) | Soft detail brush, microfiber towel |
| Coffee/Soda/Grease | Dabbing with diluted APC | Scrubbing aggressively or oversaturating | P&S Xpress Interior, Chemical Guys Lightning Fast |
| Smoke Residue | Light fogging with neutral cleaner | Ignoring HVAC system source of odor | Neutral pH interior cleaner, activated charcoal bags |
| Water Rings/Mineral Deposits | Controlled low-moisture steam | Holding steamer in one spot (causes sag) | Professional-grade steamer (DIY caution advised) |
Smoke Residue: Nicotine and tar bind tightly to fibers and cause yellowing. Because this contamination is widespread, spot cleaning is inefficient. Professionals often lightly mist the entire headliner with a neutral cleaner applied via towel, working in overlapping sections. However, remember that smoke smell often permeates the HVAC system and carpets. Cleaning the headliner alone won't eliminate the odor if the source remains elsewhere.
Water Stains and Mineral Rings: These are caused by leaks (sunroof drains, windshield seals) leaving behind mineral deposits as water evaporates. Southern Tint Detail Pros recommend controlled low-moisture steam for this specific issue. Steam rehydrates the minerals, allowing them to be wiped away without soaking the foam. If you attempt this yourself, keep the steamer nozzle moving constantly and maintain a distance of at least 6 inches. One heavy pass can ruin the headliner; multiple light passes are safer. If you are unsure, leave water stain removal to professionals, as the margin for error is slim.
Common Mistakes That Cause Sagging
Avoiding errors is just as important as following the steps. Here are the most frequent ways people damage their headliners:
- Spraying Directly on the Ceiling: This is the number one cause of DIY failures. Gravity pulls the liquid down. By the time you reach for your towel, the adhesive has already absorbed moisture. Always spray the towel, not the car.
- Using Strong Degreasers: Products labeled "Super Clean" or heavy-duty industrial degreasers are too harsh. They dissolve the adhesive binder. Stick to pH-neutral interior cleaners.
- Scrubbing Too Hard: Aggressive mechanical action can crush the foam backing, causing it to crumble. Light dabbing and gentle brushing are sufficient.
- Ignoring Wicking: Wicking occurs when residual stain migrates back to the surface as the area dries, creating a ring. To prevent this, work from the outside of the stain toward the center, and finish by lightly blotting with a distilled-water-dampened towel to rinse out remaining cleaner residue.
- Force Drying: Blowing hot air onto the headliner softens the glue. Let it dry naturally with good ventilation.
Prevention and Long-Term Maintenance
The best way to keep your headliner intact is to prevent stains from setting in the first place. After cleaning and ensuring the fabric is completely dry, apply a fabric protectant. Products infused with SiO2 (silicon dioxide) create a hydrophobic shield. When a spill occurs, it beads up on the surface rather than soaking in, giving you time to wipe it away before it reaches the foam.
Additionally, address leaks immediately. Clogged sunroof drains are a leading cause of water stains. Clear them annually. Fix windshield seal gaps before rain season. Keeping the interior environment stable-avoiding extreme heat exposure when possible and managing humidity-extends the life of the adhesive and foam.
Remember, headliner cleaning is about restraint. You don't need to make it sparkle like new; you just need to keep it clean and structurally sound. By respecting the limits of the materials and using low-moisture techniques, you can maintain a fresh-looking interior without the fear of looking up to see a sagging mess.
Can I use Windex or glass cleaner on my car headliner?
No, you should never use Windex or glass cleaner on a fabric headliner. These products contain ammonia and other solvents that can strip dyes from the fabric and severely weaken the adhesive holding the headliner in place. Stick to pH-neutral interior cleaners specifically designed for automotive fabrics.
How much does it cost to repair a sagging headliner?
Repair costs vary by vehicle size and material, but typically range from $300 to $800 for professional re-trimming or replacement. Minor sags might be patched for less, but full panel replacements are common. This is why preventing sagging during cleaning is critical; a DIY mistake can easily cost you hundreds in repairs.
Is steam cleaning safe for car headliners?
Steam cleaning can be safe if done correctly, but it carries high risk for amateurs. Professionals use controlled, low-moisture steam with quick passes to avoid saturating the foam. If you hold a steamer in one spot or get too close, the condensation will soak the adhesive and cause sagging. For most DIYers, low-moisture chemical cleaning is safer and effective for most stains.
What causes wicking after cleaning a headliner?
Wicking happens when residual dirt or cleaner remains deep in the fibers or foam. As the area dries, evaporation pulls these contaminants back to the surface, often forming a visible ring around the original stain. To prevent this, use minimal moisture, work from the outside in, and lightly rinse the area with a distilled-water-dampened towel to remove leftover residue.
Can I use a carpet extractor on my headliner?
Absolutely not. Carpet extractors inject large amounts of water and suction it back out. This level of saturation is guaranteed to soak through the fabric and foam, destroying the adhesive bond. Headliners must always be cleaned using low-moisture methods, such as dabbing with a damp towel or using foaming cleaners.