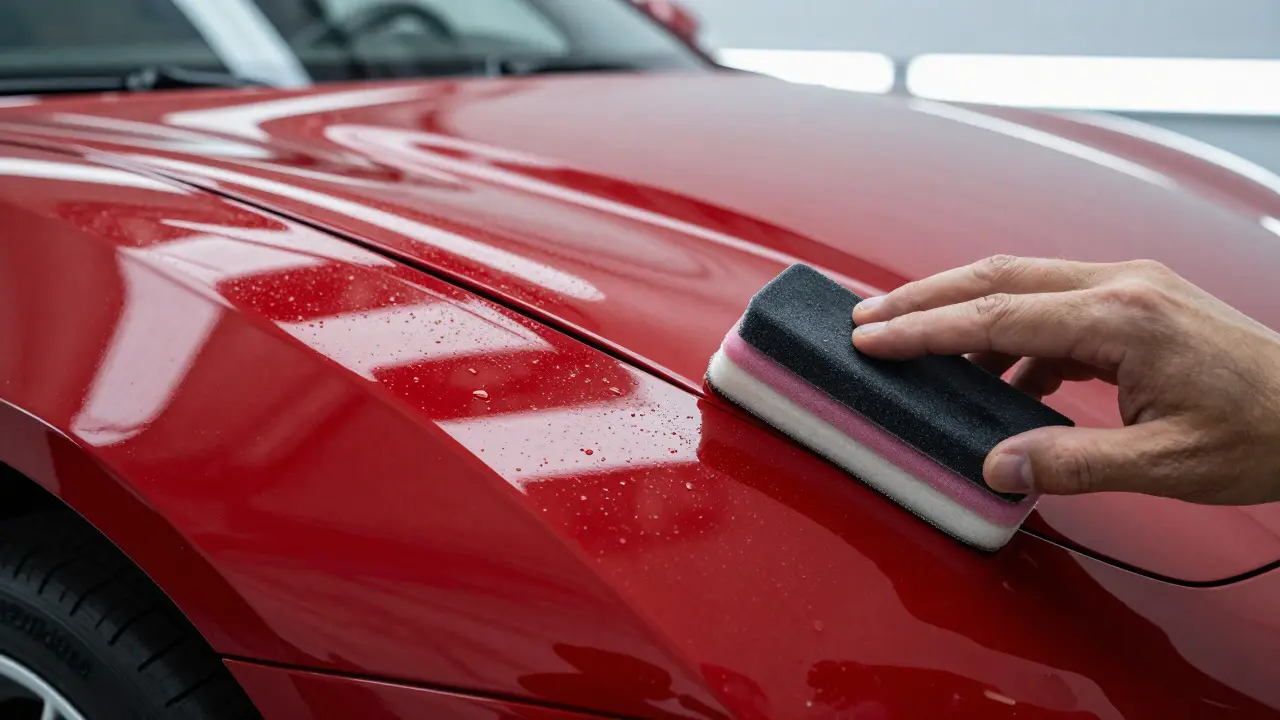
There is a specific kind of silence that falls over a crowd when they see a flawless panel. It isn’t just about the color; it’s about the depth. That mirror-like reflection you see in a Show Car is a vehicle prepared to such a degree of perfection that its surface reflects light with zero distortion doesn’t happen by accident. It is the result of a brutal, precise process known as wet sanding and polishing. If you are looking to achieve that "liquid" look on your own ride, you need to understand that this isn't just buffing out swirls. It is surgical work.
Most people think polishing is the hard part. In reality, sanding is where the real risk lives. Get it wrong, and you have ruined years of paint. Do it right, and you unlock a level of clarity that standard detailing can never touch. This guide breaks down the exact workflow, the grits to use, and the mistakes that cost enthusiasts thousands of dollars.
Why Standard Detailing Falls Short
Before you pick up a sanding block, you need to know why you are doing this. Standard machine polishing removes a microscopic layer of clear coat to fix swirl marks and light scratches. But what if the clear coat itself is hazy? What if there is orange peel texture from an old spray job? What if the factory clear coat has oxidized beyond repair?
In these cases, polish alone cannot cut deep enough without burning through the clear coat entirely. Wet sanding physically levels the surface. It creates a uniform matte base that allows the final polish to cut deeper and smoother than ever before. The goal is not just shine; it is optical clarity. When the surface is perfectly flat, light penetrates the paint layers and reflects back without scattering. That is the difference between a glossy car and a glassy one.
The Critical Role of Grit Selection
The biggest mistake beginners make is skipping grits or using the wrong starting point. You do not start with fine grit. You start with the coarsest grit necessary to remove the defect without cutting too deep. For most modern automotive clear coats, the sweet spot for leveling orange peel or heavy oxidation is 1500-grit sandpaper is a medium-fine abrasive paper used to level minor imperfections in automotive clear coat.
If you are dealing with severe texture or older paint, you might start at 1000-grit, but be warned: every step down in number means more material removed. Here is the standard progression sequence:
- 1000-Grit: Use only for heavy texture or very thick, aged clear coats. High risk of cutting through.
- 1500-Grit: The standard starting point for most show prep. Removes orange peel effectively.
- 2000-Grit: Refines the scratches left by 1500. Essential for a smooth transition.
- 3000-Grit: Creates a very fine matte finish. Prepares the surface for the final polish.
- 5000-GrIT: Optional ultra-fine step for maximum clarity before polishing. Often skipped if using high-end compounds.
Notice the jump from 3000 to 5000? Many pros skip 5000 because modern cutting compounds can handle the 3000-grit lines easily. However, if you want absolute perfection, 5000-grit ensures no cross-hatch remains. Just remember: consistency is key. If you switch from 1500 to 3000, you will have deep scratches that take hours to polish out.
Wet Sanding Technique: The Art of Consistency
You are not sanding dry. Dry sanding generates heat and clogs the paper, leading to uneven cuts. Always keep the panel and the sandpaper soaked in water. This lubrication reduces friction and keeps the grit open.
Here is how you actually move the sand:
- Preparation: Wash the panel thoroughly. Any dirt trapped under the sandpaper will act like a diamond cutter, ruining your work. Use a clay bar to ensure the surface is slick.
- Light Pressure: Let the weight of the sanding block do the work. Pressing hard causes gouges. You want a uniform haze, not deep grooves.
- Cross-Hatching: Sand in straight lines, then rotate 90 degrees and sand again. This prevents the formation of circular patterns that are hard to polish out later.
- Check Frequently: Rinse the panel every few minutes. You are looking for a uniform matte gray haze. If you see shiny spots, you haven’t sanded evenly. If you see white streaks, you may have cut too deep into the color coat (stop immediately).
A pro tip: Use a flexible sanding block, not a rigid board. Rigid boards create flat spots on curved panels, while flexible blocks conform to the body lines. This ensures even contact across complex shapes like fenders and doors.
Polishing: Turning Matte into Mirror
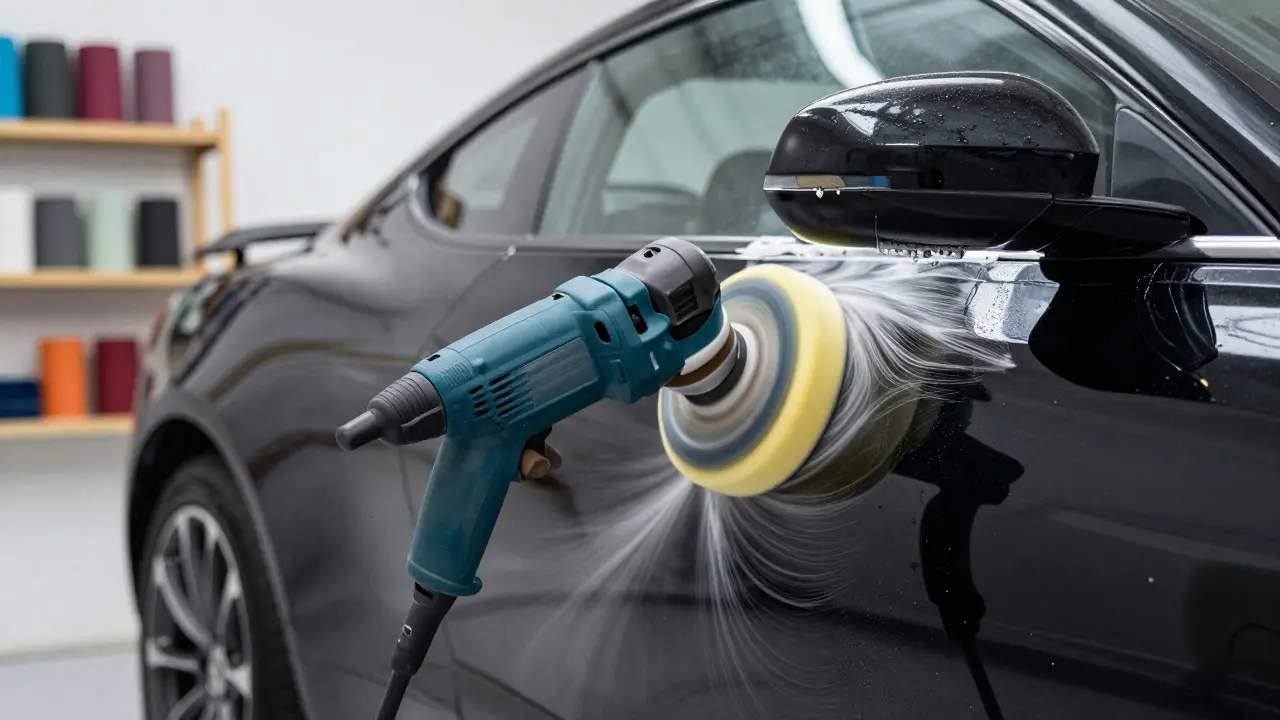
Once the panel is uniformly matted and rinsed clean, you enter the polishing phase. This is where the magic happens. You are now removing the micro-scratches created by the sanding process. The key here is two-step polishing: one aggressive cut, one fine finish.
First, apply a Cutting Compound is an abrasive paste designed to remove deep scratches and sanding marks from automotive paint. Use a dual-action polisher with a foam pad. Work in small sections, keeping the speed low to medium. The compound will turn milky as it cuts. Wipe off the residue frequently to inspect your progress. You want to eliminate all visible sanding lines.
Next, switch to a Finishing Polish is a mild abrasive product used to enhance gloss and clarity after initial correction. This step refines the surface, removing any remaining haze and boosting the reflectivity. The difference between a good polish and a great one is often the finishing stage. A high-quality finishing polish adds depth and saturation to the color.
| Grit Size | Primary Use | Risk Level | Time Required |
|---|---|---|---|
| 1000 | Heavy texture removal | High | Long |
| 1500 | Standard leveling | Medium | Medium |
| 2000 | Refining 1500 marks | Low | Short |
| 3000 | Final matting | Very Low | Short |
| 5000 | Ultra-fine prep | Minimal | Very Short |

Common Pitfalls and How to Avoid Them
Even experienced detailers mess up wet sanding. Here are the three most common errors:
1. Cutting Through the Clear Coat. This is the nightmare scenario. If you see the base color showing through as you sand, stop. You have breached the clear coat. On single-stage paints, this is catastrophic. On multi-stage, you can sometimes fill the scratch with a color-matched pen, but it will never be invisible. Prevention: Test on a hidden area first, and always rinse frequently.
2. Uneven Sanding. If you miss a spot, you will have a patch of original clear coat surrounded by matted areas. This creates a "halo" effect that is extremely difficult to blend. Prevention: Work systematically. Mark the edges of your working area with painter's tape so you don’t accidentally sand past the boundary.
3. Dust Contamination. Sanding generates fine dust. If it settles on the wet panel before you polish, it becomes embedded in the polish. Prevention: Work in a clean environment, ideally indoors or under a canopy. Keep a spray bottle handy to rinse dust away instantly.
Protecting Your Investment
A show car finish is fragile. Without protection, UV rays and contaminants will degrade the new surface within months. After polishing, you must seal the paint. The best options for long-term clarity are ceramic coatings or high-quality waxes. Ceramic coatings provide hydrophobic properties and chemical resistance, lasting years. Wax provides warmth to the color but requires reapplication every few months. For a true show car, a professional-grade ceramic coating is non-negotiable. It locks in the gloss and makes future maintenance easier.
Can I wet sand any car?
No. Single-stage paints (common on older vehicles) do not have a separate clear coat layer. Sanding them will remove the color entirely. Only multi-stage paints with a clear coat should be wet sanded. Always test a hidden area first to confirm the presence of a clear coat.
How long does wet sanding take?
For a full car, expect 40 to 80 hours of labor. Each panel takes 1-2 hours to sand properly, depending on the condition of the paint. Polishing adds another 10-20 hours. It is a marathon, not a sprint.
Do I need a dual-action polisher?
Yes. A rotary buffer is too aggressive for most DIY users and increases the risk of burning through the paint. A dual-action (DA) polisher oscillates and rotates, providing safer control and consistent results.
What happens if I skip a grit?
If you jump from 1500 to 3000, you leave deep scratches that require excessive polishing time to remove. This increases the risk of heat damage and burns. Stick to the sequential grit progression for best results.
Is wet sanding permanent?
The sanding itself is permanent in the sense that you have removed material. However, the finish can be maintained with proper care. If you neglect protection, the clear coat will eventually oxidize again, requiring re-correction.