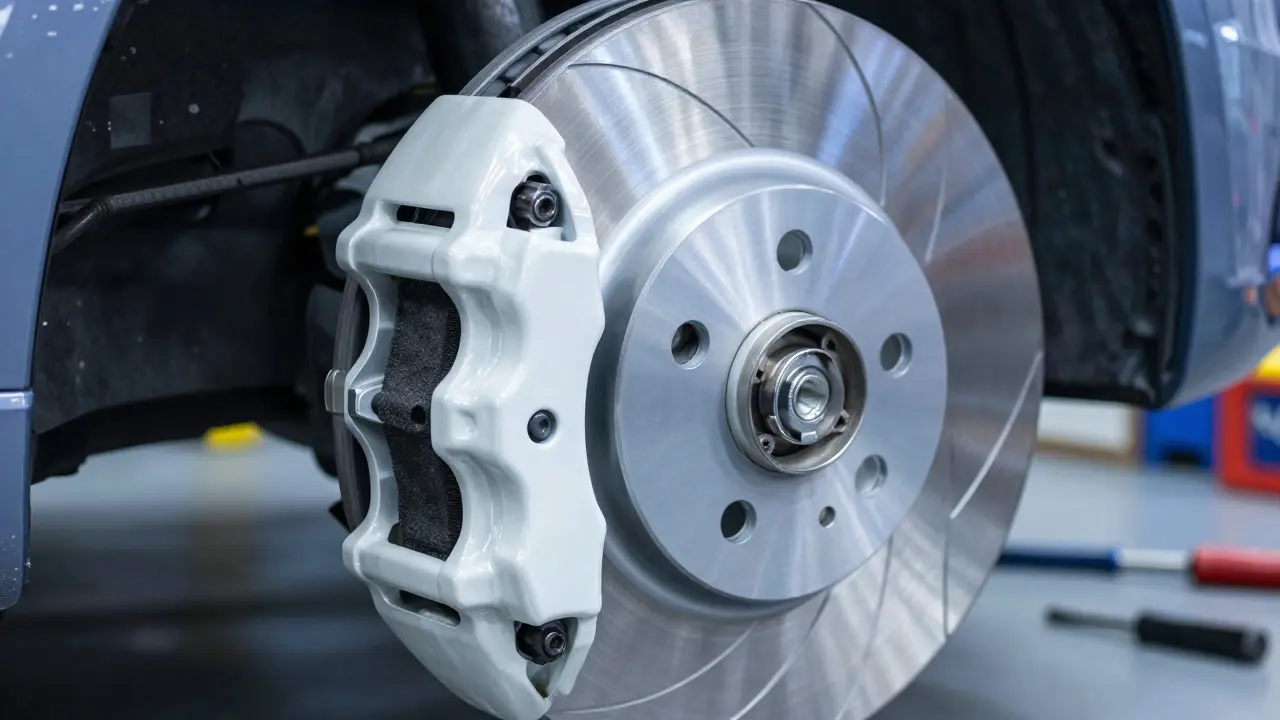
Nothing ruins a new set of brakes faster than skipping the bedding-in process. You just spent money on high-quality brake pads is friction material designed to stop your vehicle through controlled heat and pressure. and shiny new rotors is metal discs that convert kinetic energy into heat when the brakes are applied., but if you slam on the pedal immediately, you might end up with uneven wear, squealing noises, or reduced stopping power. Properly bedding in your brakes ensures that the friction material transfers evenly onto the rotor surface, creating a consistent bond that maximizes grip and minimizes noise.
Why Bedding In Matters More Than You Think
When brake pads are brand new, they have a factory-applied glaze layer that prevents rust during storage. This layer needs to be removed so the actual friction compound can make direct contact with the metal rotor. If you skip this step, the glaze stays on the pad, leading to poor initial bite and potential vibration. Conversely, if you overheat the system too quickly, you risk warping thin rotors or transferring carbon deposits unevenly, which causes pulsation in the steering wheel. The goal is to build up a thin, even layer of friction material on the rotor without exceeding thermal limits that could damage the hardware.
Preparation: Setting the Stage for Success
Before you start driving, ensure your installation was done correctly. Check that the calipers slide freely and the hardware is lubricated properly. Clean any excess grease from the pad backing plates, as this can contaminate the friction surface. Start with cold brakes; do not begin the process if the engine has been idling for a long time or if you’ve been driving aggressively. Aim for a route with moderate hills or a safe, empty stretch of road where you can maintain steady speeds without traffic interruptions. Having a passenger help monitor temperature gauges or listen for unusual noises can be helpful, though most modern cars have good auditory cues.
The Standard Bedding-In Procedure
Most manufacturers recommend a specific sequence of acceleration and deceleration cycles. While exact numbers vary by brand, the general principle remains consistent: accelerate to a moderate speed, then slow down smoothly to a crawl using only light brake pressure. Here is a reliable method that works for most passenger vehicles:
- Accelerate to approximately 45-60 mph (70-100 km/h). Avoid full throttle; just get up to speed steadily.
- Decelerate to about 10-15 mph (15-25 km/h) by applying firm but smooth brake pressure. Do not lock up the wheels.
- Coast** to a complete stop. Let the car roll freely until it stops naturally.
- Repeat** this cycle 8 to 10 times.
- Cool Down:** After the final cycle, drive at normal highway speeds for 5-10 minutes to allow the brakes to cool gradually. Avoid hard stops during this cooling phase.
This gradual heating allows the friction material to transfer uniformly across the rotor face. The heat generated should be noticeable but not extreme. If you feel the brakes getting very hot or smell burning rubber, you may be pushing too hard. Ease off and let them cool before continuing.

Common Mistakes That Ruin New Brakes
Even with the right procedure, small errors can lead to big problems. One frequent mistake is holding the brake pedal while stopped at lights during the bedding process. This keeps the pads pressed against the rotors, causing localized overheating and uneven transfer. Always release the pedal completely when you come to a stop. Another error is driving aggressively immediately after the bedding cycles. If you hit a steep downhill grade right after finishing the process, the sustained heat can warp the rotors before they have fully stabilized. Stick to gentle driving for the first 300-500 miles to allow the entire braking system to settle.
Recognizing When It’s Done
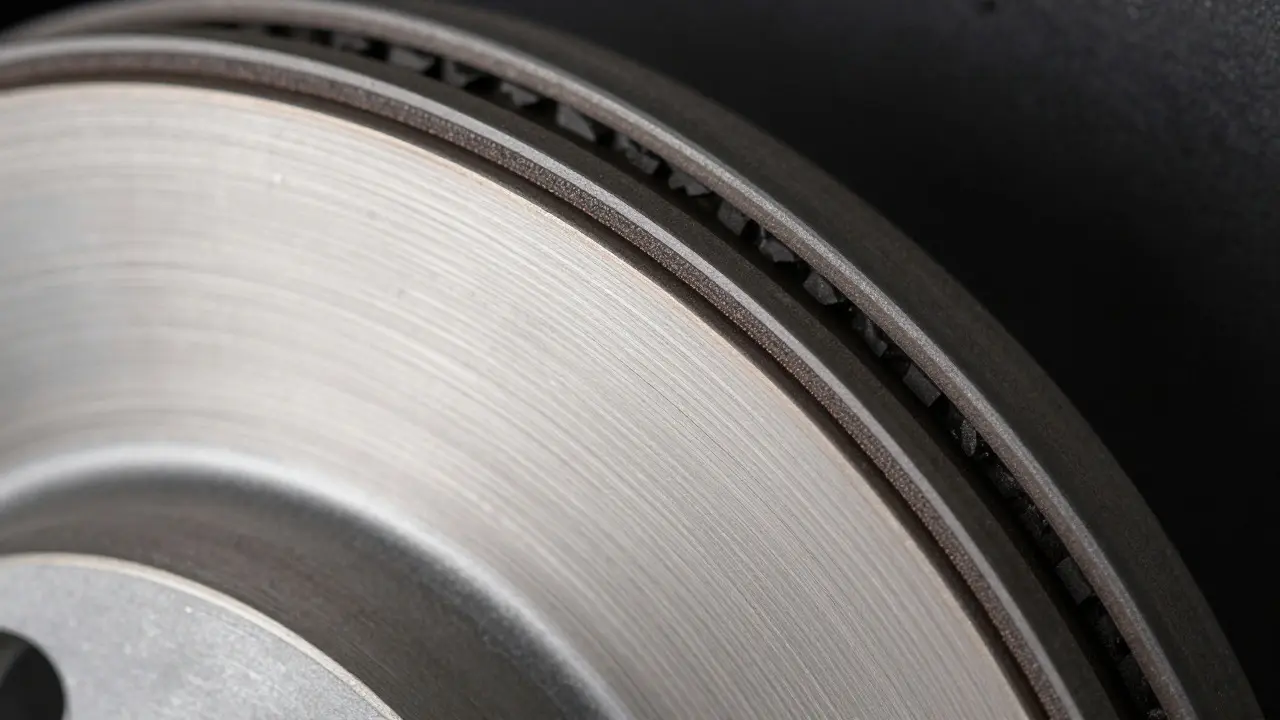
How do you know if the bedding was successful? Listen to the sound of your brakes during normal driving. A properly bedded brake system will produce minimal noise and provide immediate, consistent stopping power. If you hear squealing, grinding, or feel a pulsation in the pedal or steering wheel, the bedding may have been incomplete or flawed. In such cases, you might need to repeat the process or, in severe instances, replace the pads and rotors again. Visual inspection can also help; look for an even, dark ring around the outer edge of the rotor. An uneven pattern suggests inconsistent contact, which may require re-bedding or professional attention.
| Factor | Correct Practice | Incorrect Practice |
|---|---|---|
| Speed Range | 45-60 mph accelerating, slowing to 10-15 mph | High-speed stops from 70+ mph or low-speed crawling |
| Brake Pressure | Firm, smooth, progressive | Sudden jerks or locking up wheels |
| Cooling Phase | Gentle driving for 5-10 minutes | Hard stops or idling with brakes applied |
| Number of Cycles | 8-10 repetitions | Too few (under 5) or excessive (over 15) |
Maintenance Tips for Long-Term Performance
Once your brakes are bedded in, maintaining their condition is key to longevity. Avoid dragging your brakes by keeping your foot near the pedal; this generates unnecessary heat. Check your brake fluid level regularly, as moisture absorption can lower the boiling point and affect performance. Also, inspect the rotors periodically for signs of scoring or rust. If you live in a rainy climate like Portland, Oregon, water exposure is common, so ensuring the brakes dry out properly after wet conditions helps prevent corrosion. Regular maintenance checks every 6 months or 10,000 miles can catch issues early, saving you from costly repairs down the line.
When to Seek Professional Help
If you follow the correct bedding procedure but still experience noise, vibration, or poor stopping power, it might not be a bedding issue. Problems like warped rotors, sticking calipers, or contaminated pads require mechanical intervention. Don’t ignore persistent symptoms, as they can indicate deeper structural issues. A certified mechanic can perform a detailed inspection, including measuring rotor thickness and checking caliper slide pins, to identify the root cause. Investing in professional diagnostics can save you from repeated DIY attempts that fail to resolve the underlying problem.
How long does it take to bed in new brake pads?
The actual cycling process takes about 15-20 minutes of driving. However, you should avoid aggressive driving for the first 300-500 miles to allow the system to fully stabilize.
Can I bed in brakes in the rain?
It is best to avoid bedding in wet conditions. Water can interfere with the friction transfer process and cause uneven heating. Wait for dry weather to ensure optimal results.
What happens if I don’t bed in my brakes?
You may experience increased stopping distances, brake noise, and uneven pad wear. Over time, this can lead to premature failure of the pads or rotors.
Do ceramic brake pads need different bedding procedures?
Generally, no. Most ceramic pads follow similar bedding guidelines to semi-metallic pads. Always check the manufacturer’s specific instructions, as some premium brands may have unique requirements.
How many times should I repeat the acceleration-deceleration cycle?
Most experts recommend 8 to 10 cycles. This number provides enough heat to transfer friction material without risking overheating or warping.