Depending on your ride, this could be a 15-minute swap or a full-afternoon surgery. If you have an older truck, you're probably looking at a simple bulb change. If you've got a modern sedan with integrated light strips, you're entering the world of circuit boards and sealants. Either way, getting it right means your car stays legal and your interior stays dry from moisture leaks.
Quick Wins: Upgrading Your Reverse Lights
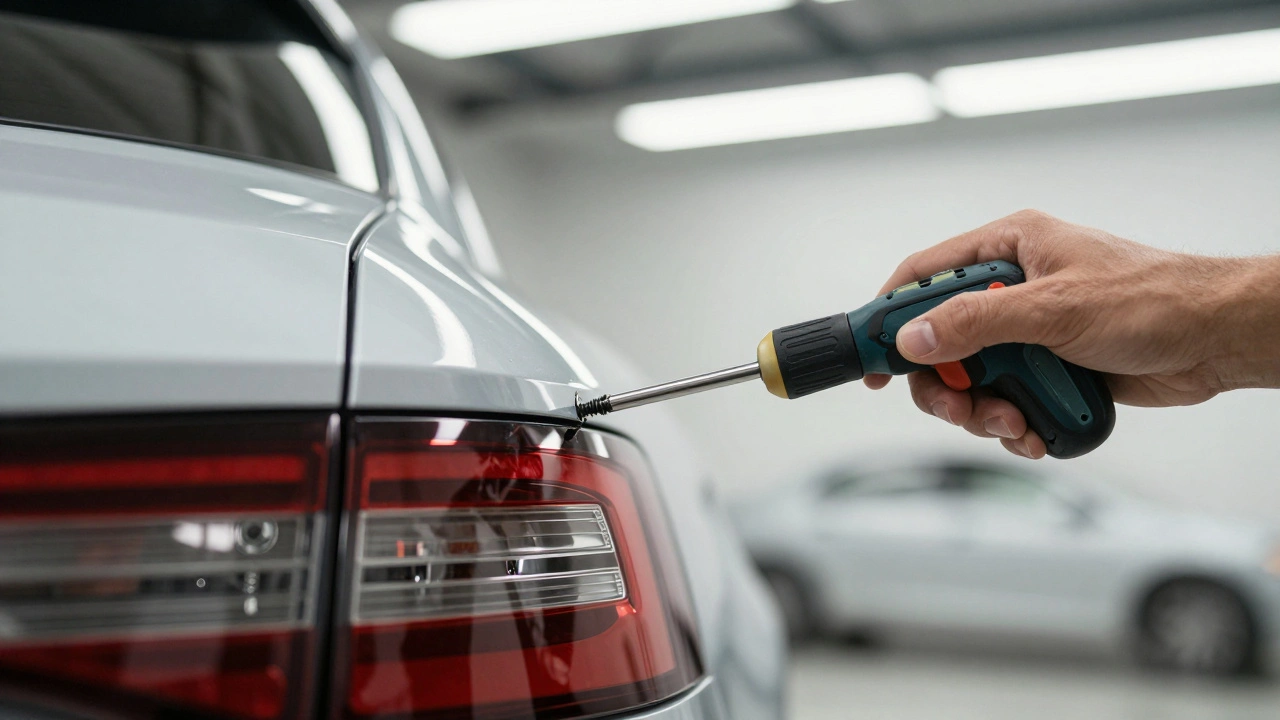
For most people, the goal is a simple brightness boost. If you're driving something like a Ford Ranger, you've got a straightforward path. The first step is getting to the assembly. Usually, this involves a Phillips screwdriver to remove the screws holding the housing to the body. Once the assembly is out, you'll find the bulb socket. Give it a counter-clockwise twist to pop it out, and pull the old incandescent bulb straight out.
Now, here is where people usually mess up: LED installation on cars requires paying attention to polarity. Unlike old bulbs, LEDs only work in one direction. If you plug the new bulb in and it doesn't light up, don't panic-just flip it 180 degrees and try again. Before you screw everything back in, do a quick test. Pop the emergency brake on, shift into reverse (without starting the engine), and check for light. It's much better to find a dead bulb now than after you've spent ten minutes putting the housing back together.
| Feature | Incandescent | LED Replacement |
|---|---|---|
| Lifespan | Short (filament burns out) | Very Long |
| Power Draw | High | Low/Efficient |
| Light Color | Warm/Yellow | Crisp White/Bright Red |
| Heat Output | High | Low |
Dealing with the "Hyper Flash" Headache
If you're putting LED bulbs into an older vehicle's turn signals or brake lights, you might encounter a phenomenon called "hyper flashing." This happens because LEDs draw significantly less power than old bulbs. Your car's computer thinks a bulb is blown because the electrical load is too low, so it flashes the light rapidly to warn you.
To fix this, you need to install a Resistor. A resistor essentially "tricks" the car into thinking there is still a heavy load on the circuit. You'll need to identify the positive wire (usually the brake or turn signal wire) and the ground wire, then splice the resistor in between. If you aren't comfortable cutting wires, look for "plug-and-play" LED kits. These have the resistors built-in, allowing you to simply swap the harness without modifying your factory wiring.
Complex Repairs: Full Assembly and LED Strips
When you move beyond simple bulbs to full LED Tail Light Assemblies, the process gets a bit more technical. On newer cars, the lights aren't just bulbs in a socket; they are integrated strips. If a section of your light is dead, you might have to replace the entire unit or perform a surgical repair.
Start by clearing the area. Open your trunk and remove the inner sidings to reach the mounting nuts. Once the housing is out, inspect it for moisture. Water is the enemy of electronics; if you see condensation or water droplets inside, you've found your culprit. Clean the housing with a soft rag. If you're replacing a specific LED strip, you'll need to carefully separate the lens from the casing. Be incredibly careful with the Reflector. Avoid touching it with your bare fingers; the oils from your skin can leave permanent marks that ruin the light's reflection and efficiency.

Advanced Circuit Board Repair
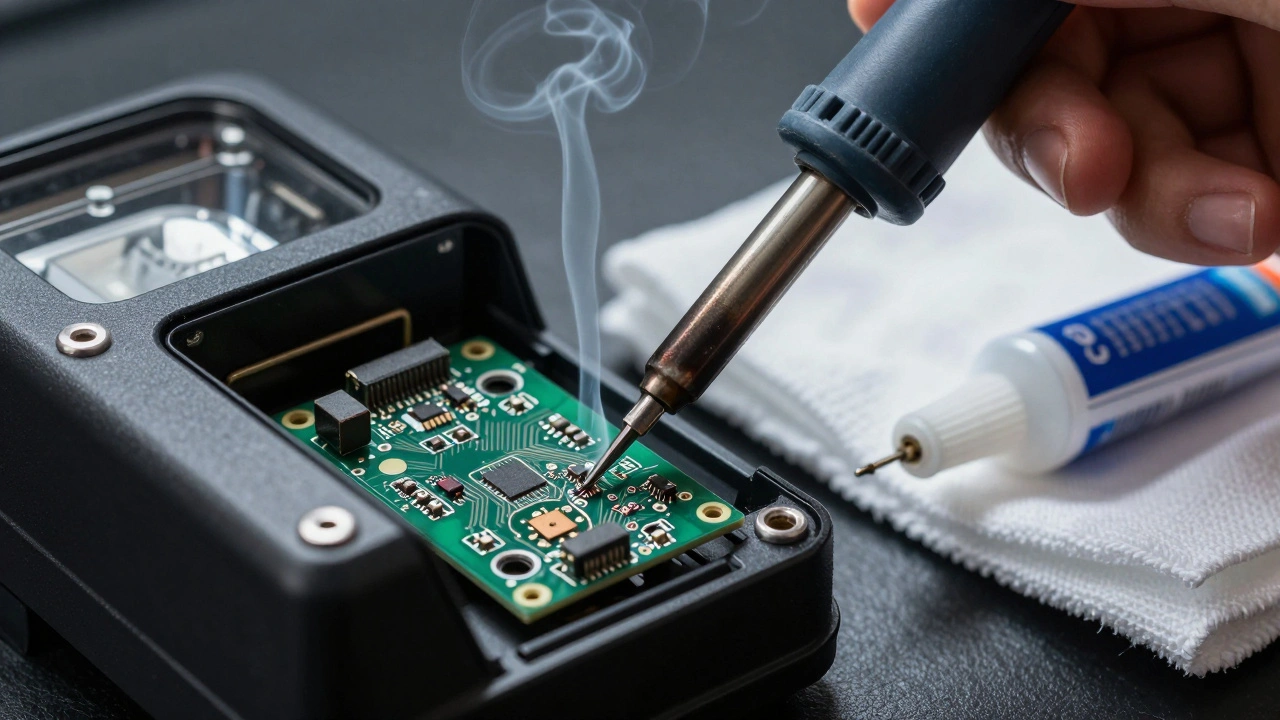
Sometimes the problem isn't a broken plastic lens or a dead bulb, but a failed circuit board. This is common in vehicles like the Hyundai Sonata, where a small section of the LED array might go dark. Fixing this requires a different set of tools: a 10mm socket, a rotary tool, and a Soldering Iron.
The goal here is to find "cold solder joints"-spots where the solder has cracked or detached from the board. You'll need to disassemble the assembly, identify the dead LED section, and re-flow the solder using electrical solder. It's tedious work, but it saves you from spending hundreds of dollars on a brand-new OEM assembly. Once the electrical path is restored, you must ensure the gasket is perfectly seated before reinstallation to prevent the cycle of moisture and failure from starting all over again.
The Final Seal: Preventing Future Failures
The biggest mistake DIYers make is rushing the reassembly. If you've opened your light casing, you've broken the factory seal. If you just screw it back on, water will seep in during the first rainstorm, and your new LEDs will short out.
Before the final fit, do a full system check. Test the parking lights and the brake lights. Once you're sure everything is working, apply a consistent bead of Silicone Sealant around the edge of the casing. Press the lens back into place and let it cure for at least 30 minutes. This creates a watertight barrier that protects your investment.
When to Call a Professional
Not every car project should be a DIY. If you're dealing with a high-end luxury vehicle, a complex wiring harness, or a car still under warranty, a professional shop is the way to go. Professional installation typically starts around $100 per pair but ensures you don't accidentally fry your car's Body Control Module (BCM). Shops like Tint World specialize in custom lighting and can help you choose the right wattage and color temperature so you don't get pulled over by the police for illegal lighting.
Why aren't my new LED reverse lights working?
The most common reason is polarity. LEDs are directional. If the light doesn't turn on, remove the bulb, rotate it 180 degrees, and plug it back in. If it still doesn't work, check if the bulb model number matches your vehicle's requirements.
How do I stop my turn signals from flashing too fast after installing LEDs?
This is called "hyper flashing." To fix it, you need to install a load resistor into the circuit. The resistor mimics the power draw of a traditional incandescent bulb, which stops the car's computer from thinking the bulb is burnt out.
Can I replace just one LED in a strip, or do I need a new assembly?
If you have a soldering iron and the technical skill, you can replace individual LEDs or fix cold solder joints on the circuit board. However, for most people, replacing the entire LED strip or the full assembly is the more reliable and faster option.
What should I use to seal my taillights after a repair?
Use a high-quality, clear silicone sealant. Apply it evenly around the casing before pressing the lens back in. Ensure it dries for at least 30 minutes before installing the assembly back onto the car to prevent moisture from leaking inside.
Will LED upgrades void my car's warranty?
Simple bulb swaps usually don't affect warranties. However, if you cut into the factory wiring harness to install resistors or modify the circuit board, you could potentially void the electrical warranty. In these cases, professional installation or plug-and-play kits are safer bets.
Next Steps and Troubleshooting
- For the Beginner: Start with a simple reverse light swap. Use a soft brush to clean the housing before installing the new bulb to ensure a tight seal.
- For the Tech-Savvy: If you're soldering, use a heat sink to avoid overheating the circuit board, which can cause other LEDs to fail.
- For the Perfectionist: If you see any lingering fog inside the lens after installation, use a small vacuum pump or a hairdryer (on low heat) to clear the moisture before applying the final sealant.