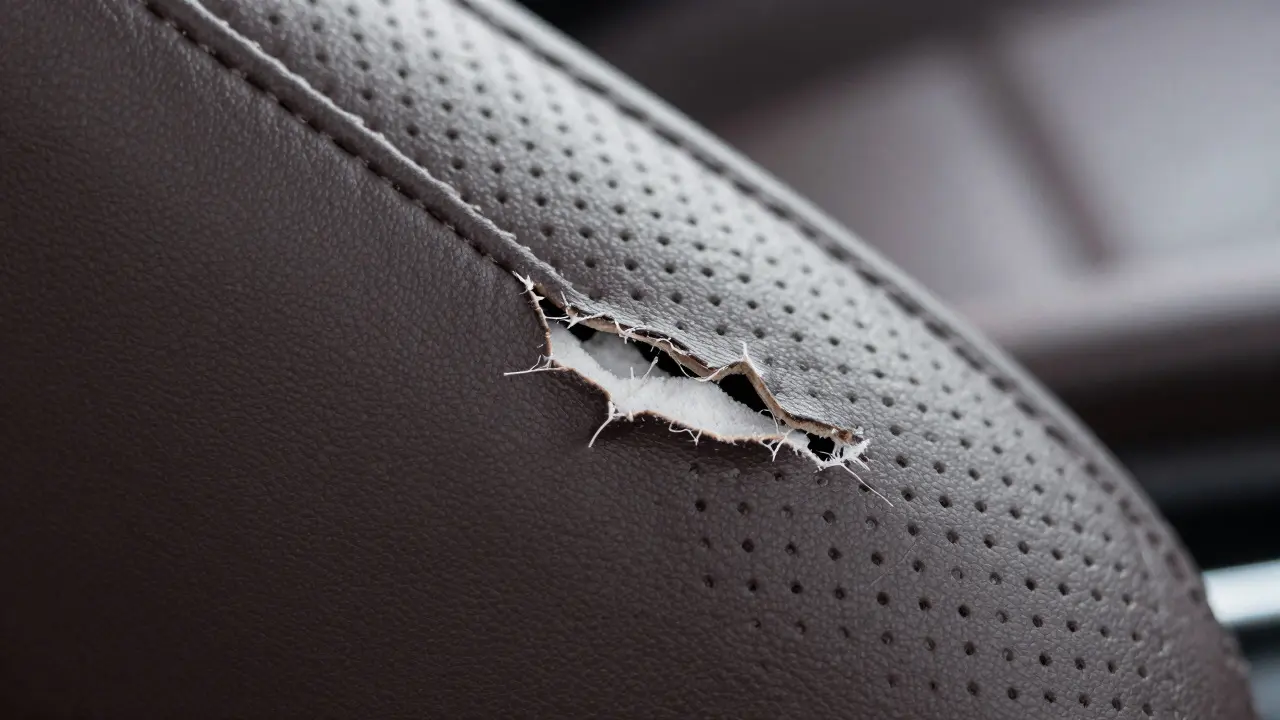
There is a specific kind of frustration that comes from sitting in your luxury vehicle only to feel the sharp edge of a torn perforation against your skin. It starts as a tiny pinhole, maybe from a keychain or a pet claw, but quickly spreads into a jagged tear that ruins the sleek look of your interior. If you have perforated leather is a type of automotive upholstery material featuring thousands of small holes designed for airflow and ventilation. This material is delicate because the structure relies on thin bridges of leather between each hole. When one bridge breaks, the stress shifts to its neighbors, causing the damage to propagate rapidly if left untreated.
Many owners assume these seats are beyond saving and book an expensive replacement job. However, with the right tools and technique, you can restore most tears yourself. The goal is not just to hide the damage, but to reinforce the structural integrity of the leather so it stops spreading. Here is how to tackle this common issue without breaking the bank or losing the original texture of your cabin.
Understanding Why Perforated Leather Fails
To fix it properly, you need to understand why it broke. Standard solid leather is tough, but Ventilated Leather is engineered differently. Manufacturers use laser cutting or stamping to create patterns that allow air to flow through the seat cushion and backrest. While this keeps you cool in summer, it reduces the tensile strength of the material by up to 40% compared to solid hides.
The failure usually happens in three stages:
- The Initial Breach: A single hole tears open due to impact or friction.
- Stress Concentration: The surrounding leather fibers pull away from the gap, creating a "crater" effect.
- Propagation: As you sit in the seat, the weight causes the edges to stretch further, turning a 1-inch tear into a 3-inch gash within weeks.
If you catch it in stage one or two, the repair is straightforward. If you wait until stage three, you may need to replace the entire seat panel. Time is your biggest asset here.
Gathering Your Repair Kit
You don’t need industrial machinery to do this well. A basic home kit costs less than $50 and includes everything necessary for a durable fix. Avoid using standard glue sticks or tape; they will fail under heat and pressure.
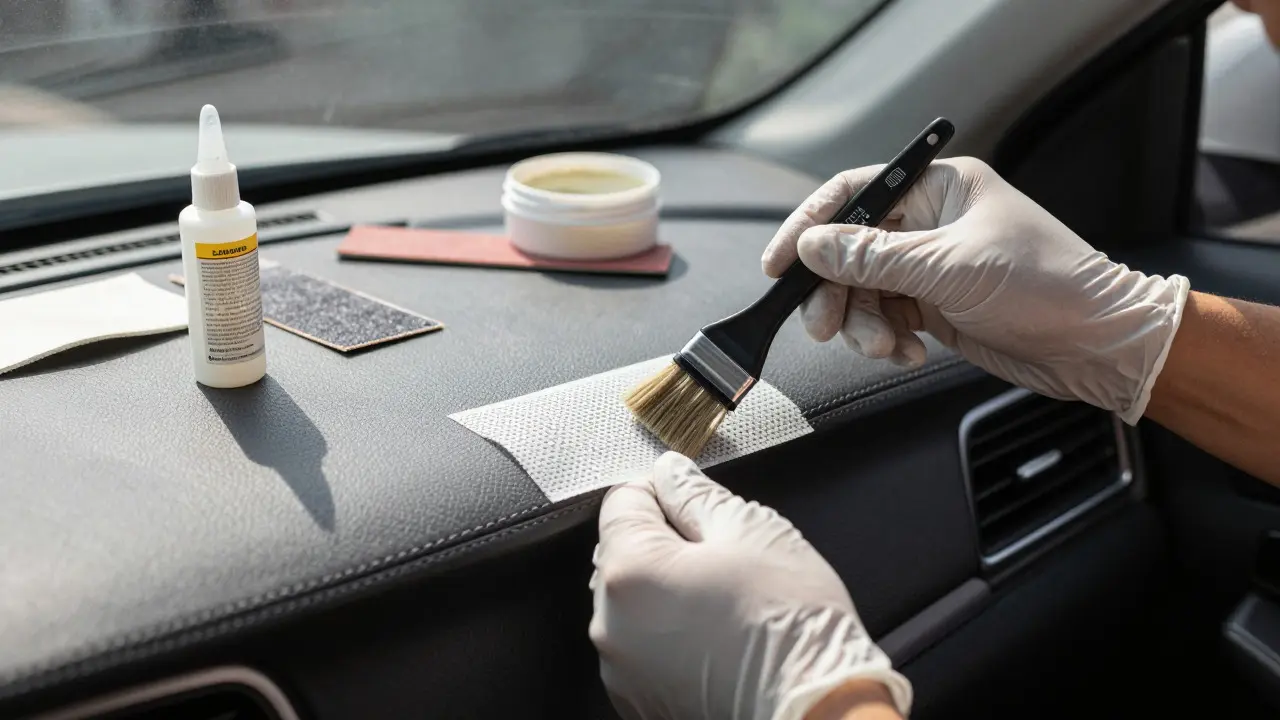
- Leather Backing Tape: This is non-woven fabric with an adhesive backing specifically designed for upholstery. Look for breathable mesh types to maintain airflow.
- Leather Adhesive: Use a flexible contact cement like Barge All-Purpose Cement or DAP Weldwood. These remain pliable after drying, preventing cracks.
- Leather Filler Compound: For deeper gaps, a two-part epoxy-based filler helps rebuild the surface level.
- Matching Leather Paint: Buy a sample swatch first. Colors fade over time, so match the current color, not the original factory shade.
- Isopropyl Alcohol (90%): Essential for degreasing the area before bonding.
- Fine Sandpaper (600-grit): To smooth out rough edges before applying filler.
Before you start, clean the seat thoroughly. Dirt trapped under the patch will cause bubbles and eventual peeling. Wipe the area with isopropyl alcohol and let it dry completely. This step takes ten minutes but saves hours of rework later.
Step-by-Step Repair Process
Once the area is clean and dry, you can begin the physical repair. Work in a well-ventilated area, as the adhesives emit strong fumes.
Prepping the Tear
Trim any loose flaps of leather with sharp scissors. You want a clean, straight edge around the hole. If the edges are frayed, sand them down gently until they are flush with the surrounding surface. Do not cut too much; you want to preserve as much original material as possible.
Applying the Backing
Cut a piece of leather backing tape slightly larger than the tear-about half an inch wider on all sides. Peel off the protective liner and apply a thin layer of contact cement to both the tape and the underside of the seat (if accessible) or directly onto the top surface if working from the front. Press the tape firmly into place, ensuring no air bubbles are trapped underneath. Use a roller or a flat tool to smooth it out from the center outward.
Filling the Gap
If the tear has created a visible dip, mix your leather filler compound according to the package instructions. Apply it in thin layers, not one thick glob. Let each layer dry for 20-30 minutes. Once dry, sand it lightly with 600-grit paper until it is level with the surrounding leather. Repeat this process until the surface is smooth and even.
Color Matching and Finishing
This is the trickiest part. Test your paint on a hidden area first, such as the bottom of the seat base. Apply the paint in light coats using a small brush or sponge applicator. Allow each coat to dry before applying the next. Once the color matches, apply a clear leather sealant to protect the new paint from UV rays and wear.
Common Mistakes to Avoid
Even experienced DIYers make errors that compromise the repair. Watch out for these pitfalls:
| Mistake | Consequence | Solution |
|---|---|---|
| Using rigid glue | Cracking at the bond line | Use flexible contact cement |
| Skip cleaning | Adhesive failure and bubbling | Always degrease with alcohol |
| Thick filler application | Uneven surface and long drying times | Apply in multiple thin layers |
| Ignoring color fading | Visible patch mismatch | Match current faded color, not original |
Another critical error is rushing the drying process. Heat guns can speed things up, but they often warp the leather or cure the adhesive too fast, making it brittle. Patience is key. Let the chemical bonds set naturally for at least 24 hours before putting significant weight on the seat.
Maintenance for Long-Term Durability
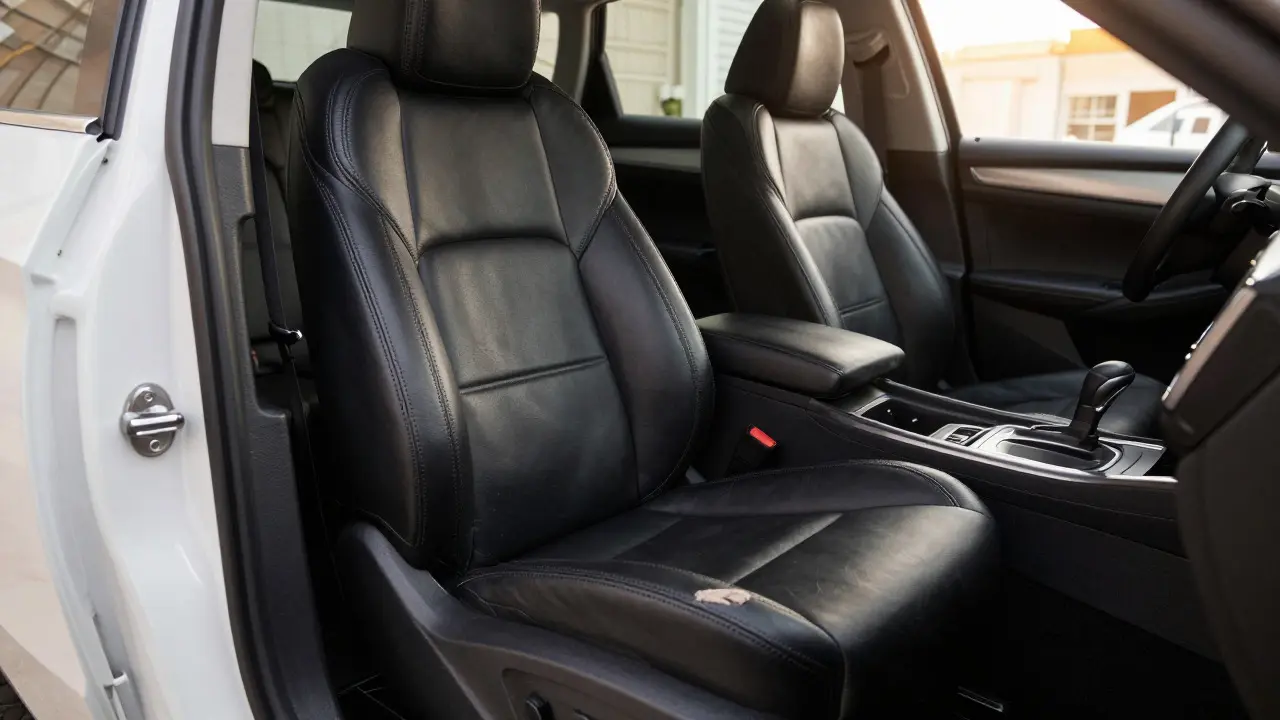
Repairing the tear is only half the battle. You need to prevent future damage to keep your investment safe. Condition your Automotive Upholstery regularly. Dry leather becomes brittle and prone to cracking. Use a pH-balanced leather cleaner once a month and a high-quality conditioner every three months.
Avoid direct sunlight where possible. UV radiation breaks down the polymers in both the leather and the adhesives used in repairs. If you park outside, consider using a windshield sunshade to reduce heat buildup inside the cabin. Also, be mindful of what you bring into the car. Sharp objects, heavy bags, and pets with claws are the primary culprits for new tears.
For severe cases where the perforation pattern has collapsed entirely, professional restoration might be worth considering. Shops specializing in Car Seat Restoration offer services like re-perforating damaged sections or replacing individual panels. Prices typically range from $200 to $500 per seat, depending on the extent of the damage. Compare this cost against the value of your vehicle to decide if DIY is the better route.
When to Call a Professional
While most tears are manageable at home, some situations require expert hands. If the tear extends more than 6 inches, if the foam underneath is exposed and damaged, or if the seat is part of a heated or ventilated system with embedded wiring, call a pro. Damaging the heating elements or fan motors can lead to electrical issues that are far more expensive to fix than the leather itself.
Also, if your car is still under warranty, check the terms. Some manufacturers cover interior defects, though accidental damage is rarely included. Document the repair process with photos if you plan to claim any partial coverage or resell the vehicle later. A well-documented DIY repair can actually add value by showing you took care of the car’s details.
Can I use super glue to fix a small tear in perforated leather?
No. Super glue (cyanoacrylate) becomes rigid when dry. Since car seats flex constantly, the glue will crack and break the bond within weeks. Always use flexible contact cement designed for upholstery.
How long does a DIY leather repair last?
With proper preparation and flexible adhesives, a DIY repair can last 5 to 10 years. Regular conditioning and avoiding harsh impacts will extend this lifespan significantly.
Does repairing perforated leather affect airflow?
Minimal impact. If you use breathable mesh backing tape, the airflow remains largely intact. Solid patches may block some air, but the difference is negligible for comfort.
What is the best way to match leather color after a repair?
Test the paint on a hidden spot first. Leather fades unevenly, so match the current color of the surrounding area rather than the original factory color. Use thin coats and blend the edges carefully.
Should I replace the whole seat instead of repairing it?
Only if the damage is extensive (over 50% of the surface) or if the internal structure is compromised. For isolated tears, repair is more cost-effective and preserves the original character of the seat.