You’re standing in your driveway in Portland, keys in hand, and the engine just clicks. No crank. Just that dreaded silence or a weak, struggling whine. Before you call a tow truck or buy a new battery on impulse, grab a multimeter. It’s a cheap tool that tells you exactly what’s wrong, saving you from replacing a perfectly good battery when the real culprit is your alternator or starter.
Testing a car battery isn’t rocket science, but it requires knowing what numbers actually mean. A multimeter measures electrical potential, giving you a clear picture of your battery's health in seconds. You don't need a degree in electrical engineering-just a basic understanding of voltage and a few minutes of attention.
What You Actually Need
You don’t need fancy equipment. A standard digital multimeter costs about $15-$30 at any hardware store or auto parts shop. Make sure it can measure DC voltage up to at least 20V. Most modern cars run on a 12-volt system, so this range covers everything from a fully charged battery to one that’s completely dead.
Here’s the quick checklist:
- A digital multimeter (analog works, but digital is easier to read)
- Safety glasses (battery acid can splash if terminals are corroded)
- Gloves (optional, but recommended if terminals are dirty)
- Your car’s owner manual (to locate the battery if it’s hidden under a cover)
Step 1: Prep Your Car for an Accurate Reading
This step trips people up. If you’ve just driven your car, the battery is "surface charged." The alternator has been pumping energy into it, making it look healthier than it really is. To get a true reading, turn off the engine and all accessories (lights, radio, AC). Let the car sit for at least two hours, preferably overnight. This allows the chemical reactions inside the battery to settle.
If you can’t wait overnight, try to drive for a short distance, then let it rest for at least 30 minutes. But remember: the longer the rest, the more accurate the test.
Step 2: Set Up Your Multimeter
Turn your multimeter on. Look for the dial and rotate it to the DC Voltage setting. On most meters, this is marked with a solid line above a dashed line, or simply "DCV" or "V-". Choose the 20V range. Why 20V? Because a 12V battery can peak around 14.4V while charging. If you set it too low (like 2V), you’ll overload the meter. If you set it too high (like 200V), you lose precision.
Plug the black probe into the "COM" port and the red probe into the "VΩmA" port. These labels might vary slightly by brand, but COM is always common ground.
Step 3: Measure Static Voltage
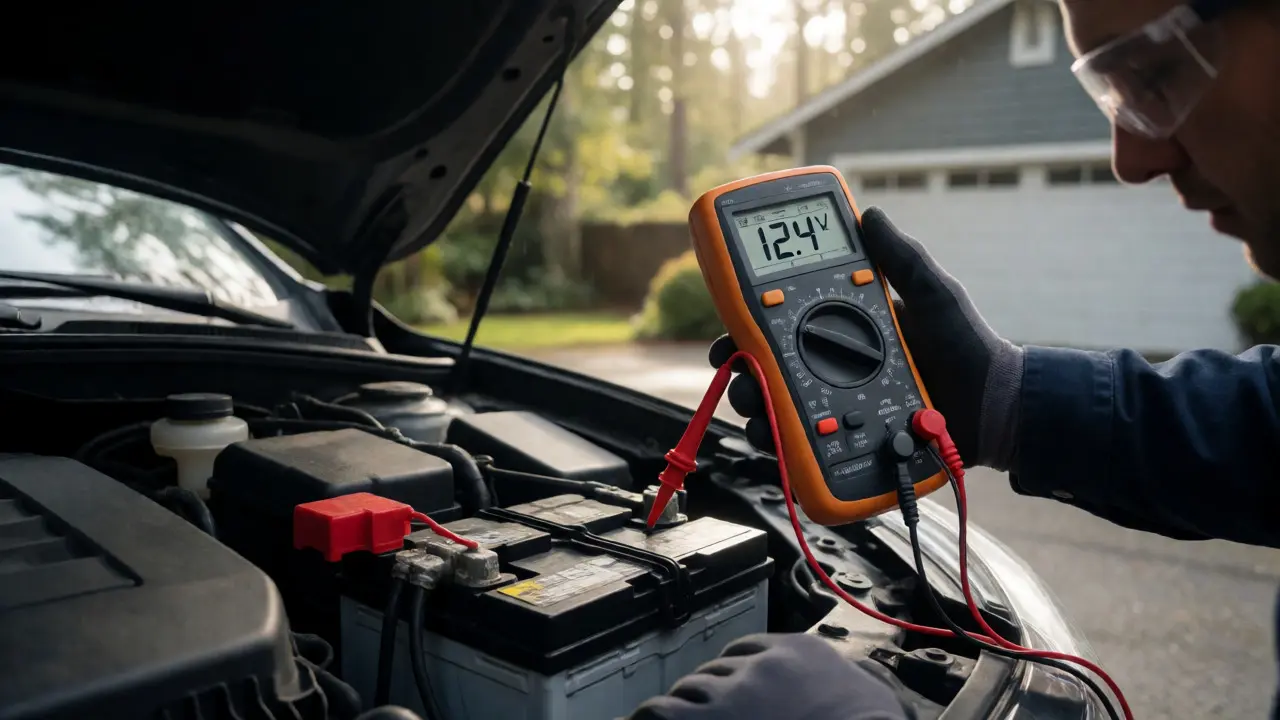
Open the hood and locate the battery. Identify the positive (+) terminal, usually covered with a red plastic cap, and the negative (-) terminal, often bare metal or black. Clean any corrosion off the terminals with a wire brush if needed; corrosion creates resistance and skews readings.
Touch the red probe to the positive terminal and the black probe to the negative terminal. Hold them steady. Read the number on the display. This is your static voltage-the battery’s resting state.
Here’s what those numbers mean:
| Voltage Reading | Battery Condition | Action Needed |
|---|---|---|
| 12.6V or higher | Fully Charged | No action needed. Battery is healthy. |
| 12.4V - 12.5V | 75% Charged | Maintain. Drive regularly to recharge. |
| 12.2V - 12.3V | 50% Charged | Recharge immediately. Risk of sulfation. |
| Below 12.0V | Discharged | Test further. Likely needs replacement or deep charge. |
If your reading is below 12.4V, your battery isn’t holding a charge well. But before you condemn it, you need to test how it behaves under load.
Step 4: Perform a Load Test
Static voltage tells you how much energy is stored. Load testing tells you if the battery can deliver that energy when asked. This is crucial because a battery can show 12.6V but collapse instantly when you try to start the engine.
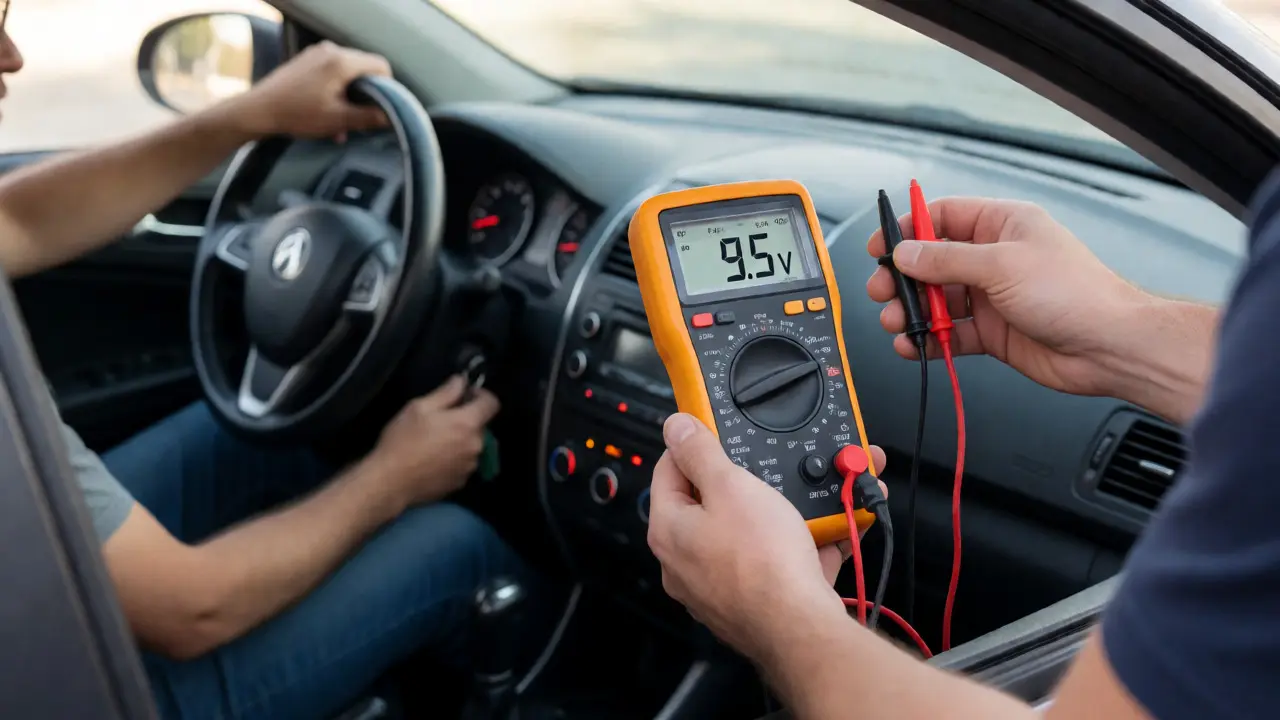
Have a helper sit in the driver’s seat. Keep the multimeter probes connected to the battery terminals. Ask your helper to turn the key to the "start" position and hold it there for about 5-10 seconds. Do not crank the engine for longer than 15 seconds at a time, as this can overheat the starter motor.
Watch the multimeter screen closely during the crank. The voltage will drop. Here’s the critical threshold:
- Above 9.6V: The battery is strong. It’s passing the load test.
- Between 9.0V and 9.6V: The battery is weak. It might start the car, but it’s nearing the end of its life.
- Below 9.0V: The battery is failing. It likely cannot sustain the current needed for starting.
If the voltage drops below 9.0V and stays there, the battery plates are likely degraded. If it drops quickly but recovers fast once the engine starts, the issue might be elsewhere, like loose cables.

Step 5: Check the Charging System
Once the engine is running, keep the multimeter connected. The voltage should jump up. This confirms your alternator is working.
A healthy charging system produces between 13.8V and 14.7V. If you see less than 13.5V, your alternator isn’t charging enough, which will drain the battery over time. If you see more than 15.0V, the voltage regulator is faulty, which can boil the battery electrolyte and destroy the battery.
Turn on headlights, the radio, and the blower fan. The voltage should stay within that 13.8V-14.7V range. If it drops significantly under this electrical load, your alternator is struggling to keep up.
Common Mistakes to Avoid
Don’t touch the metal tips of both probes with your fingers simultaneously. Your body acts as a resistor and can slightly alter the reading, though it’s minor. More importantly, never connect the probes to the wrong terminals. Red to positive, black to negative. Reversing them on a digital multimeter usually just gives a negative sign, but it’s bad practice.
Also, don’t test a battery immediately after jump-starting the car. The surface charge will give a false positive. Always let the car sit after driving or jumping.
When to Replace vs. Recharge
If your static voltage is low but the load test passes, try recharging the battery with a smart charger overnight. Smart chargers monitor voltage and stop automatically, preventing overcharging. If the voltage doesn’t rise above 12.4V after a full recharge cycle, the battery has internal damage (sulfation or shorted cells) and needs replacement.
In Portland’s damp climate, batteries often fail due to corrosion and moisture ingress. Check the terminals for white or blue powder. Clean them with a mixture of baking soda and water, then rinse with clean water and dry thoroughly. Apply a thin layer of petroleum jelly or dielectric grease to prevent future corrosion.
Can I test a car battery without removing it?
Yes, absolutely. In fact, it’s recommended. Testing the battery while it’s still installed in the vehicle allows you to assess the entire circuit, including connections and the charging system. Removing the battery isolates it but removes context about how it performs in the actual car environment.
Why does my battery show 12.6V but won’t start the car?
This indicates a loss of Cold Cranking Amps (CCA). The battery has voltage but lacks the amperage capacity to turn the starter motor. This is common in older batteries where the internal plates have degraded. A load test will confirm this by showing a significant voltage drop (below 9.6V) during cranking.
Is a multimeter better than a battery tester?
A dedicated battery tester applies a specific load based on the battery’s CCA rating, providing a pass/fail result. A multimeter gives raw data (voltage) that you must interpret. For DIYers, a multimeter is more versatile because it also tests the alternator and starter. However, for a definitive health check, especially on newer AGM or EFB batteries, a professional conductance tester is more accurate.
How long should I wait after driving to test the battery?
Ideally, wait at least two hours. This allows the surface charge created by the alternator to dissipate. If you test immediately after driving, the battery may show 12.8V or higher, masking underlying issues like sulfation or cell imbalance. Overnight rest is best for diagnostic accuracy.
What if the voltage fluctuates wildly during the test?
Wild fluctuations usually indicate poor connections. Check the battery terminals for tightness and corrosion. Loose clamps create intermittent contact, causing erratic readings. Also, ensure the multimeter probes are making solid contact with the lead posts. If the connections are good, the battery itself may have internally broken plates, requiring replacement.