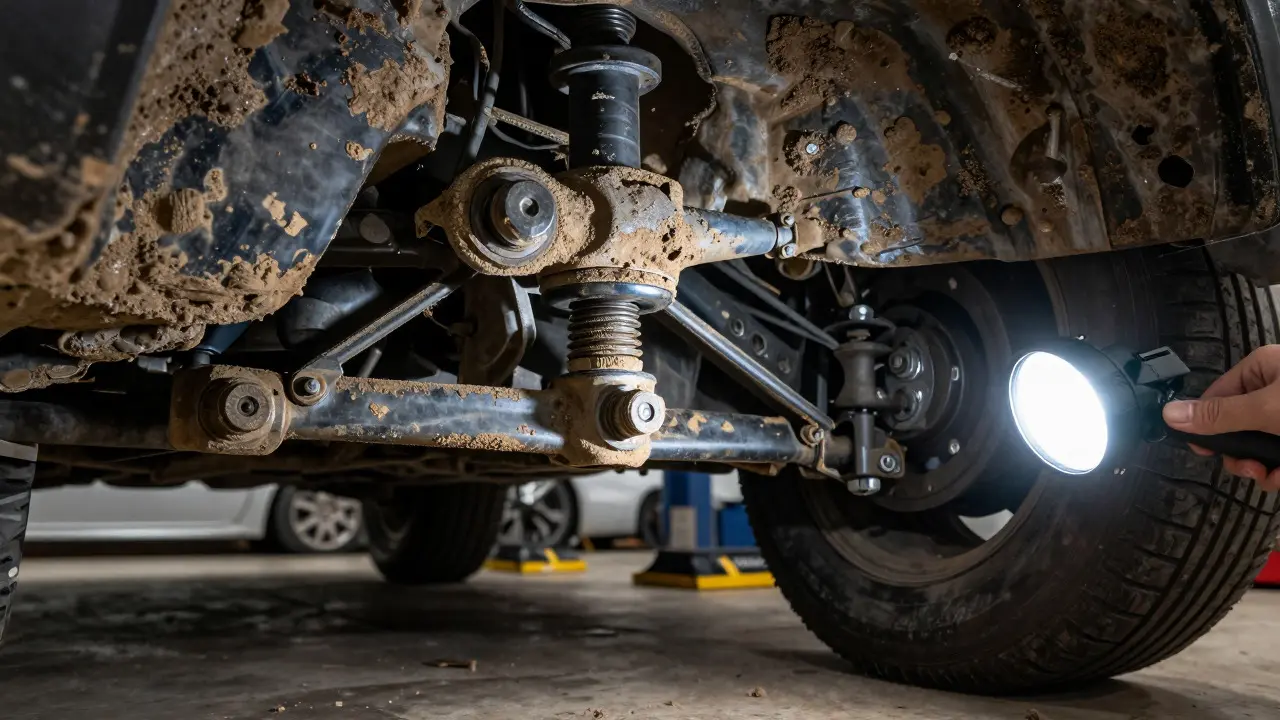
Most drivers assume a shiny exterior is enough to pass a vehicle inspection. But if you've ever watched an inspector crouch under your car with a flashlight, you know the truth: the undercarriage tells the real story. Mud, road salt, and grime can hide rust, cracked hangers, or leaking fluids that will fail your inspection-or worse, cause a breakdown later. A proper undercarriage cleaning isn't just about looks; it's a critical step in ensuring your vehicle passes compliance checks and stays safe on the road.
This guide walks you through exactly how to clean your vehicle's underside effectively, whether you're using a professional service or tackling it yourself in the driveway. We’ll cover the tools you need, the specific areas to target, and the common mistakes that lead to missed defects or water damage.
Why the Undercarriage Matters for Inspections
The undercarriage includes everything below the beltline of your vehicle: the exhaust system, suspension components, frame rails, brake lines, and fuel tank. During state inspections or pre-purchase checks, inspectors look for specific issues here that are invisible from the outside.
- Corrosion and Rust: Road salt accelerates oxidation on steel parts. Thick layers of mud trap moisture against the metal, speeding up this process. If rust has perforated the frame or exhaust, the vehicle may be deemed unsafe.
- Suspension Wear: Ball joints, tie rods, and control arm bushings are covered in dust. When cleaned, inspectors can see if these parts are loose, torn, or leaking grease.
- Fluid Leaks: Oil spots on the underbody often indicate worn gaskets or seals. While minor leaks might be overlooked, active dripping can result in a failed emission or safety test.
- Brake System Integrity: Brake lines must be free of severe corrosion. Caked-on dirt can hide pinholes or bulges in the lines that could burst under pressure.
Cleaning these areas doesn't fix the problems, but it reveals them. This allows you to address small issues before they become expensive repairs or inspection failures.
Tools and Supplies You Need
You don't need industrial equipment to do a thorough job, but having the right supplies makes the difference between a quick rinse and a deep clean.
| Item | Purpose | Pro Tip |
|---|---|---|
| Pressure Washer | Removes heavy mud and grime | Use a 40-degree nozzle for general cleaning; avoid 15-degree for delicate parts. |
| Long-Reach Brush | Scrubbing tight spaces like wheel wells | Choose a stiff-bristle nylon brush to avoid scratching paint or plastic. |
| All-Purpose Degreaser | Breaks down oil and tar | Apply to oily spots, let sit for 5 minutes, then rinse. |
| Wheel Chocks | Safety to prevent rolling | Always use when lifting any part of the vehicle. |
| Flashlight or Work Light | Illuminating dark cavities | LED lights are better as they run cooler and last longer. |
Step-by-Step Cleaning Process
Follow this sequence to ensure you hit every critical area without missing hidden spots.
- Pre-Rinse the Vehicle: Start with a low-pressure spray to loosen top-level dirt. This prevents you from grinding mud into the metal with a high-pressure stream.
- Focus on the Wheel Wells: These areas collect the most debris. Use the long-reach brush to scrub the inner fenders and the suspension arms visible through the spokes. Rinse thoroughly to clear out trapped stones.
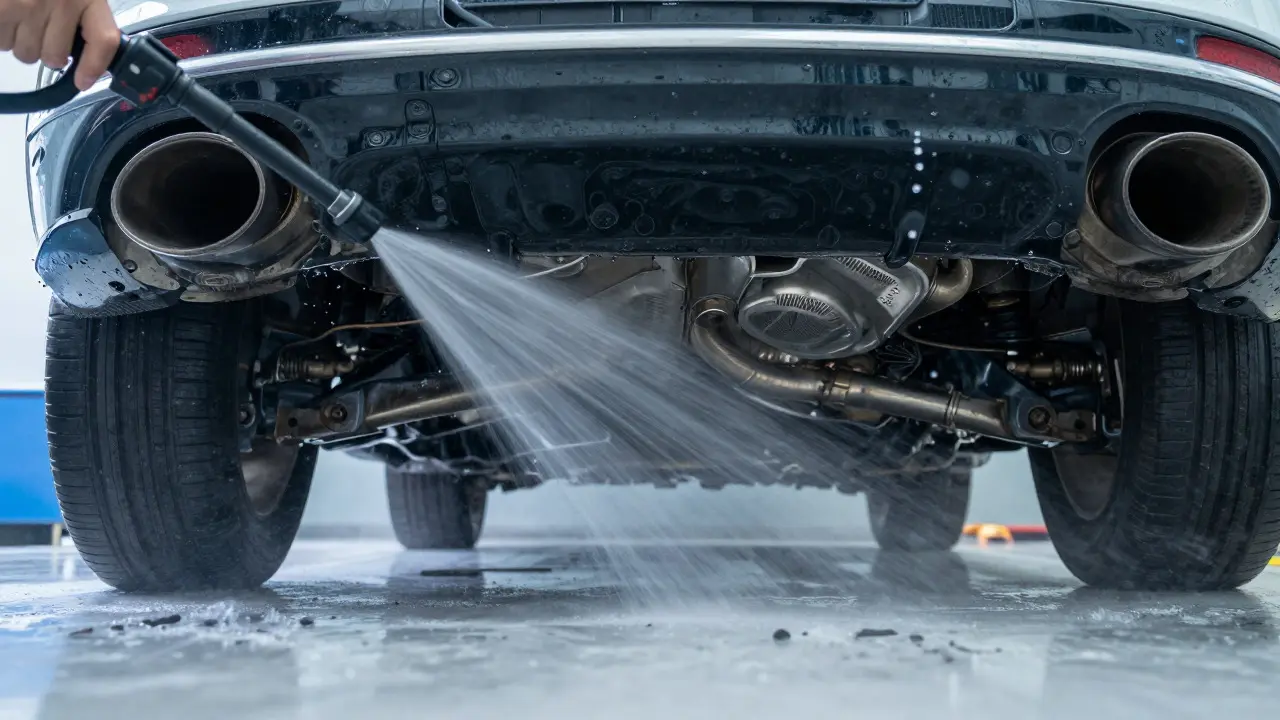
- Clean the Exhaust System: Spray around the muffler and tailpipe. Avoid directing high pressure directly at heat shields, which can crack. Check for visible holes or excessive rust while the surface is wet.
- Inspect the Frame Rails: Run the pressure washer along the length of the frame. Look for bubbling paint or orange spots indicating rust. If you find significant rust, mark it for treatment after drying.
- Check Brake Lines and Hoses: Trace the lines from the master cylinder to the wheels. Ensure they aren't kinked or heavily corroded. Wipe them down with a degreaser-soaked cloth if they are oily.
- Final Rinse and Dry: Give the entire undercarriage one final rinse. Use compressed air (if available) or a microfiber towel to dry critical electrical connections and sensors to prevent immediate re-rusting.
Common Mistakes to Avoid
Even experienced DIYers make errors that can damage their vehicles or render the cleaning ineffective.
- Using Too Much Pressure: High-pressure washers can bend thin metal heat shields or force water into sealed bearings. Keep the nozzle at least 12 inches away from sensitive components.
- Ignoring the Fuel Tank Area: The rear quarter panels and fuel tank straps are prone to rust. If you miss this area, you might discover a leak during the inspection rather than before.
- Skipping the Drying Step: Water left in crevices will evaporate slowly, leaving mineral deposits that attract more dirt. In cold climates, residual water can freeze and crack rubber bushings.
- Forgetting the Transmission Pan: This large metal box underneath the engine often collects thick sludge. If it’s leaking, you won’t see it until it drips onto your floor. Clean it well to spot seepage early.
When to Hire a Professional Detailer
While DIY cleaning is cost-effective, certain situations warrant professional help. Consider hiring a mobile detailer or visiting a shop that specializes in undercarriage care if:
- Your vehicle has complex hybrid or electric drivetrains with high-voltage cables that require careful handling.
- You live in a region with heavy winter salting and want a wax coating applied after cleaning to protect against future corrosion.
- You are preparing for a commercial fleet audit where documentation of maintenance history is required alongside physical condition.
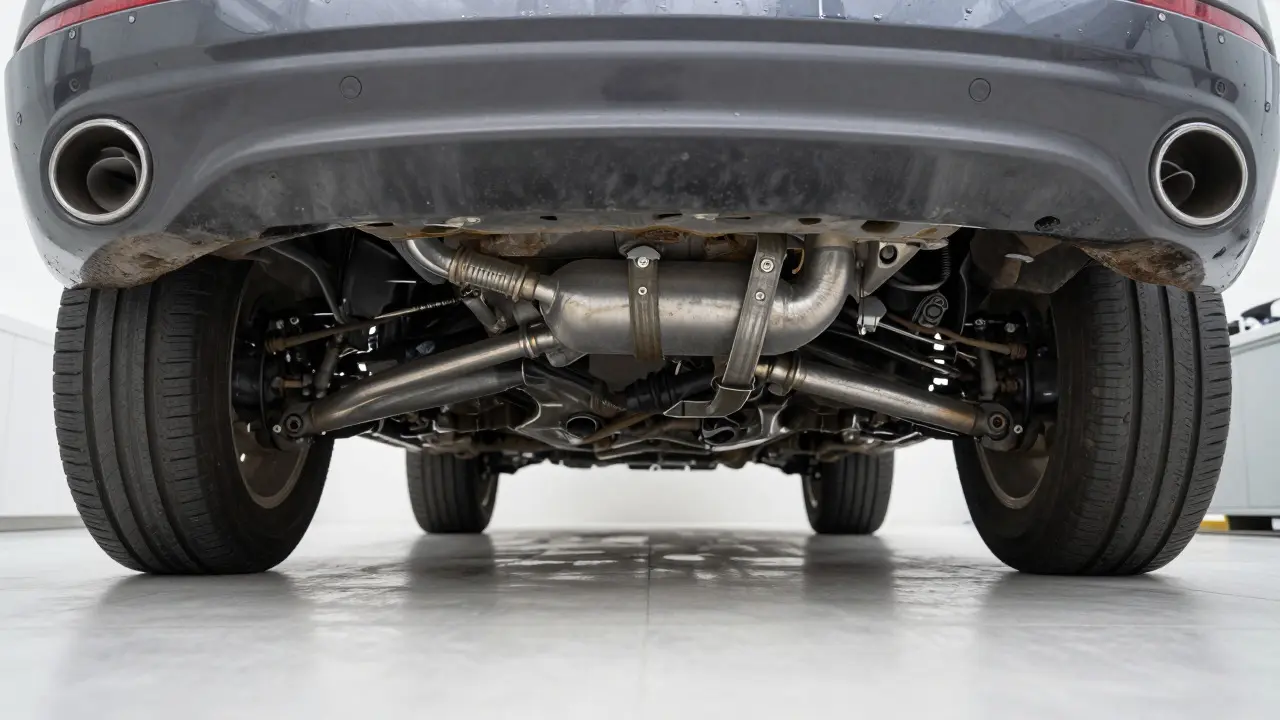
Professionals have access to steam cleaners and infrared lamps that can dry the undercarriage completely, something difficult to achieve at home. They also carry specialized rust converters that can be applied immediately after cleaning.
Maintaining a Clean Undercarriage Year-Round
Don't wait until inspection season to clean your car. Establishing a routine keeps maintenance costs low.
- Monthly Rinses: After rainy weeks or snowy months, give the undercarriage a quick hose-down. This takes less than 10 minutes and prevents buildup.
- Seasonal Waxing: Apply a rubberized undercoating wax once a year. This creates a barrier against salt and stone chips.
- Post-Trip Checks: If you drive off-road or on unpaved roads, inspect the underside for embedded rocks or debris that could puncture the gas tank or exhaust.
A clean undercarriage isn't just about passing a test; it's about extending the life of your vehicle. By taking the time to look underneath, you gain insights into your car's health that no dashboard warning light can provide.
How often should I clean my car's undercarriage?
Ideally, you should rinse the undercarriage monthly, especially after driving in rain or snow. A deep clean with degreaser and brushes is recommended every six months or before major inspections.
Is it safe to use a pressure washer on the undercarriage?
Yes, provided you use a moderate pressure setting (around 1500-2000 PSI) and keep the nozzle at a distance of 12-18 inches. Avoid spraying directly into open bearing caps or electrical connectors to prevent water intrusion.
What should I do if I find rust after cleaning?
If the rust is superficial, sand it down and apply a rust converter followed by primer and paint. If the rust has perforated the metal, such as in the exhaust or frame, consult a mechanic for repair options before the inspection.
Does cleaning the undercarriage affect fuel efficiency?
Indirectly, yes. Removing heavy mud and debris reduces the overall weight of the vehicle slightly, which can improve fuel economy. More importantly, clean brakes and suspension components function more efficiently, reducing drag and wear.
Can I clean the undercarriage myself without a lift?
Absolutely. Most of the undercarriage is accessible from ground level using a long-reach brush and a good flashlight. You only need a lift if you want to inspect the very bottom of the transmission pan or the center of the differential closely.