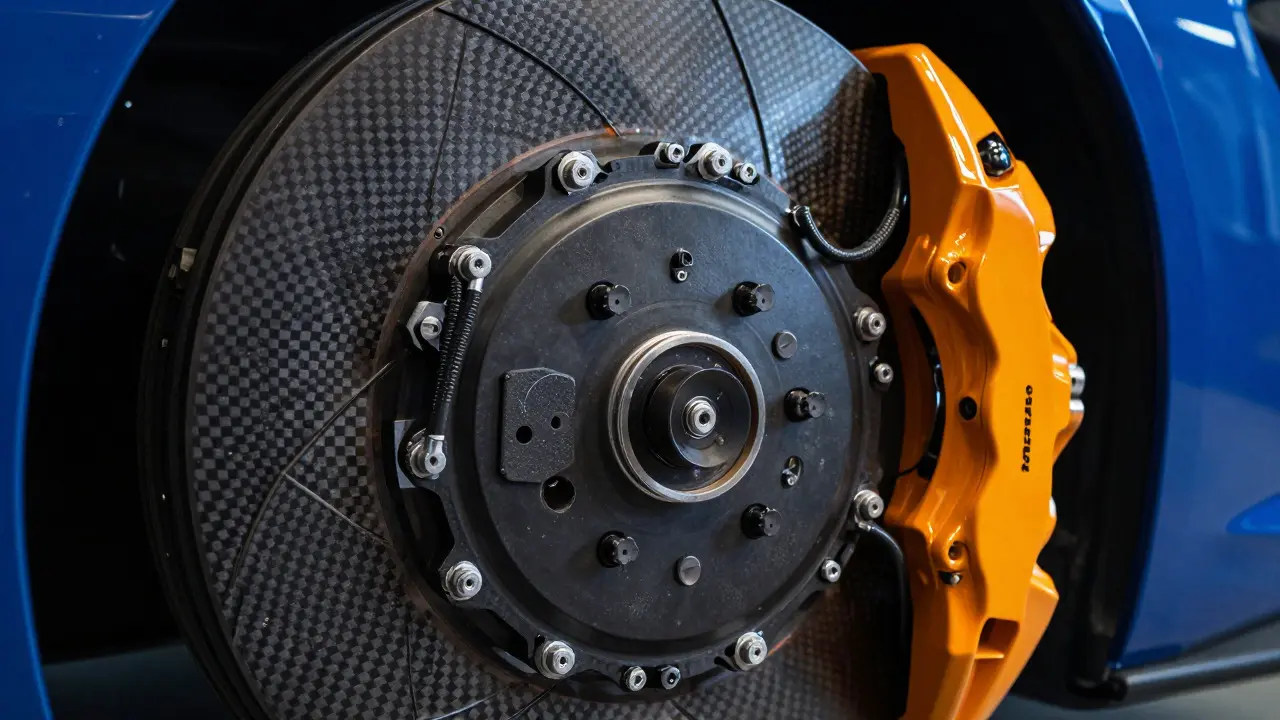
Driving a McLaren means dealing with components that don't behave like those in a regular sedan. The carbon ceramic braking system is one of the most misunderstood parts of these high-performance vehicles. Many owners assume they are "lifetime" parts or, conversely, that they need replacing every year. Both assumptions are wrong. Understanding how these systems work, when to service them, and what replacement actually costs is critical for preserving your investment.
Understanding the Carbon Ceramic System
Carbon ceramic brakes consist of sintered carbon discs and specialized low-friction pads designed to operate at extreme temperatures without fading. Unlike standard steel rotors, which rely on heat dissipation through air cooling, carbon ceramics rely on their material composition to maintain consistent friction coefficients even above 1,000°C. This makes them ideal for track days but introduces specific maintenance challenges for daily drivers.
The system includes four main components: the carbon discs, the carbon-fiber-reinforced pads, the calipers (often painted in signature McLaren colors), and the hydraulic fluid lines. While the discs themselves are incredibly durable, the pads are consumable. A common misconception is that because the discs are expensive, you should never replace the pads until the discs fail. In reality, worn-out pads can damage the carbon surface if left unchecked, leading to costly disc replacements down the line.
Signs It's Time for Service
You don't need a mechanic to tell you when your brakes need attention; the car will usually give you clear signals. However, some signs are subtle and easy to miss if you're not paying close attention.
- Vibration during braking: If you feel a pulsation in the pedal or steering wheel when slowing down from highway speeds, it may indicate uneven wear or warping of the discs. While less common than in steel rotors, thermal shock can cause micro-cracks in carbon discs over time.
- Increased stopping distance: If the car feels "soft" or requires more effort to stop than usual, check the pad thickness. Worn pads reduce the effective contact area between the pad and the disc.
- Noise upon cold start: A faint squeal or grinding noise when first engaging the brakes after a long period of inactivity is often normal due to moisture buildup. However, persistent noise while driving indicates debris trapped in the pads or excessive wear.
- Pedal travel changes: If the brake pedal feels spongy or travels further before making contact, it could signal air in the hydraulic lines or severe pad wear.
Service vs. Replacement: What’s the Difference?
Many owners confuse routine servicing with full replacement. Routine service involves inspecting pad thickness, checking for contamination on the discs, bleeding the hydraulic fluid, and torquing the caliper bolts. Full replacement means swapping out the worn pads and, potentially, the discs themselves.
| Action | Frequency | Cost Range (USD) | Duration |
|---|---|---|---|
| Routine Inspection & Fluid Bleed | Every 12 months or 10,000 miles | $300 - $500 | 1-2 hours |
| Pad Replacement Only | Every 20,000 - 40,000 miles (depending on usage) | $1,500 - $3,000 | 3-4 hours |
| Full Brake Job (Pads + Discs) | Every 60,000 - 80,000 miles or as needed | $8,000 - $15,000 | 1-2 days |
Note that labor costs vary significantly based on whether you go to a dealership or an independent specialist. Dealerships often charge premium rates but have direct access to genuine AP Racing or Brembo parts, depending on the model year and specification. Independent specialists may offer competitive pricing but require careful vetting to ensure they use OEM-spec parts.
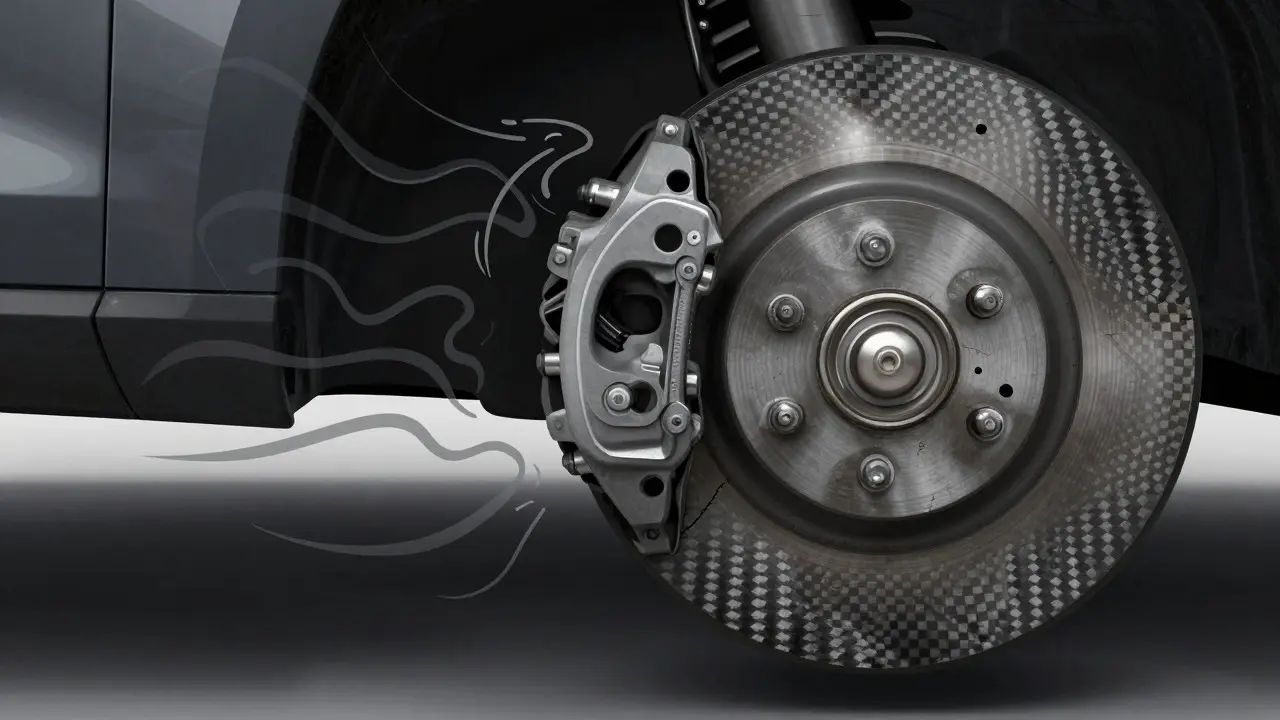
Step-by-Step: How Replacement Works
If you’re curious about what happens under the hood, here’s a simplified breakdown of the replacement process. This isn’t a DIY job unless you have significant experience with high-performance exotics, but understanding the steps helps you ask better questions at the shop.
- Lift and Secure: The car is lifted, and wheels are removed. Safety stands are used to support the vehicle securely.
- Caliper Removal: The caliper is unbolted from the bracket. Care must be taken not to let the caliper hang by the brake hose, which can cause leaks or damage.
- Old Pad Removal: Worn pads are extracted. Technicians often mark the orientation of the pads to ensure correct reinstallation, especially if they are asymmetric.
- Disc Inspection: The carbon disc is inspected for cracks, glazing, or uneven wear. If the disc is within tolerance, it stays. If not, it’s swapped for a new one.
- New Pad Installation: New pads are installed with fresh shims and clips. These small metal pieces prevent rattling and ensure even pressure distribution.
- Caliper Reassembly: The caliper is reattached, and pistons are pushed back into position using a C-clamp or specialized tool.
- Fluid Bleeding: The brake system is bled to remove any air introduced during the process. This step is crucial for firm pedal feel.
- Burn-in Procedure: After installation, the brakes must be bedded in properly. This involves several controlled stops from moderate speed to allow the new pads to transfer material onto the discs evenly.
Common Pitfalls to Avoid
Even with professional help, mistakes happen. Here are the most common issues we see in our shop and how to avoid them.
- Using Wrong Pad Compound: Not all carbon pads are created equal. Track-focused compounds may be too abrasive for daily driving, causing rapid disc wear. Street compounds may fade quickly on the track. Always confirm the compound type matches your intended use.
- Skipping the Burn-in: Failing to bed in new brakes correctly leads to inconsistent performance and potential vibration. Follow the manufacturer’s recommended burn-in schedule strictly.
- Contaminating the Discs: Oil or grease on the disc surface ruins the braking surface. Ensure all tools and hands are clean before handling the discs. If contamination occurs, the discs may need to be cleaned with a specialized solvent or replaced.
- Ignoring Hydraulic Fluid Age: Brake fluid absorbs moisture over time, lowering its boiling point. Even if the pads look fine, old fluid can lead to brake fade under heavy use. Replace fluid every two years regardless of mileage.
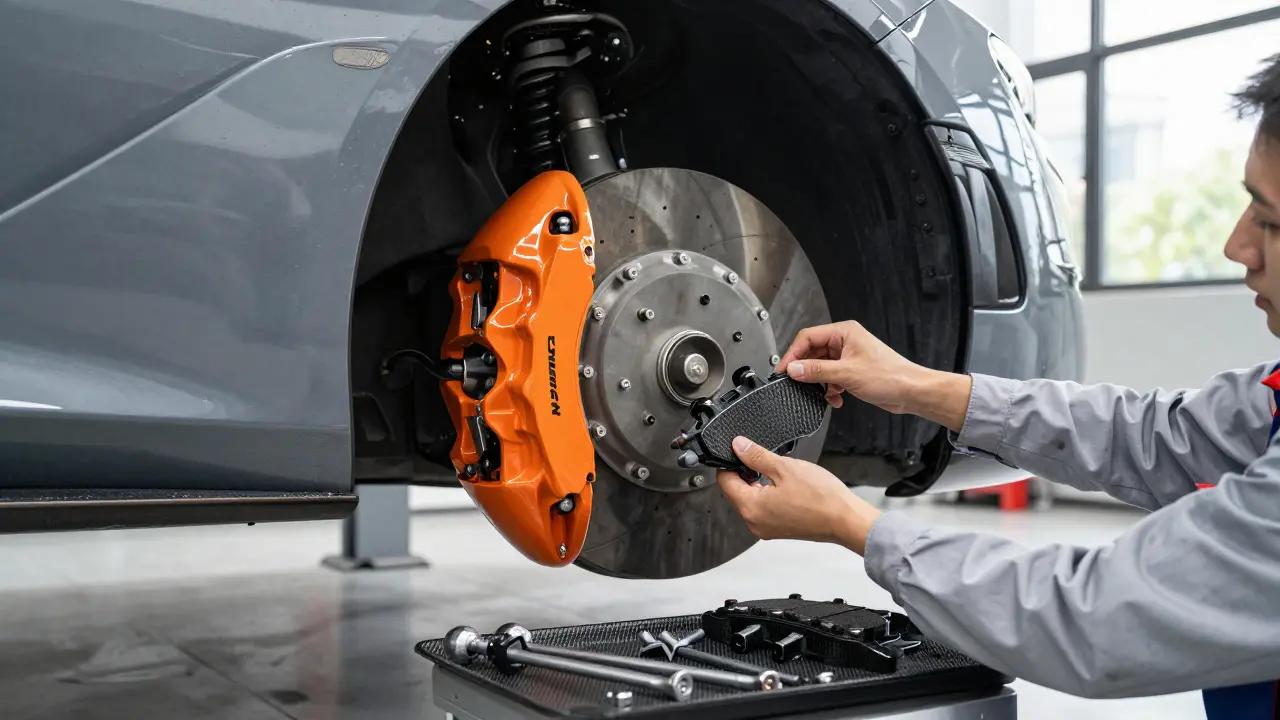
When to Go to a Specialist
While many mechanics can handle basic brake jobs, carbon ceramic systems benefit from specialized knowledge. Look for shops that specifically advertise experience with supercar maintenance or have technicians certified in exotic vehicle repair. They will have the right torque wrenches, diagnostic software, and parts sourcing channels.
Ask them about their warranty on both parts and labor. A reputable shop will stand behind their work, knowing that a mistake on a McLaren brake system can be expensive to fix twice. Also, inquire about their policy on disc resurfacing. Some shops attempt to machine carbon discs, which is generally discouraged by manufacturers. True specialists will recommend replacement over resurfacing for carbon units.
Frequently Asked Questions
Do McLaren carbon ceramic brakes last forever?
No. While the discs are highly durable, the pads are consumable. Expect pads to last 20,000 to 40,000 miles depending on driving style. Discs typically last longer, around 60,000 to 80,000 miles, but can fail earlier if damaged by hard impacts or improper bedding.
Can I use aftermarket pads in my McLaren?
Yes, but with caution. High-quality aftermarket brands exist, but cheap ones can damage the discs. Stick to reputable suppliers that offer pads specifically engineered for carbon ceramic discs. Always verify compatibility with your specific model year.
How much does it cost to replace both front and rear brakes?
A full brake job including pads and discs for all four corners typically ranges from $8,000 to $15,000 at a dealership. Independent specialists may quote lower, but ensure they use OEM-spec parts. Labor alone can range from $1,000 to $2,500 depending on location and shop rates.
Why do my brakes squeal when cold?
This is usually due to moisture condensation on the disc surface overnight. As the brakes warm up, the moisture evaporates, and the noise stops. If the noise persists after warming up, it may indicate debris or worn pads requiring inspection.
Should I bleed the brakes after every pad change?
Ideally, yes. Pushing the pistons back to install new pads can introduce air into the system. Even a small amount of air can make the pedal feel spongy. Bleeding ensures optimal hydraulic pressure and consistent braking performance.