There is nothing quite like the sinking feeling of driving away from an inspection station with a failed sticker and a bill for repairs you didn't expect. You spent twenty minutes in line, only to be told your brake light is out or your tire tread is too shallow. It’s frustrating, expensive, and completely avoidable if you spend just thirty minutes preparing beforehand. Most people think they need to fix major mechanical issues before an inspection, but the reality is that the majority of failures are caused by simple, visible defects that any driver can spot at home.
Getting your car ready isn’t about becoming a mechanic overnight. It’s about understanding what the inspector looks for and giving yourself the best chance to pass on the first try. Whether you’re dealing with a state-mandated safety check or an emissions test, the preparation steps are surprisingly similar across most regions. Here is how to make sure your vehicle clears the hurdles without breaking the bank or your patience.
The Light Check That Saves You Time
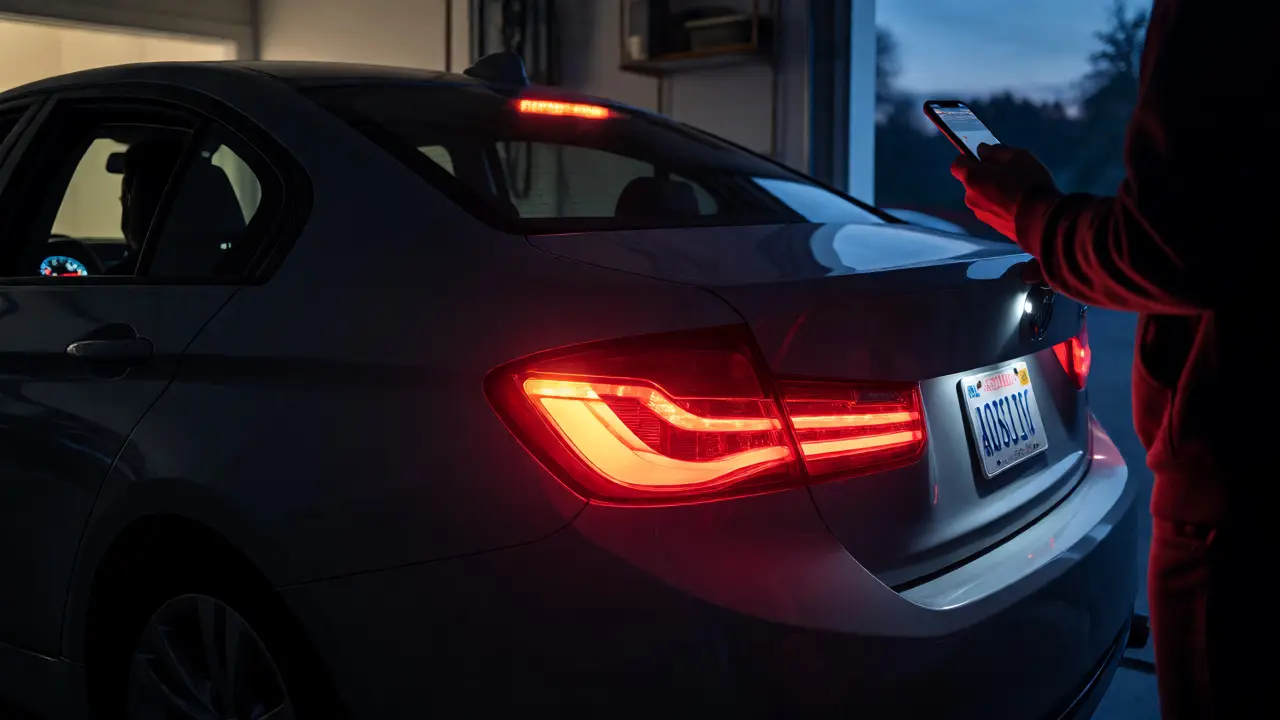
Let’s start with the easiest win: lights. Inspectors hate spending time diagnosing electrical gremlins, so they look for obvious signs of failure. You don’t need a multimeter; you just need a friend or a reflective surface like a garage door or store window.
- Headlights: Check both high and low beams. Ensure they aren’t fogged over so badly that visibility is compromised. If your lenses are yellowed, consider a restoration kit; some states fail cars if headlights are opaque.
- Tail Lights and Brake Lights: Have someone press the brake pedal while you watch the rear. Both red lights must illuminate brightly. A dim bulb often fails the voltage drop test used in stricter inspections.
- Turn Signals and Hazard Lights: Test all four corners. Flashers should blink at a steady rate. If one side blinks rapidly, you have a burnt-out bulb.
- Licence Plate Light: This is the most commonly missed item. If your plate isn’t illuminated, you will likely get flagged immediately.
- Reverse Lights: Put the car in reverse (with the parking brake on) and check that white lights activate.
Replacing a standard incandescent bulb costs less than $5 at any auto parts store. LED replacements are slightly more expensive but last longer. Do this check in the evening or in a dark garage for accuracy. If you drive a newer car with LED strips, ensure no individual diode clusters are dead, as inspectors may interpret partial lighting as a defect.
Brakes and Tires: The Safety Essentials
After lights, brakes and tires are the next big category for failures. You don’t need to disassemble your wheels to check these, but you do need to know what to look for.
| Component | Passing Standard | How to Check |
|---|---|---|
| Tire Tread Depth | Minimum 1/32 inch (varies by state) | Use the Penny Test: Insert a penny upside down into the groove. If you see all of Lincoln's head, replace the tire. |
| Tire Condition | No bulges, cracks, or uneven wear | Visually inspect sidewalls for bubbles or cuts. Check for cupping or feathering on the tread surface. |
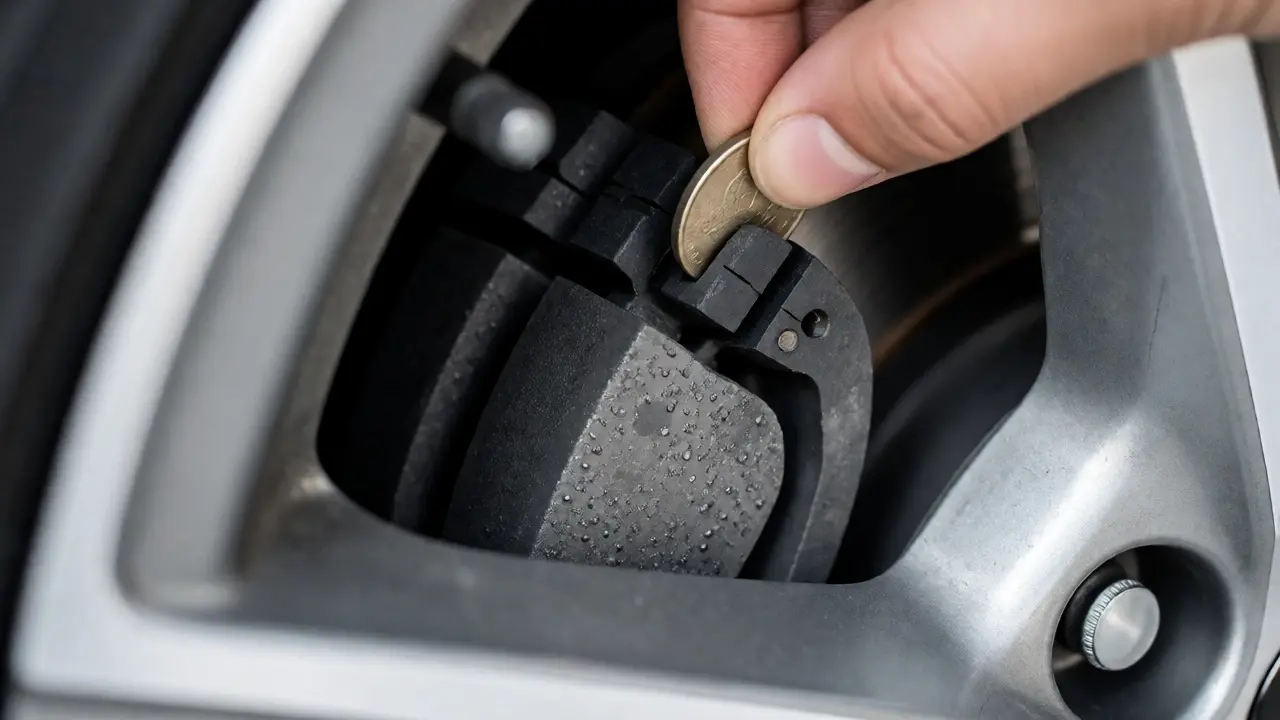
| Brake Pads/Shoes | Sufficient friction material remaining | Look through wheel spokes. If pads are thinner than 3mm, plan for replacement. |
| Parking Brake | Holds vehicle stationary on incline | Test on a hill. If the car rolls more than a few inches, adjust the cable or repair the mechanism. |
Tires are critical because they connect the car to the road. Inspectors look for tread depth, usually requiring at least 1/32 of an inch across the entire width. Use the penny test mentioned above. Also, check for mismatched tires. While not always a hard fail, having different brands or sizes on the same axle can raise eyebrows and lead to a closer look at suspension components.
For brakes, listen for squealing or grinding noises during your daily commute. If you hear metal-on-metal sounds, your pads are gone. Visually, you can often see the pad thickness through the wheel spokes. If it looks thin, get it fixed before the inspection. Don’t forget the parking brake. Many modern cars have electronic parking brakes that might not engage fully if there’s a fault code. Test it on a slight incline to ensure it holds firm.
Fluids and Leaks: Keep It Clean
A dirty engine bay makes inspectors suspicious. They want to see that you maintain your vehicle. Before your appointment, wipe down the top of the engine block and check fluid levels. Low oil is a common reason for failing an OBD-II readiness monitor check in emissions tests, as the computer may flag low pressure or level sensors.
Check these fluids:
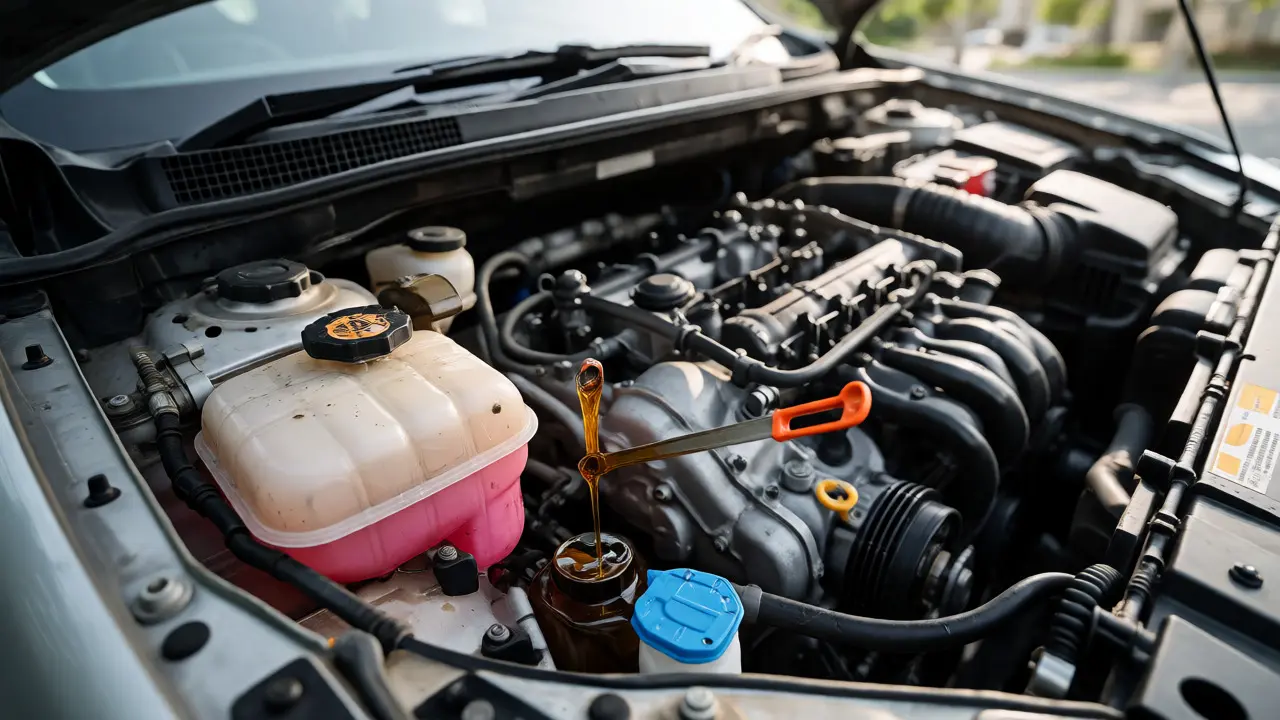
- Engine Oil: Should be between min and max marks on the dipstick. Dark brown is okay; black sludge means change it now.
- Coolant: Check the reservoir when the engine is cold. Level should be within the marked range. Look for rust-colored fluid, which indicates a neglected system.
- Brake Fluid: Should be clear or slightly amber. If it looks dark or cloudy, it’s contaminated with moisture and needs flushing.
- Transmission Fluid: For automatics, check with the engine running and warm. It should be pink or red, not brown or burnt-smelling.
Also, look under your car for fresh leaks. A small drip of water from the AC condenser is normal. However, pools of oil, transmission fluid, or coolant under the parked car are red flags. Inspectors will put the car on a lift and look for wet spots on the pan, hoses, and seals. Even old, dry crusty residue can suggest a past leak that hasn’t been repaired properly. Clean off accessible areas with degreaser to show good maintenance habits.
Emissions and the Check Engine Light
If your state requires an emissions test, the Check Engine Light (CEL) is your biggest enemy. If the light is on, you will almost certainly fail. But here’s the trick: simply clearing the code with an OBD-II scanner isn’t enough. The vehicle’s computer needs to run its self-tests, known as "readiness monitors," after being cleared.
To ensure your car passes an emissions test:
- Fix the underlying issue: Don’t just reset the light. Find out why it triggered. Common culprits include a loose gas cap, oxygen sensor, or catalytic converter issue.
- Drive the car: After repairs, drive at least 50-100 miles in mixed conditions (city and highway). This allows the computer to complete its diagnostic cycles.
- Verify readiness: Use a basic OBD-II scanner to check if all monitors are "Ready." If any say "Not Ready," keep driving until they complete.
- Fuel up: Fill your tank close to full before the test. Some protocols require specific fuel levels for accurate vapor recovery checks.
Note that older vehicles (pre-1996) often undergo visual inspections rather than computer diagnostics. In these cases, ensuring your exhaust system has no holes and your smog pump (if equipped) works is vital. For newer cars, software updates or battery disconnects can reset monitors, so avoid disconnecting the battery right before your appointment.
Wipers, Horn, and Seatbelts
These seem minor, but they are mandatory safety features. Inspectors check them quickly, and failures here are embarrassing because they are so easy to fix.
Windshield Wipers: Run them. If they chatter, skip, or leave streaks, replace the blades. A torn blade is an instant fail. Check the washer fluid reservoir and spray pattern. If the nozzles are clogged, use a pin to clear them. The washer system doesn’t need to work perfectly, but the motor must run and fluid must come out.
Horn: Press it. Does it sound loud and clear? A weak horn or one that doesn’t work at all is a safety violation. Wiring issues are rare, but a blown fuse is common. Check your fuse box diagram if it’s silent.
Seatbelts: Pull each belt out fully. It should retract smoothly and lock when you yank it quickly. If a belt is frayed, cut, or stuck, it fails. Inspectors also check the buckle mechanism. Make sure the latch plate clicks firmly into place. If you have aftermarket seat covers, ensure they don’t obstruct the buckle or pretensioner mechanisms.
Documents and Administrative Prep
Don’t let paperwork kill your vibe. Arriving with the wrong documents wastes everyone’s time. Requirements vary by state, but generally, you need:
- Registration Card: Must be current. If it’s expired, some stations allow you to pay fees on-site, but others turn you away.
- Proof of Insurance: Not always required for inspection, but good to have handy.
- Previous Inspection Report: If you failed previously, bring the rejection slip. It lists exactly what needs fixing, saving the inspector from re-diagnosing the same problem.
- ID: Driver’s license or other government-issued ID.
Call ahead to confirm hours. Many inspection stations have limited windows or require appointments. Showing up five minutes early gives you time to park, gather your thoughts, and handle any unexpected administrative hurdles.
What If You Fail?
If you do fail, don’t panic. You’ll receive a detailed report listing the deficiencies. Most states offer a grace period (often 30 days) to make repairs and return for a re-inspection. Usually, you only pay for a partial fee if you return within this window.
Take the report to a trusted mechanic. Ask for a quote before authorizing repairs. If the issue is minor, like a bulb or wiper blade, you might be able to fix it yourself and return the same day. For major issues like frame rust or severe brake wear, budget accordingly. Keeping receipts for repairs can sometimes help if you dispute a future inspection result.
Preparing your car for inspection is mostly about attention to detail. Spend an hour checking lights, fluids, tires, and belts. Clear your Check Engine Light properly. Bring your paperwork. By taking these proactive steps, you turn a stressful bureaucratic hurdle into a quick, routine stop. Your wallet-and your peace of mind-will thank you.
Can I pass an inspection with the Check Engine Light on?
Generally, no. If your state requires an emissions test, an illuminated Check Engine Light results in an automatic fail. The vehicle's onboard computer cannot perform the necessary diagnostics while a fault is active. You must resolve the underlying issue and drive the car long enough for the readiness monitors to complete their self-tests before returning for inspection.
How much does a typical car inspection cost?
Costs vary significantly by location and type of inspection. A basic safety inspection might range from $20 to $50, while combined safety and emissions tests can cost between $40 and $80. Private inspection stations often charge more than state-run facilities. Always call ahead for exact pricing, as some locations add convenience fees or environmental surcharges.
Do I need new tires to pass inspection?
You don't necessarily need brand-new tires, but they must meet minimum tread depth requirements, typically 1/32 of an inch. Tires must also be free of significant damage like bulges, large cuts, or exposed cords. Uneven wear patterns indicating alignment issues may cause a failure if they compromise handling or safety. Mismatched tire sizes on the same axle can also be grounds for failure in some jurisdictions.
What happens if my windshield has a crack?
Small chips outside the driver's primary field of vision often pass. However, cracks that extend to the edge of the glass, intersect with other cracks, or obscure the driver's view usually result in a failure. Some states have strict rules about cracks larger than 6 inches. If the crack impairs the structural integrity of the windshield, it poses a safety risk during airbag deployment and will likely fail inspection.
Can I schedule my own inspection appointment?
Many private inspection stations accept walk-ins, but scheduling an appointment is highly recommended to avoid long wait times. State-operated centers may operate on a first-come, first-served basis or require online booking depending on local regulations. Booking ahead ensures you have a dedicated slot, allowing you to prepare your vehicle thoroughly and arrive with confidence.