Imagine pulling into a shop after a fender bender, only to realize the scratch on your rear bumper existed three months ago. Without proof, that old scratch becomes part of the new claim, potentially lowering your payout or causing disputes with the adjuster. This is where a pre-insurance inspection is a systematic assessment of a vehicle's condition before filing an insurance claim to document existing damage and verify current issues. It’s not just about being picky; it’s about protecting your wallet and ensuring the insurance claim covers exactly what happened in the accident.
Most drivers wait until the moment they call their insurer to start thinking about the damage. By then, the photo evidence is often blurry, taken from bad angles, or missing crucial details. A proper pre-inspection turns you from a passive victim into an active participant in the repair process. You’ll know what to look for, how to document it, and what questions to ask the body shop before any metal gets bent or paint gets sprayed.
Why Documentation Matters More Than You Think
Insurance companies operate on risk management. Their goal is to pay for necessary repairs efficiently, which sometimes means finding reasons to deny parts of a claim if the evidence is weak. When you file a claim for bodywork, the adjuster needs to distinguish between accidental damage and wear and tear or pre-existing conditions. If you don’t have clear records, the burden of proof shifts awkwardly, and you might end up paying out-of-pocket for things you thought were covered.
Think of your car as a legal entity in this context. The vehicle history report serves as its birth certificate and medical record. While these reports are great for major accidents, they rarely catch small dents, stone chips, or fading paint. That’s why your own documentation acts as the bridge between the official record and the reality of your car’s daily life. Specific data points matter here: date, time, location, weather conditions, and high-resolution photos from multiple angles.
The Step-by-Step Pre-Inspection Process
You don’t need to be a mechanic to perform a thorough check. You just need a methodical approach. Here is how to conduct a self-assessment before calling your insurance provider:
- Wash the Vehicle: Dirt hides scratches. Clean the car thoroughly so every panel is visible under natural light if possible.
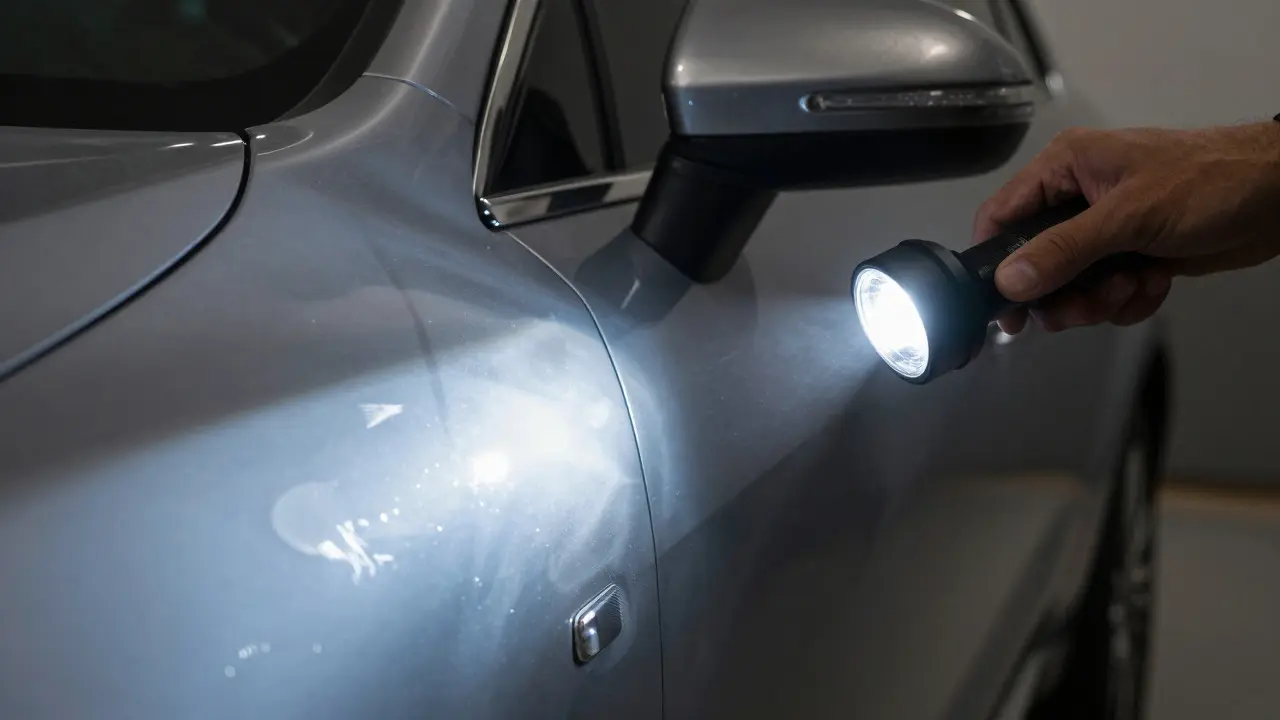
- Walk-Around Check: Start at the front bumper and move clockwise. Look for dents, cracks, misaligned panels, and paint imperfections. Use a flashlight to highlight surface ripples that aren’t visible in daylight.
- Interior Scan: Don’t forget the inside. Cracked dashboard plastic, torn seat upholstery, or broken trim pieces can be part of a body claim if caused by the same incident. Check for loose airbags or deployed sensors.
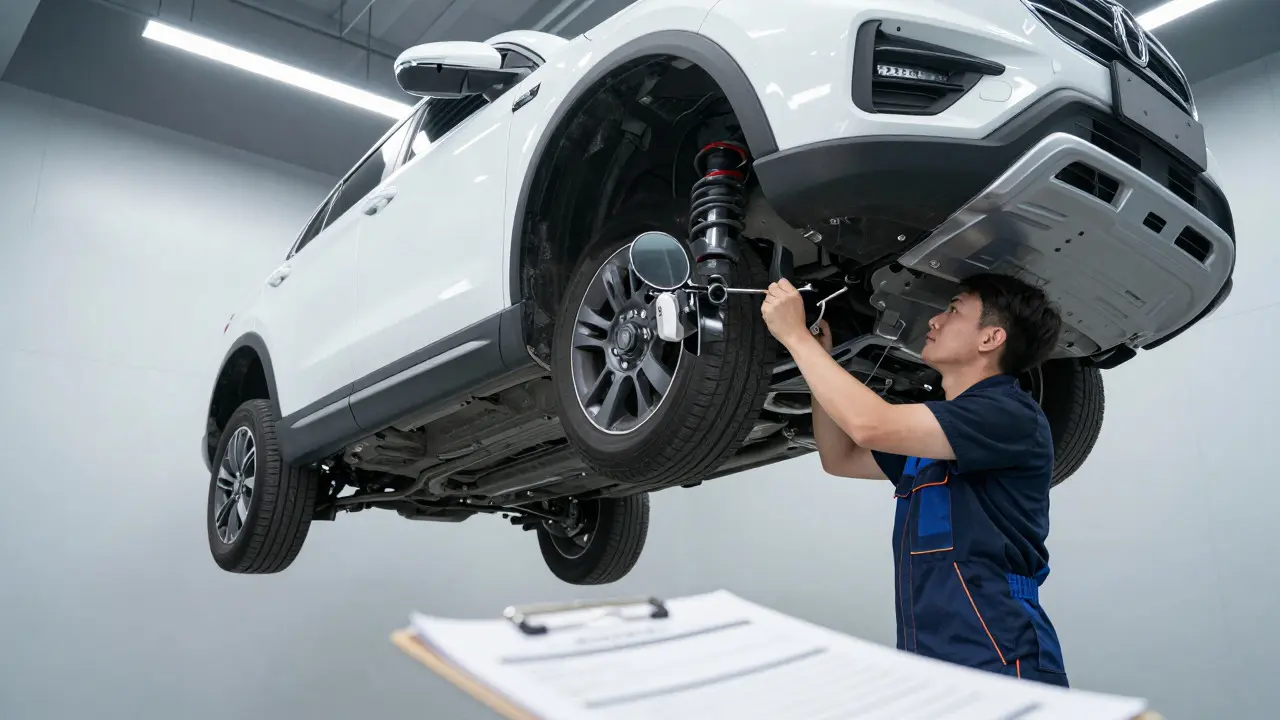
- Undercarriage Peek: If safe to do so, use a mirror or get under the car to check for bent brackets, cracked exhaust hangers, or damaged suspension components. These often go unnoticed but are critical for safety and alignment.
- Photo Evidence: Take wide shots of the whole car, medium shots of each quarter panel, and close-ups of specific damage. Include a reference object (like a coin) in close-ups to show scale.
This routine takes about 30 minutes. It sounds tedious, but it prevents hours of back-and-forth emails later. If you’ve had the car serviced recently, keep the invoice. It proves the car was in good working order prior to the incident.
Understanding the Role of the Adjuster
The insurance adjuster is the representative appointed by the insurance company to evaluate the extent of loss and determine the settlement amount. They aren’t trying to trick you, but they work within strict guidelines set by the carrier. Their job is to verify that the damage matches the story you told. If your photos show a clean bumper but the claim mentions a deep gouge, trust erodes quickly.
When the adjuster inspects the car, they will compare your notes with their findings. If you’ve documented everything beforehand, the inspection goes faster. You can point to specific areas and say, “This was already there,” or “This is new.” This collaboration builds credibility. It also helps when negotiating the deductible. If the total repair cost is close to your deductible threshold, having clear proof of minor additional damages might push the claim over the limit, making it worth filing.
Choosing the Right Body Shop
Once the claim is approved, you need a place to fix it. Not all shops are created equal. In Portland, Oregon, you have access to both independent garages and dealership service centers. Each has pros and cons regarding cost, speed, and quality.
For significant bodywork, avoid express shops. They lack the equipment for precise panel beating and color matching. Look for shops certified by organizations like I-CAR (Interdisciplinary Collision Repair Association). Certification ensures technicians stay updated on modern vehicle technologies, such as advanced driver-assistance systems (ADAS) that require calibration after bumper replacement.
Navigating the Claim Timeline
Timing is everything in auto insurance. Most policies require you to notify the insurer within a reasonable timeframe, usually 30 days. However, waiting too long can raise red flags. Why did you wait two weeks to report a dent? Was it parked somewhere else? Did someone else hit it?
- Day 1: File the claim online or via phone. Submit your pre-inspection photos.
- Day 2-3: Adjuster schedules an inspection. Keep the car accessible.
- Day 4-5: Estimate is generated. Review it carefully against your photos.
- Day 6-10: Choose a shop and authorize repairs. The shop submits the final estimate to the insurer.
- Week 2-3: Repairs are completed. Final payment is issued directly to the shop, minus your deductible.
If the estimate seems low, don’t sign off immediately. Ask for a breakdown. Is it using aftermarket parts instead of OEM? Are they missing a hidden frame rail issue? Your pre-inspection notes help you spot omissions.

Common Pitfalls to Avoid
Even with the best intentions, mistakes happen. Here are the most common errors drivers make during the pre-insurance inspection phase:
- Fixing It Yourself First: Never attempt temporary fixes like filling a dent with glue or painting a scratch with touch-up pen before the adjuster sees it. It complicates the assessment and may void coverage for that specific area.
- Vague Descriptions: Saying “the side is dented” is useless. Specify “left rear quarter panel, 3-inch deep dent near the fuel door.” Precision saves time.
- Ignoring Weather Damage: If you live in a rainy area like Portland, salt and moisture can accelerate rust. Document any bubbling paint separately from impact damage, as rust is often excluded from standard collision coverage.
- Losing Receipts: Keep digital copies of all documents. Cloud storage is your friend. If the car is totaled, you’ll need proof of recent upgrades or accessories to get them reimbursed.
Another subtle trap is assuming full coverage means no deductible. Even comprehensive coverage for hail or theft has a deductible. Knowing your exact deductible amount before you file helps you decide if the claim is financially viable. If the repair is $800 and your deductible is $500, you’re only saving $300, but you might lose your no-claims discount for the next year.
Next Steps and Troubleshooting
If you find major discrepancies during your self-check-like a bent frame or leaking fluids-take the car to a trusted independent mechanic for a second opinion before talking to the insurer. This gives you leverage. If the adjuster’s estimate misses critical structural repairs, you can present the mechanic’s report as evidence.
For minor cosmetic damage, consider whether filing a claim is worth it. Small scratches often don’t justify the premium increase that follows a claim. Use your pre-inspection photos to track these issues over time. If they worsen, you have a baseline for future comparison.
Finally, keep a dedicated folder on your phone named “Car Records.” Store your registration, insurance card, VIN number, and all pre-inspection photos there. When disaster strikes, you won’t be scrambling through email threads. You’ll be ready, informed, and in control of the process.
How long should I keep my pre-inspection photos?
Keep them for the entire duration of the claim plus one year after the case is closed. Some disputes can arise later, and having the original timestamped images protects you against accusations of staging damage.
Does the insurance company have to accept my chosen body shop?
Generally, yes, unless you have a direct repair program agreement with the insurer. You have the right to choose where your car is repaired, though the insurer controls the payment amount based on their network rates.
What if the adjuster says a part is worn out and shouldn't be replaced?
If the wear is unrelated to the accident, they are correct. However, if the accident exacerbated the wear, argue for a pro-rated replacement. Provide your pre-inspection photos showing the part was functional before the incident.
Is it better to fix the car myself to save money?
Only for very minor cosmetic issues. For structural or safety-related repairs, DIY work can lead to poor alignment, electrical faults, or failed inspections. Always use a certified professional for anything involving panels, lights, or ADAS cameras.
How does living in Portland affect my claim?
Portland’s climate contributes to oxidation and rust. Ensure your photos clearly distinguish between impact damage and environmental corrosion. Insurers in the Pacific Northwest are familiar with these patterns, so accurate documentation is key to avoiding denied claims for rust-related issues.