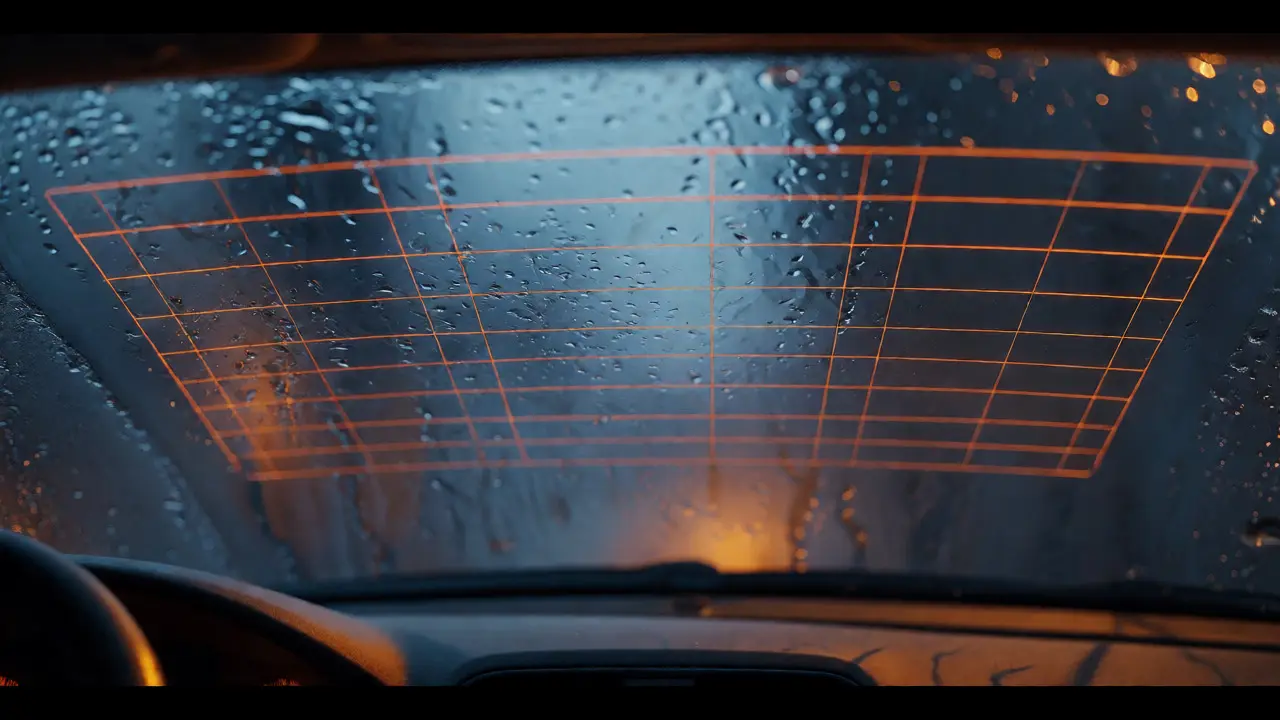
You’re driving down a rainy Portland street, the heater is blasting, but your rearview mirror is useless. Why? Because that grid of orange lines on your back windshield-the rear window defogger-is dead or dying. It’s one of those features you ignore until it fails, leaving you blind to traffic behind you. Most people think they need a new windshield, but often, it’s just a simple break in the conductive ink or a blown fuse. This guide walks you through diagnosing and fixing the electrical heating elements embedded in your car's rear glass, saving you hundreds at the dealership.
How Your Rear Defogger Actually Works
Before you grab a multimeter, you need to understand what you’re dealing with. The rear defogger isn’t magic; it’s a series of thin, parallel wires printed directly onto the interior surface of the glass using silver paste or conductive ink. These lines act as resistors. When you flip the switch, electricity flows through them, generating heat that evaporates condensation or melts frost. This system falls under Electrical Glass Service, which covers any component integrated into the vehicle’s glazing.
The system relies on three main parts: the power source (usually via a relay), the control module (the button and timer), and the grid itself. If the entire grid is cold, check the fuse first. If only half the lines work, you’ve likely got a broken trace. Understanding this layout prevents you from replacing good components while ignoring the actual culprit.
Diagnosing the Problem: Is It the Fuse, Relay, or Grid?
Don’t start sanding your glass yet. Start with the basics. Grab your owner’s manual and locate the fuse box. Look for a fuse labeled “DEF,” “REAR DEF,” or “HEATED MIRROR.” If it’s blown, replace it. If it blows again immediately, you have a short circuit somewhere. If the fuse is fine, listen for the click of the relay when you press the button. No click? The relay might be bad, or the signal isn’t reaching it.
If the fuse and relay are working, but some lines are dark, you have physical damage. Use a flashlight and look closely at the horizontal lines. Do you see small breaks, scratches, or areas where the orange color has faded? These are open circuits. Electricity can’t jump gaps, so the current stops there, leaving the rest of the line cold. You can confirm this with a multimeter set to continuity mode. Touch the probes to either side of a suspected break. No beep means no connection.
Tools and Materials You’ll Need
You don’t need a mechanic’s lift for this job. A standard toolkit will do, plus a few specific items for the glass work. Here is what you should gather before starting:
- Multimeter: To test voltage and continuity.
- Defogger Repair Kit: Contains conductive silver paint and brushes.
- Rubbing Alcohol: For cleaning the glass surface.
- Painter’s Tape: To mask off the area around the break.
- Eraser Pencil: Specifically designed for scraping old paint without scratching glass.
A quality kit, like those from Permatex or similar brands, usually costs between $15 and $30. It’s a cheap insurance policy against buying a whole new rear windshield, which can run $400 to $800 depending on your car model and whether it has rain sensors or cameras attached.
Step-by-Step Guide to Repairing Broken Lines
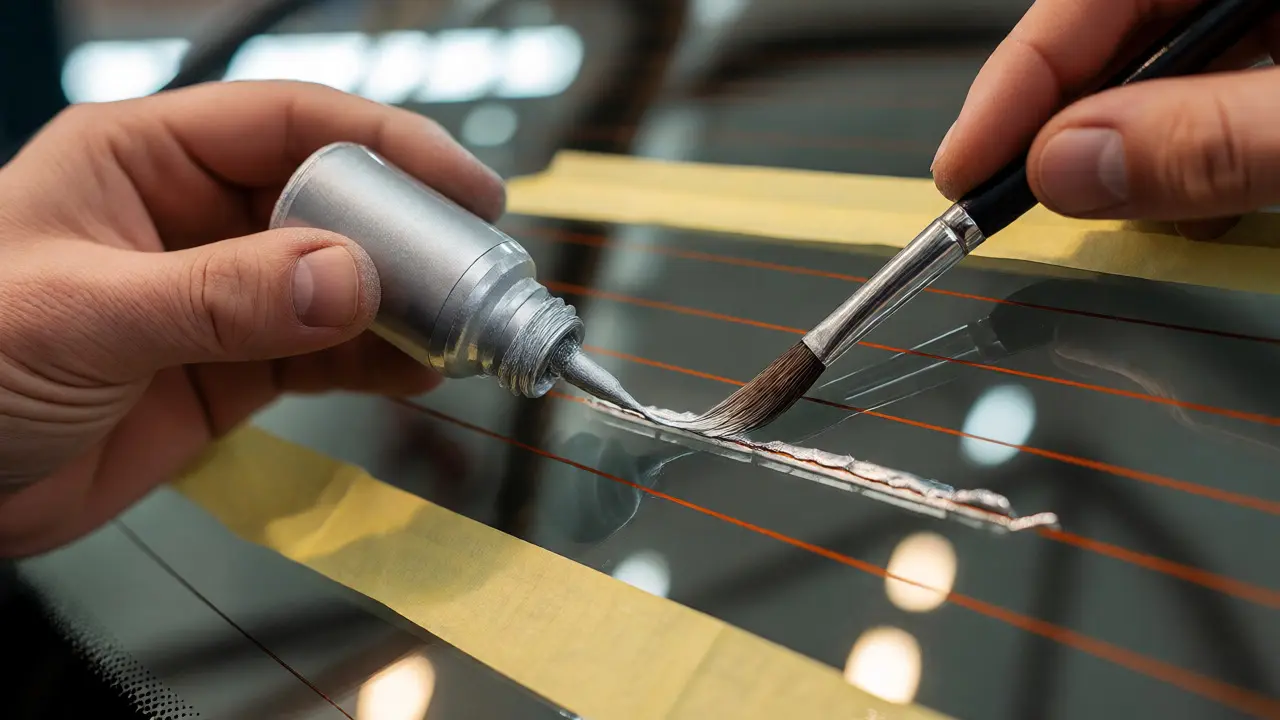
Once you’ve identified the break, here’s how to fix it. First, clean the area thoroughly. Any grease or dirt will prevent the new conductive paint from sticking properly. Use rubbing alcohol and a lint-free cloth. Let it dry completely.
- Mask the Area: Apply painter’s tape above and below the broken line. This keeps your repair neat and prevents paint from smearing onto adjacent lines.
- Prepare the Break: If there’s loose debris or old oxidized metal in the gap, gently scrape it away with the eraser pencil. You want a clean surface for the new connection.
- Apply Conductive Paint: Shake the bottle well. Using the fine brush included in the kit, apply a thin layer of paint over the break. Extend it about 1/8 inch past the visible gap on both sides. Ensure the paint bridges the gap completely.
- Let It Dry: This is critical. Wait at least 24 hours before testing. Rushing this step leads to flaking and failed repairs.
- Remove Tape and Test: Peel off the tape carefully. Turn on the defogger. Check if the previously dead section now heats up. Feel it with your hand after a minute or two.
If the first coat doesn’t bridge the gap fully, apply a second thin coat after the first dries. Don’t glob it on thick; conductivity drops with excessive thickness.
When to Call a Professional
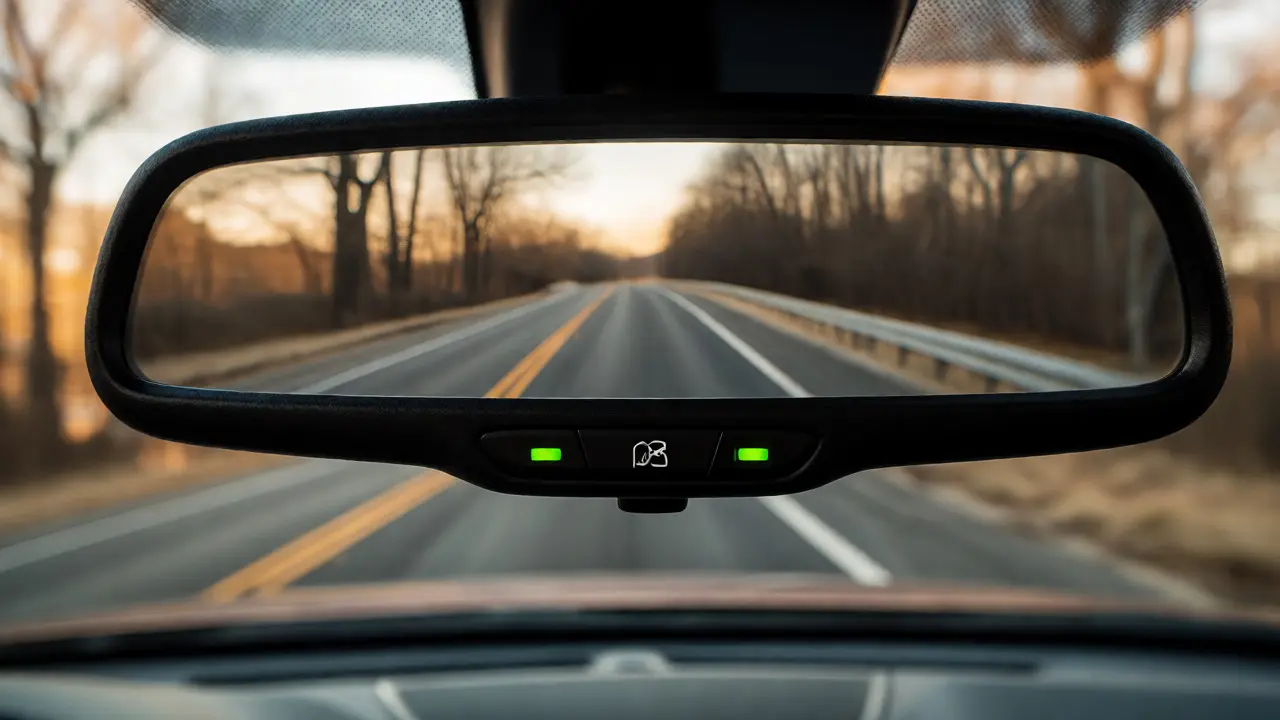
Sometimes, DIY isn’t the right move. If the bus bar (the vertical strip on the edge of the glass where all horizontal lines connect) is corroded or broken, painting won’t help. That requires specialized soldering or replacement of the entire glass assembly. Also, if your car has an ADAS (Advanced Driver Assistance Systems) camera mounted near the rearview mirror, messing with the glass alignment could require recalibration, which needs professional tools.
Additionally, if you suspect water intrusion causing corrosion inside the door jamb wiring harness, that’s an electrical diagnostic beyond simple glass work. In these cases, take it to a certified auto electrician. They can trace the wiring path and ensure the ground connections are solid.
| Repair Type | Estimated Cost | Time Required | Best For |
|---|---|---|---|
| Fuse Replacement | $5 - $15 | 10 minutes | Complete failure, no heat anywhere |
| Conductive Paint Kit | $15 - $30 | 1 hour + drying time | Small breaks in horizontal lines |
| Professional Line Repair | $75 - $150 | 1 - 2 hours | Multiple breaks or difficult access |
| Glass Replacement | $400 - $900+ | 3 - 5 hours | Cracked glass or damaged bus bars |
Maintenance Tips to Prevent Future Failures
Once your defogger is fixed, keep it that way. Avoid using abrasive cleaners or razor blades on the interior surface of the rear glass. Those tiny wires are fragile. When cleaning, use a soft microfiber cloth and mild glass cleaner. Never scrape ice off the rear window with a metal tool; let the defroster do its job or use a plastic scraper gently.
Also, be mindful of aftermarket accessories. Installing a dash cam or radar detector that draws power from the same circuit can sometimes overload older fuses. Check your amperage ratings if you add electronics. Regularly inspect the lines for fading, especially if you live in sunny climates like Southern California, though UV degradation is less common than physical damage.
Can I drive with a broken rear defogger?
Yes, you can drive safely, but it’s not ideal. You’ll lose visibility in foggy or rainy conditions, increasing accident risk. Some states may consider obstructed vision a safety violation during inspection, so check local laws.
How long does defogger repair paint last?
A properly applied repair with high-quality conductive paint can last several years, often the life of the glass. However, repeated thermal cycling (heating and cooling) can eventually cause cracks, requiring touch-ups.
Why did my defogger stop working suddenly?
Sudden total failure usually points to a blown fuse or faulty relay. Gradual failure, where fewer lines work over time, indicates aging conductive ink or physical damage from cleaning or impact.
Is it cheaper to repair or replace the rear window?
Repair is significantly cheaper. A kit costs under $30, while replacement ranges from $400 to over $900 including labor and calibration. Only replace if the glass is cracked or the bus bars are severely corroded.
Do heated mirrors use the same fuse as the rear defogger?
Often, yes. Many vehicles share a single circuit for the rear defogger and heated side mirrors. If both fail simultaneously, check the shared fuse or relay first.