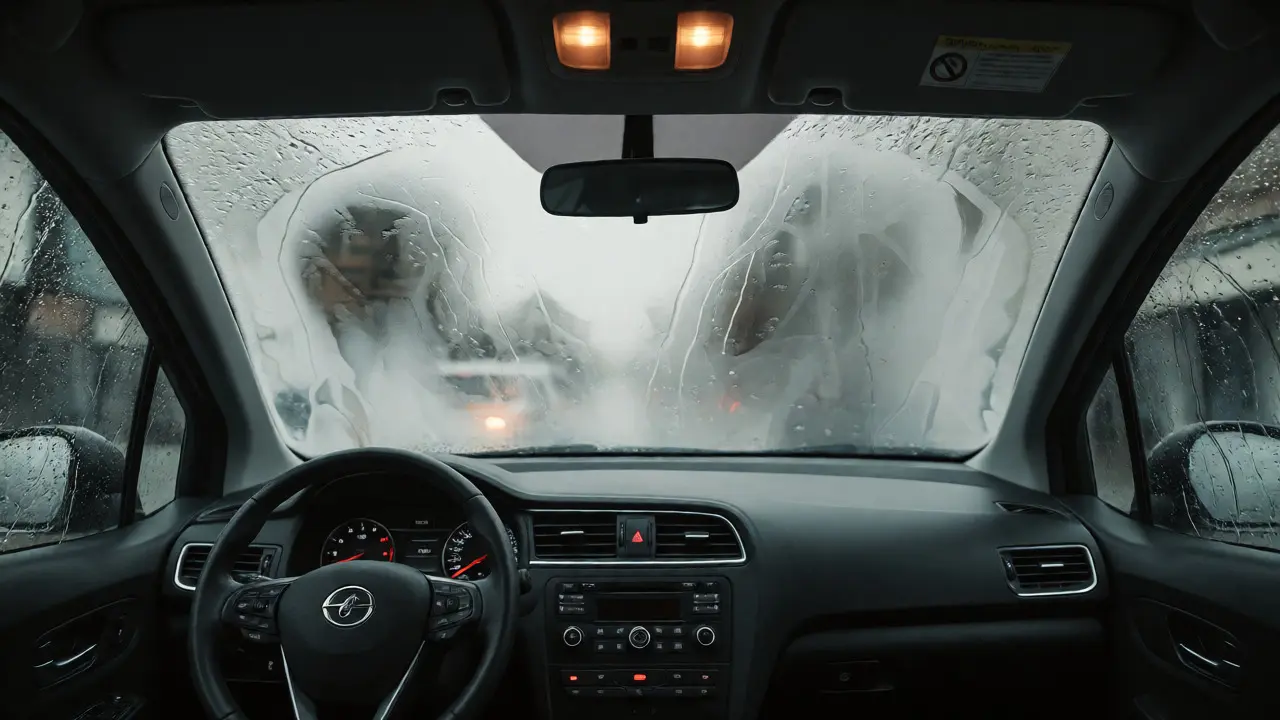
You’re driving down a wet Portland street, rain hammering the roof, and you glance in your rearview mirror. It’s blank. No cars behind you, no traffic lights, just a foggy white void. You hit the rear defroster button, wait ten seconds, twenty, thirty... nothing. The rear window defogger is dead.
This isn’t just an inconvenience; it’s a safety hazard. Without clear visibility out the back, changing lanes or backing up becomes a guessing game. Most people assume they need a brand-new heated rear windshield, which can cost hundreds of dollars. But here’s the good news: about 70% of these issues are simple electrical faults that don’t require replacing the entire glass pane. Whether it’s a blown fuse, a bad relay, or a snapped heating element, most problems have straightforward fixes.
Why Your Rear Defroster Stops Working
The system is surprisingly simple. When you press the button, power flows through a timer relay, travels along copper bus bars on the edges of the glass, and passes through thin horizontal wires embedded in the glass itself. These wires heat up, evaporating condensation. If any part of this circuit breaks, the whole chain fails.
Most failures fall into three buckets:
- Power Supply Issues: A blown fuse or faulty switch stops electricity from reaching the glass entirely.
- Circuit Interruptions: Broken heating elements (the visible lines) or corroded connections at the bus bars.
- Control Module Faults: The timer or body control module doesn’t send the signal to turn on.
Identifying which bucket your problem falls into saves you time and money. Before you buy replacement parts, grab a multimeter and do some basic diagnostics.
Step-by-Step Diagnosis: Is It Power or the Glass?
Start with the easiest checks. If the defroster light on your dashboard doesn’t even come on when you press the button, the issue is likely upstream-meaning before the electricity reaches the glass.
Check the fuse first. Locate your vehicle’s fuse box (usually under the dash or in the engine bay). Find the diagram on the cover and look for "REAR DEF" or "DEFOG." Pull the fuse and inspect it. If the metal filament inside is broken, replace it. If it looks fine, test it with a multimeter for continuity. A good fuse should read close to zero resistance.
If the fuse is good but there’s still no power, check the switch. Sometimes the plastic contact points wear out. You might need to bypass the switch temporarily by connecting two wires directly to see if the defroster kicks in. If it does, you’ve found your culprit: a bad switch.
Now, let’s say the light comes on, but the glass stays cold. This points to the glass or its connections. Feel the surface of the rear window after running it for five minutes. Does it get warm? If yes, the system works, but maybe the timer is too short or the ambient humidity is extreme. If it’s completely cold, we have a circuit break.
Inspecting the Heating Elements and Bus Bars
Look closely at the horizontal lines on your rear window. Are any of them visibly broken or disconnected? These are fragile. Even a small scratch from cleaning the glass can sever a line. If you see a gap, that’s your problem. However, if all lines look intact, the issue might be hidden at the edges.
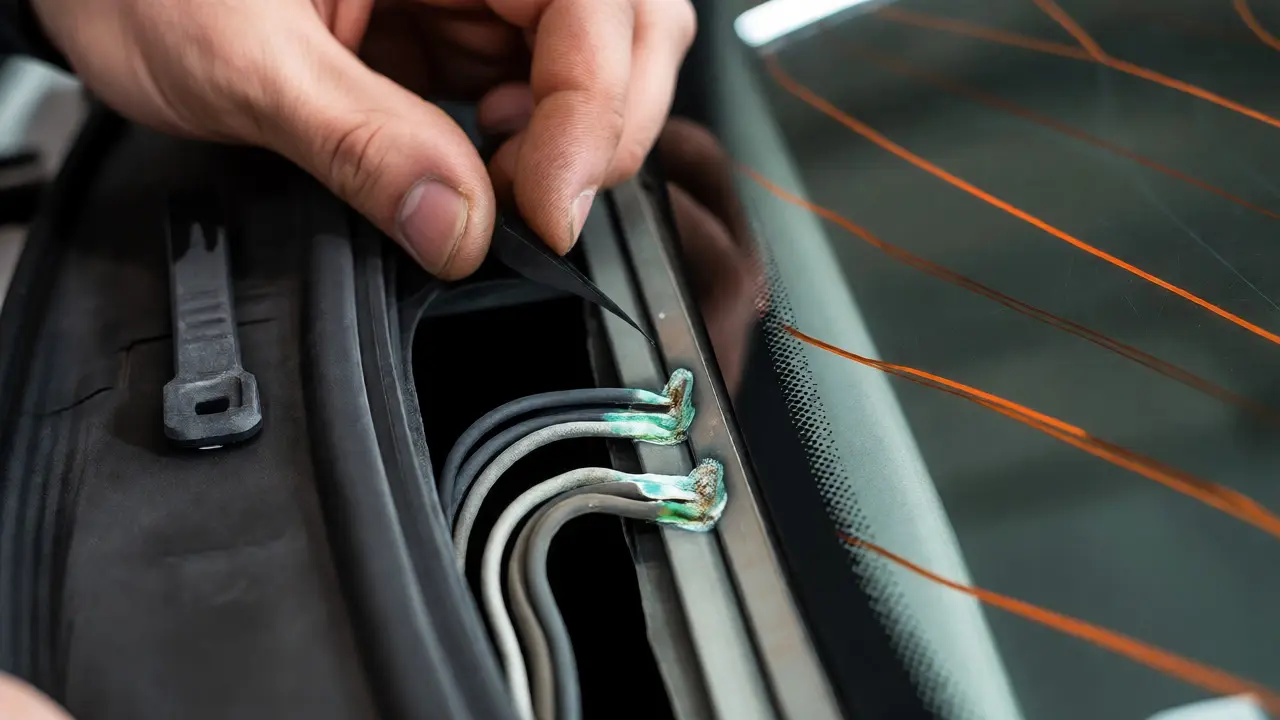
At the left and right sides of the glass, you’ll see vertical strips called bus bars. These distribute power to each horizontal wire. Over time, moisture seeps in around the sealant, causing corrosion where the lead-in wires connect to the bus bars. This is a very common failure point in older cars.
To check this, you need to peel back the trim piece covering the edge of the glass. Use a plastic pry tool to avoid cracking the glass. Look for green or white crusty buildup on the metal contacts. If you see corrosion, clean it with electrical contact cleaner and a toothbrush. Reconnect the leads firmly. Often, this simple cleaning restores full functionality.
Repairing Broken Defroster Lines
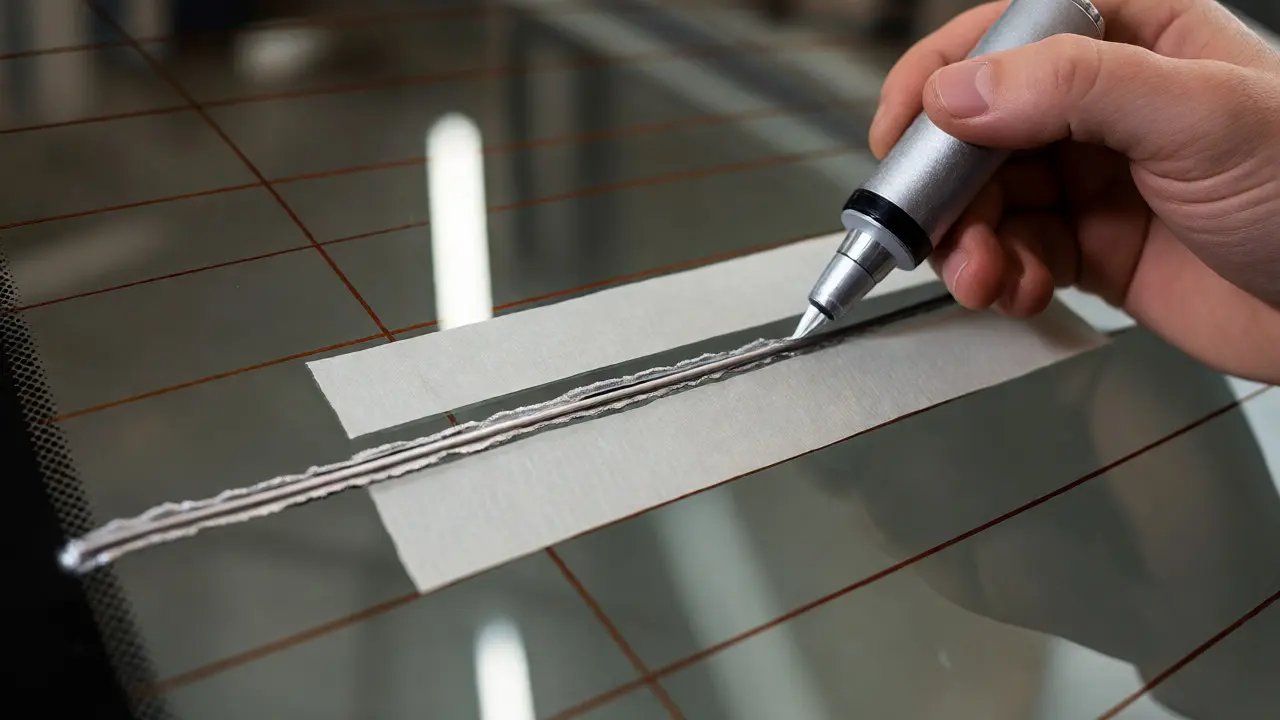
If you find a broken horizontal line, don’t panic. You don’t need new glass. You can repair it with a conductive silver paint kit, available at most auto parts stores for under $15.
- Clean the area: Use rubbing alcohol to remove dirt and grease around the break. Let it dry completely.
- Mask off: Place painter’s tape above and below the line to keep the paint straight.
- Apply the paint: Shake the pen well. Apply a thin layer over the break, extending slightly onto the existing line on both sides. Do not blob it on thickly.
- Dry time: Let it cure for at least 24 hours before turning the defroster on. Rushing this step causes the paint to flake off.
For multiple breaks, repeat the process. If the break is near the bus bar, ensure the paint makes solid contact with the vertical strip. One tip: apply two thin coats rather than one thick coat for better conductivity and durability.
When to Replace the Whole Unit
Sometimes, repair isn’t feasible. If the bus bar itself has corroded away completely, or if the internal wiring is severely damaged due to water intrusion, replacement might be cheaper than labor-intensive repairs.
| Issue | DIY Cost | Professional Cost | Recommended Action |
|---|---|---|---|
| Blown Fuse | $2-$5 | $50-$80 | DIY |
| Corroded Bus Bar Connection | $10-$20 (cleaner) | $100-$150 | DIY or Pro |
| Broken Heating Line (1-3) | $15 (kit) | $150-$200 | DIY |
| Multiple Broken Lines / Severe Corrosion | N/A | $300-$600 | Replace Glass |
| Faulty Relay/Switch | $20-$50 | $100-$200 | DIY or Pro |
Replacing the glass involves removing the old adhesive, installing the new pane, and reconnecting the antenna and camera modules if equipped. In modern cars with ADAS (Advanced Driver Assistance Systems), recalibration of cameras mounted on the rear glass might be required, adding to the cost.
Preventing Future Failures
Once you’ve fixed your defogger, keep it working longer. Avoid using abrasive cleaners or razor blades on the interior side of the glass. Microfiber cloths and ammonia-free glass cleaners are your best friends. Ammonia can degrade the plastic coating over time.
Also, try not to run the defroster for more than 15 minutes at a stretch unless necessary. While the timer usually shuts it off automatically, manually turning it off once the glass is clear reduces thermal stress on the elements. In winter, scrape ice gently rather than forcing the defroster to melt thick layers, which draws high current and stresses the connections.
How long does a rear window defogger last?
With proper care, a rear window defogger can last the life of the vehicle. However, heating elements typically begin to show signs of wear after 10-15 years, especially if exposed to frequent temperature extremes or harsh cleaning chemicals.
Can I drive without a working rear defroster?
Yes, legally you can drive, but it significantly reduces safety. Many states require functioning rear visibility aids. If you live in a rainy climate like Oregon, driving with a fogged rear window increases accident risk during lane changes and reversing.
Why did my defroster stop working suddenly?
Sudden failure is often due to a blown fuse or a tripped circuit breaker caused by a short circuit. Gradual failure, where only half the lines work, usually indicates a broken heating element or corroded bus bar connection.
Is it worth repairing a cracked rear window with a defroster?
If the crack is small and not spreading, you might be able to chip-repair it. However, if the crack crosses heating lines, repair kits may fail. For large cracks, replacement is safer and ensures the defroster remains functional.
What tools do I need for DIY defogger repair?
You will need a multimeter for testing voltage and continuity, a screwdriver set for removing trim panels, electrical contact cleaner, and a conductive silver paint kit for fixing broken lines. Safety glasses are recommended when prying trim pieces.