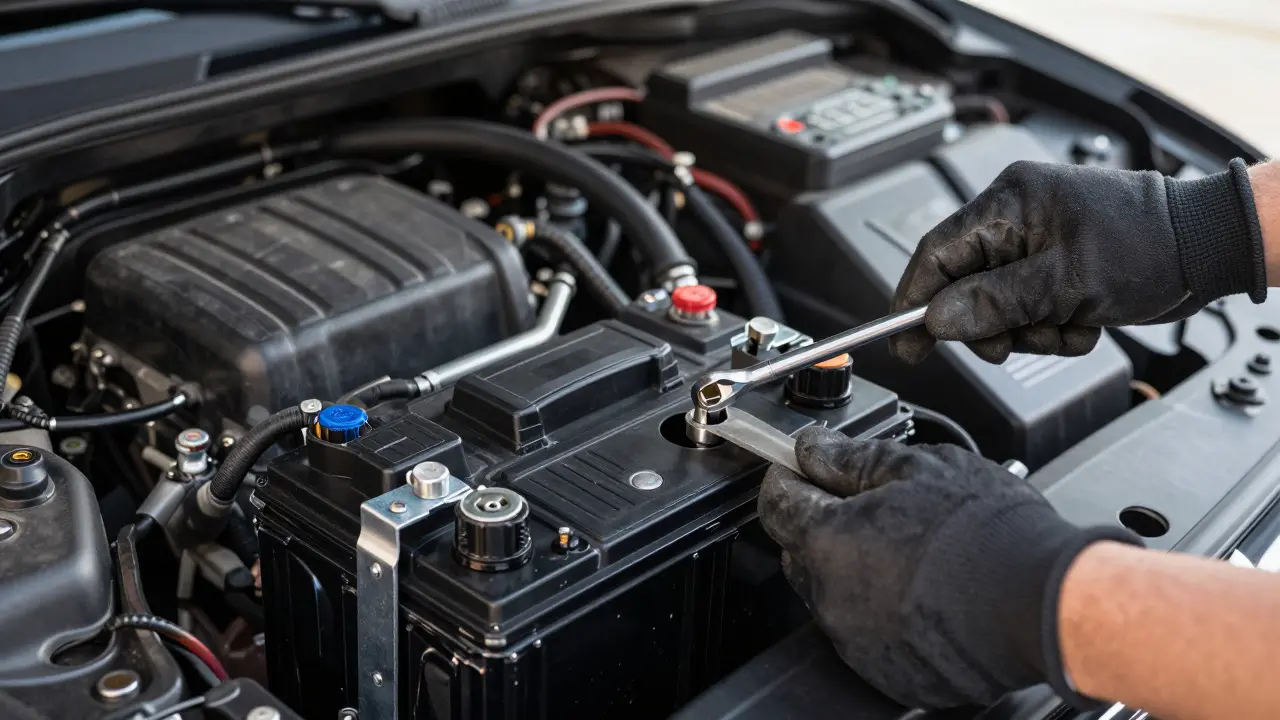
Ever tried to start your car, only for the dashboard to go completely dark? It’s a frustrating moment, especially when you’re relying on keyless start systems that rely entirely on stable power. Unlike older vehicles where you could just turn a key, modern cars use complex electronic modules that can lose their memory or settings if the 12-volt battery dies without proper handling. Replacing this component isn't just about swapping one box for another; it's about preserving the digital brain of your vehicle.
The core issue here is the difference between mechanical ignition and electronic authentication. In a traditional car, the physical act of turning the key sends a simple signal. In a keyless system, the Engine Control Unit (ECU) must communicate with your key fob via radio frequency to authorize startup. If the main battery voltage drops too low during the replacement process, these modules may reset, requiring reprogramming or causing erratic behavior in features like automatic headlights or seat memory. This guide walks you through the exact precautions and steps to avoid those headaches.
Why Keyless Systems Are Sensitive to Power Loss
Before touching a single terminal, you need to understand why this job is trickier than it looks. Modern vehicles house dozens of Electronic Control Units (ECUs) that store calibration data. When the primary battery disconnects, these units draw power from backup capacitors or smaller internal batteries. Once that reserve runs out-usually within 30 to 60 seconds-the ECU loses its "memory."
This loss of memory affects several critical functions:
- Key Fob Pairing: The transponder chip in your key may need to be re-registered with the immobilizer system.
- Radio Presets: Your favorite stations will likely reset to default frequencies.
- Clock Reset: The time and date will revert to zero, requiring manual adjustment.
- Window Auto-Up/Down: Many cars require a re-initialization sequence after power loss.
- Throttle Body Adaptation: While rare, some engines may idle roughly until the ECU recalibrates air intake sensors.
The risk isn't permanent damage to the hardware, but rather temporary inconvenience and potential security lockouts. For example, if the immobilizer module loses sync with your key, the engine might crank but refuse to fire. Knowing this helps you prioritize speed and stability during the swap.
Essential Tools and Safety Gear
You don’t need a garage full of high-end tools, but having the right equipment makes the difference between a smooth job and a messy one. Here is what you should have ready before opening the hood:
- Correct Size Wrenches or Sockets: Most car batteries use 8mm or 10mm terminals. A socket wrench is safer than an open-end wrench because it reduces the chance of slipping and shorting a terminal.
- Insulated Gloves: These protect against minor shocks and keep oils off your hands.
- Safety Glasses: Lead acid batteries contain sulfuric acid. Spills are rare, but a cracked casing can release mist.
- Terminal Cleaning Brush: Corrosion prevents good contact. A brass brush works best.
- Battery Terminal Protector Spray: Optional but recommended to prevent future corrosion.
- A Multimeter: To verify the new battery is fully charged before installation.
One crucial item often overlooked is a battery maintainer or a portable jump pack. While not strictly necessary for a quick swap, keeping the old battery connected via a maintainer while you work can help preserve ECU memory longer, giving you more breathing room.
Step-by-Step Replacement Process
Now that you know the risks and have your tools, let’s walk through the actual replacement. The order of operations matters significantly here. Always remove the negative terminal first, then the positive. This minimizes the risk of shorting the tool to the chassis (which is grounded) while working near the positive terminal.
1. Prepare the Vehicle
Turn off the engine and remove the key fob from the immediate vicinity. Some cars have a hidden physical key blade inside the fob. Keep this handy just in case the electronics fail completely. Open the hood and locate the battery. In many modern cars, the battery is under the hood, but some models hide it in the trunk or under a seat. Consult your owner’s manual if you’re unsure.
2. Disconnect the Negative Terminal First
Loosen the nut on the negative (black) cable. Pull the cable off the terminal and tuck it away so it doesn’t accidentally reconnect. This isolates the ground path. Next, loosen the positive (red) terminal. Remove the cable carefully. If there is significant white or blue corrosion, clean both the terminal post and the inside of the cable clamp with your brass brush. Apply a thin layer of dielectric grease to the cleaned posts to prevent future buildup.
3. Remove the Old Battery
Most batteries are held down by a metal bracket or a plastic tray. Loosen the hold-down bolt or clip. Lift the battery straight up. Be careful; even a dead battery weighs 40 to 50 pounds. Set it aside on a flat surface. Check the date code on the top of the old battery to see how long it was in service. This helps you gauge the health of your charging system later.
4. Install the New Battery
Place the new battery into the tray. Ensure the positive and negative terminals align with the existing cables. Tighten the hold-down device securely. A loose battery can vibrate and crack the case over time. Connect the positive terminal first, then the negative. Tighten both nuts until snug, but don’t overtighten, which can strip the threads or crack the terminal.
5. Verify Voltage and Connections
Use your multimeter to check the voltage at the terminals. A fully charged 12V battery should read between 12.6 and 12.7 volts. If it reads below 12.4, the battery may not be fully charged or could be defective. Ensure no wires are pinched under the battery or bracket.
Post-Installation Checks and Programming
Once the new battery is installed and secured, you aren’t done yet. You need to ensure the car’s systems recognize the new power source. Start the engine and let it run for a few minutes. This allows the alternator to charge the battery and confirms the charging system is working correctly. Use your multimeter to check the voltage at the battery terminals with the engine running. It should read between 13.8 and 14.4 volts. If it’s lower, your alternator might be failing, which would drain the new battery quickly.
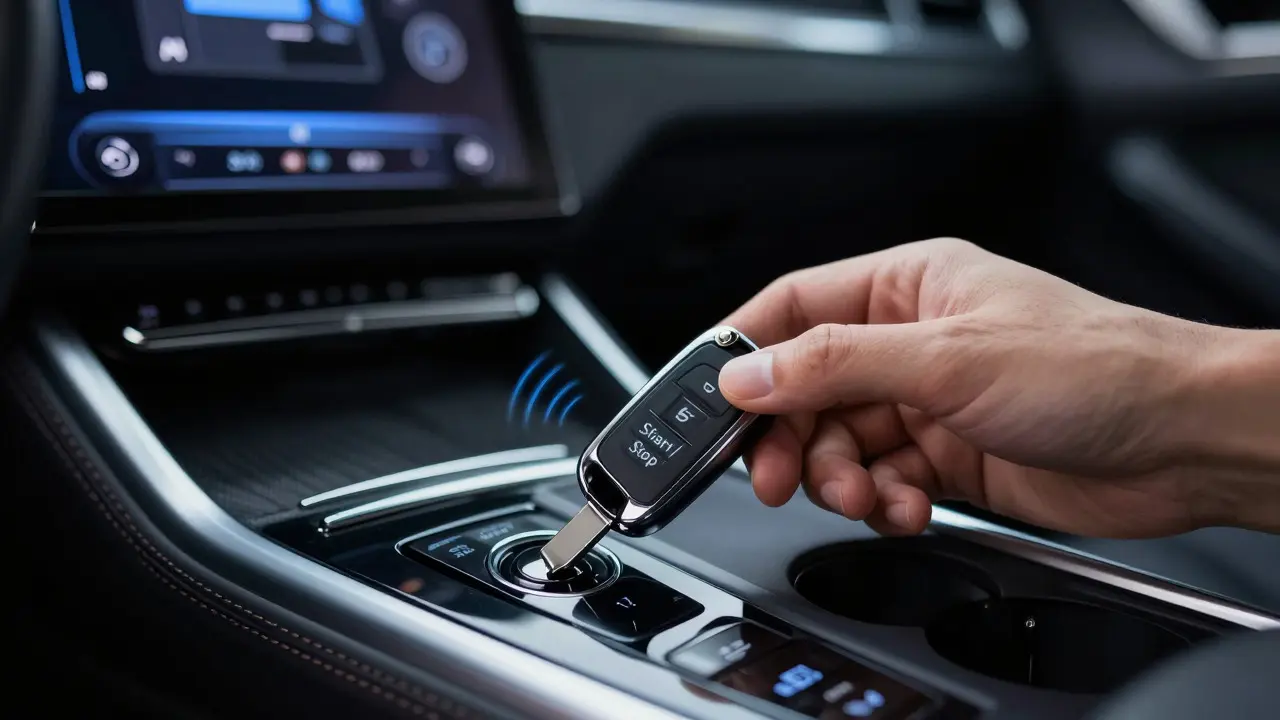
Next, address the keyless system. Insert the physical key blade into the ignition slot (if accessible) and turn it to the "On" position without starting the engine. Wait for the dashboard lights to stabilize. Then, try starting the car using the normal push-button method. If the car starts immediately, you’re good. If it cranks but doesn’t start, place the key fob directly against the start button. Many cars have a backup sensor that detects the key’s proximity even if the radio signal is weak or desynchronized.
If the car still won’t start, you may need to perform a key re-synchronization. This usually involves turning the ignition on and off three times rapidly, or holding the start button for 15 seconds. Refer to your owner’s manual for the specific procedure for your make and model. For complex luxury vehicles, a dealer visit might be necessary to program the key via OBD-II port.

Common Mistakes to Avoid
Even experienced DIYers make errors that lead to frustration. Here are the most common pitfalls:
- Mixing Up Terminals: Double-check polarity before connecting. Reversing them can blow fuses instantly.
- Ignoring Corrosion: Installing a new battery onto dirty terminals leads to poor conductivity and early failure.
- Forgetting the Hold-Down: A vibrating battery is a cracked battery. Always secure it properly.
- Using a Weak Charger: If you used a charger to boost the old battery, ensure the new one is fully charged before driving long distances.
- Not Testing the Alternator: Blaming the battery for a bad alternator is a classic error. Always test charging voltage after installation.
When to Call a Professional
While replacing a battery is a manageable task for most drivers, certain situations warrant professional help. If your car has a hybrid system, the high-voltage battery is separate, but the 12V auxiliary battery still needs care. However, if you encounter stubborn bolts, inaccessible locations, or persistent key fob issues after re-syncing, a technician with specialized diagnostic tools can save you time. They can also scan for stored error codes that might indicate deeper electrical issues masked by the low battery state.
Do I need to reprogram my key fob after changing the battery?
Usually, no. Most modern cars retain key pairing data in non-volatile memory. However, if the power drop causes the immobilizer module to reset, you may need to perform a simple re-sync procedure described in your owner’s manual. Only in rare cases involving major ECU resets does dealer-level programming become necessary.
How long does a typical car battery last in a keyless vehicle?
Keyless systems draw more standby power than traditional cars due to constant radio scanning for the fob. Expect a lifespan of 3 to 5 years, slightly shorter than the 4 to 6 years typical for conventional vehicles. Extreme temperatures accelerate degradation.
Can I drive the car immediately after installing a new battery?
Yes, provided the battery is fully charged and connections are tight. Just ensure the voltage reads above 12.4 volts before driving. If you bought a pre-charged battery from a retailer, it’s ready to go. If you charged it yourself, wait until the charger indicates completion.
What should I do if the car cranks but won’t start after battery replacement?
This usually indicates a key fob communication issue. Place the key fob directly on the start button and press again. If that fails, check the fuse box for any blown fuses related to the immobilizer or ignition system. If the problem persists, the fuel pump relay may have reset and needs a cycle to re-engage.
Is it safe to use a universal fit battery instead of the OEM specification?
Generally, yes, as long as the group size, terminal orientation, and Cold Cranking Amps (CCA) match or exceed the original. Using a battery with higher CCA is beneficial in cold climates. Avoid batteries with different terminal positions unless you plan to relocate the cables, which adds complexity.