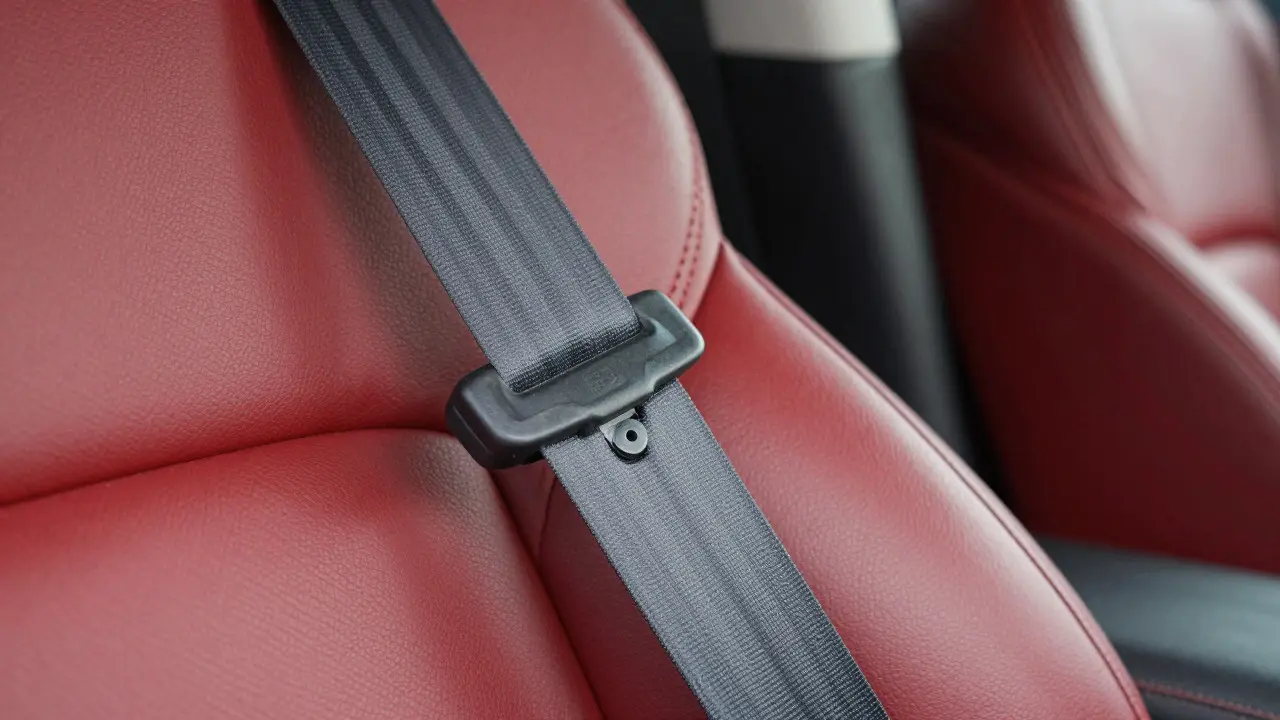
Imagine opening your car door to a cabin that looks exactly how you want it. No more mismatched colors or frayed edges ruining the vibe. You’re not just fixing a broken part; you’re upgrading your daily drive’s personality. Replacing seat belts is one of the most overlooked ways to refresh an interior, yet it offers massive visual impact for relatively low effort.
Most people assume you have to stick with factory gray or black webbing. That’s a myth. Modern automotive upholstery shops and DIY kits allow you to match specific hex codes, choose unique textures, and even add stitching details. Whether you’re restoring a classic muscle car or modernizing a daily commuter, getting this right matters for both aesthetics and safety compliance.
Why Factory Colors Often Fall Short
Car manufacturers prioritize cost efficiency over aesthetic perfection when producing standard safety harnesses. This means the factory seat belts are often a generic dark gray or dull black that clashes with premium interiors. If you have a red leather interior, those gray belts look like an afterthought. They break the visual flow and make the cabin feel dated immediately.
The issue isn’t just color; it’s consistency. Over time, UV exposure causes webbing to fade unevenly. One side might look charcoal while the other looks brown. When you replace them, you get a fresh start. You can select a color that matches your headliner, door panels, or even your steering wheel trim. This level of control transforms the perceived value of the vehicle. It signals care and attention to detail that potential buyers notice instantly.
Understanding Webbing Materials and Durability
Before picking a color, you need to understand what you’re working with. The core material is almost always polyester. Polyester webbing is strong, resistant to stretching, and handles heat well. However, the finish matters. Standard webbing has a matte finish, which hides dirt but looks flat. Premium options offer satin or textured finishes that catch light differently, adding depth to the interior.
Some enthusiasts opt for nylon blends, though these are less common in OEM applications. Nylon is softer to the touch but absorbs moisture more readily. For cars that see heavy rain or sweat, polyester remains the superior choice. When sourcing custom replacements, check the tensile strength rating. It should meet or exceed Federal Motor Vehicle Safety Standard (FMVSS) 209 requirements. This ensures that while you’re changing the look, you aren’t compromising on life-saving performance.
- Polyester: Best for durability and UV resistance. Standard for most sedans and SUVs.
- Nylon: Softer texture, better for vintage restorations where feel matters more than long-term outdoor exposure.
- Blended Fabrics: Emerging option offering unique patterns, but requires careful verification of safety ratings.
Matching Colors: Beyond Basic Black and Gray
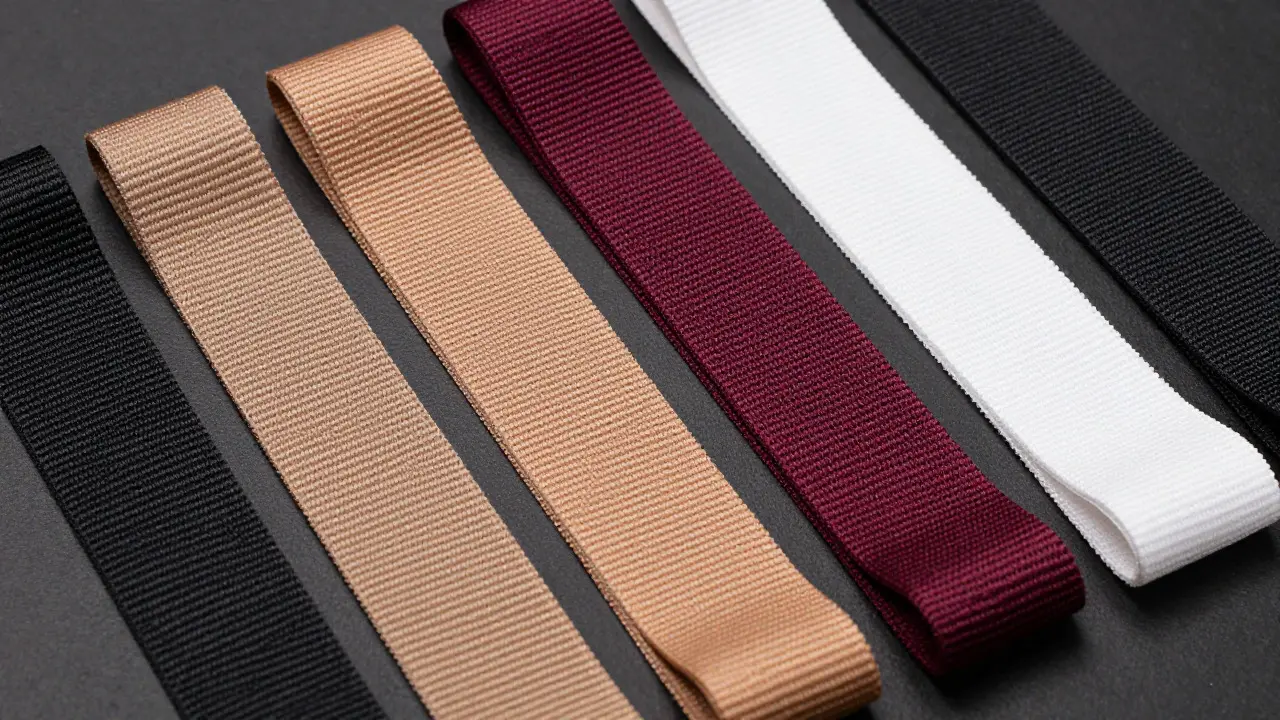
This is where the fun begins. You don’t have to limit yourself to standard shades. Many upholstery suppliers now offer PMS (Pantone Matching System) color matching for webbing. This allows you to send in a swatch from your door panel or seat stitching and get an exact match. It’s a game-changer for high-end builds.
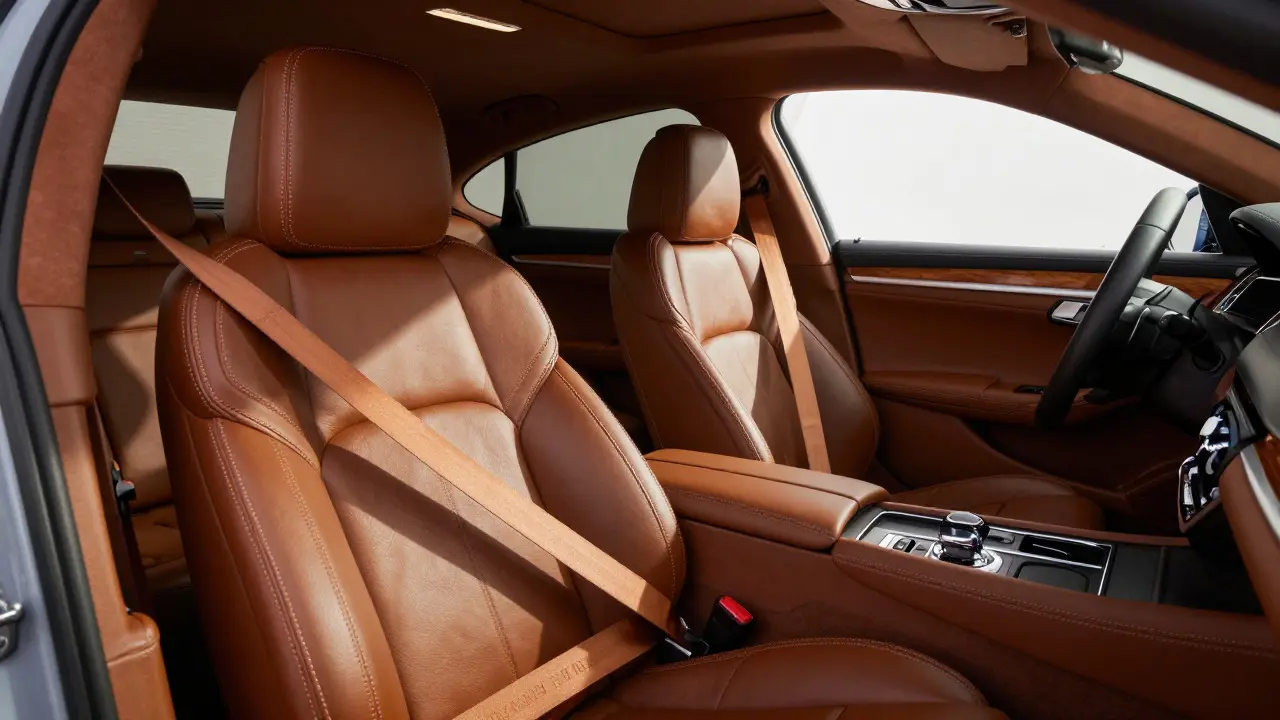
Consider the psychology of color in a confined space. Dark colors recede, making the cabin feel larger and more focused. Light colors expand space but show dirt faster. Neutral tones like tan or beige work well with wood grain accents, creating a warm, inviting atmosphere. Bold colors like red or blue can serve as accent pieces, drawing the eye and defining the car’s character.
DIY vs. Professional Installation
You have two paths: do it yourself or hire a pro. DIY is feasible if you have basic mechanical skills. The process involves removing the old buckle assembly, threading the new webbing through the retractor mechanism, and securing the tongue latch. It takes about two hours per seat. The risk? Misalignment. If the webbing twists during installation, it won’t lay flat against your chest, causing discomfort and reducing effectiveness in a crash.Professional installation costs more but guarantees precision. Upholstery shops have specialized tools to tension the webbing correctly. They also handle the retractor inspection, ensuring the locking mechanism works smoothly. If your retractor is old or sticky, a pro can clean or replace it simultaneously. This saves you from discovering a malfunction weeks later. For most people, the peace of mind is worth the extra $100-$200 per pair.
Safety Standards and Compliance Checks
Style shouldn’t come at the expense of safety. Every replacement belt must comply with local regulations. In the United States, FMVSS 209 sets the standards for occupant restraint systems. This includes force limits, webbing width, and buckle engagement strength. When buying aftermarket parts, look for the DOT (Department of Transportation) certification stamp on the packaging or the webbing itself.
Don’t skip the inspection. Even if you buy certified parts, verify the condition of the anchor points. Rust or corrosion on the mounting brackets can compromise the entire system. A simple visual check and a tug test on the existing hardware will tell you if you need to replace the anchors too. This is a critical step that many overlook until it’s too late.
Styling Tips for a Cohesive Look
Once you’ve chosen your color, think about the details. Can you add contrast stitching? Some custom webbing comes with edge stitching in a different color, adding a subtle pop. If you’re going for a racing-inspired look, consider adding a small logo patch near the buckle. These small touches elevate the design from “replacement” to “custom feature.”
Coordinate with other interior elements. If your seat belts are red, ensure your floor mats or headrest covers echo that tone. Dissonance happens when only one element stands out. Harmony is achieved when multiple components share a palette. Take photos of your interior before starting. Use a color picker app to analyze the dominant hues. This data-driven approach removes guesswork and ensures a professional result.
Frequently Asked Questions
Can I change the color of my seat belts without replacing the whole unit?
Generally, no. While you can dye fabric, webbing is tightly woven and difficult to achieve an even color on. Dyeing can also weaken the fibers. Replacing the webbing is the recommended method for a durable, consistent color change.
How much does custom seat belt replacement cost?
Parts alone range from $50 to $150 per set depending on length and material. Professional installation typically adds $100 to $200 per pair. Total cost for a full front-seat upgrade usually falls between $200 and $500.
Do custom colors affect insurance claims?
No, provided the belts meet FMVSS 209 standards. Insurance companies care about functionality and safety certification, not the color of the webbing. Keep receipts and proof of DOT certification just in case.
What is the lifespan of a custom seat belt?
Like factory belts, custom ones should be inspected every 5 years. With proper care, they last 10 to 15 years. UV exposure and friction from clothing are the main factors that degrade the webbing over time.
Can I use different colors for driver and passenger sides?
Yes, but it’s risky aesthetically. Asymmetry can look intentional in some designs, but often it looks like a mistake. Stick to matching colors for a balanced look unless you have a very specific design concept in mind.