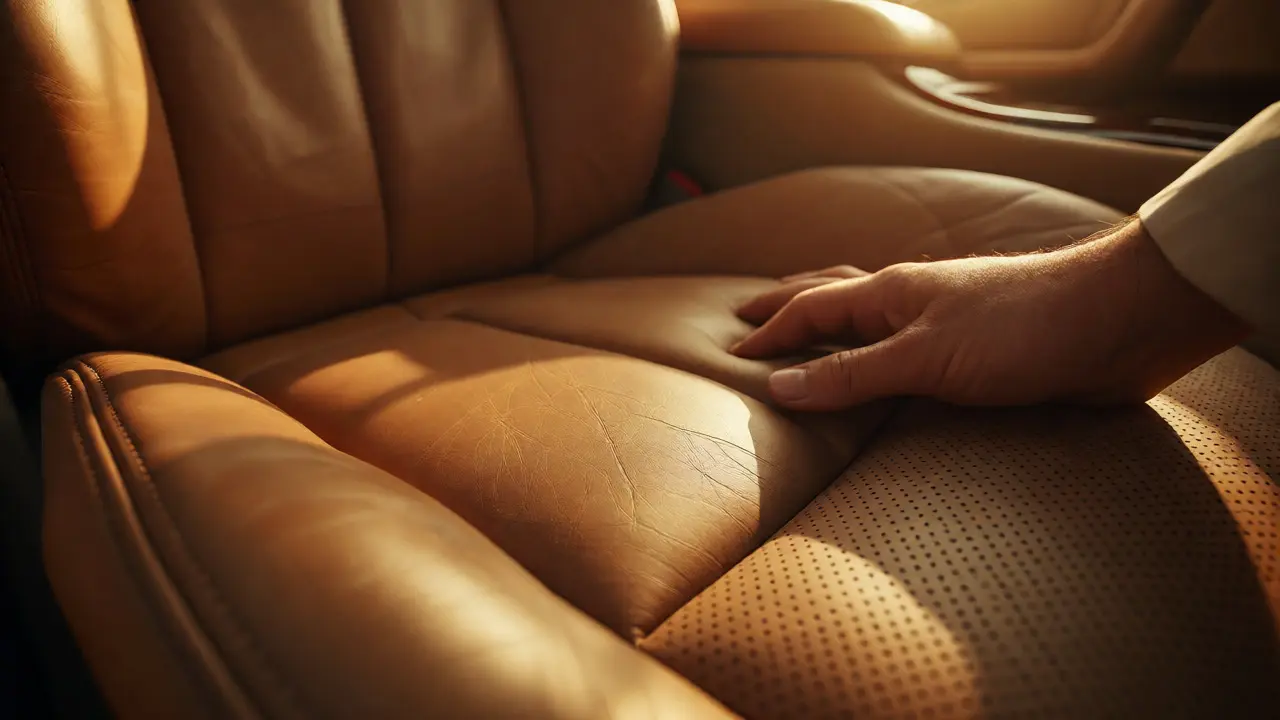
You know that feeling when you slide into your driver’s seat after a long summer drive? The vinyl sticks to your back, or worse, the leather feels dry and cracked under your palms. It’s not just uncomfortable; it’s a sign that your seat conditioning routine is missing. Most drivers obsess over waxing the exterior paint but ignore the surfaces they touch every single day. Your seats take the brunt of body oils, sweat, spilled coffee, and UV radiation. If you want your car interior to look new and feel luxurious again, you need a strategy tailored to your specific upholstery material.
This guide breaks down exactly how to revive both fabric and leather seats. We aren’t talking about generic "wipe-down" advice. We’re diving into the chemistry of what damages your seats and the specific steps to reverse that damage. Whether you have a vintage convertible with original hide or a modern crossover with cloth interiors, the goal is the same: restore comfort, extend lifespan, and boost resale value.
Why Your Seats Degrade Faster Than You Think
Before you buy any products, you need to understand the enemy. Seat degradation isn't just about dirt accumulation; it’s a chemical breakdown. For leather, the primary culprits are UV rays and heat. Sunlight breaks down the natural oils in the hide, causing it to become brittle. Once the protective topcoat cracks, moisture escapes, leading to permanent fissures. This process accelerates in hot climates, but even in cooler regions like Portland, Oregon, where I live, winter heating vents can dry out leather significantly.
Fabric faces a different set of challenges. Modern car fabrics are often engineered synthetics like polyester or nylon blends designed for durability and stain resistance. However, these fibers trap dust, skin cells, and allergens deep within the weave. Over time, this grime acts as an abrasive. Every time you shift position, you grind microscopic particles against the fibers, wearing them down. Additionally, spills create protein-based stains that bond chemically with the fabric if left untreated. Ignoring small spots leads to large, discolored patches that no amount of vacuuming will fix.
Identifying Your Upholstery Type Correctly
Misidentifying your seat material is the fastest way to ruin them. Using a harsh cleaner on delicate suede can strip the nap permanently, while using a heavy conditioner on breathable mesh can clog the pores and cause mildew. Here is how to tell the difference without guessing:
- Genuine Leather: Look at the grain. Real leather has irregular patterns and visible pores. Press your finger into it; genuine hide will wrinkle slightly around the pressure point. It also has a distinct, rich smell that synthetic materials lack.
- Leatherette (Vinyl/Faux Leather): This is common in base-model cars. It feels smoother and more uniform than real leather. When pressed, it tends to dent rather than wrinkle. It is less porous and easier to clean but prone to cracking along fold lines.
- Cloth/Fabric: Obvious by texture. Check the tag inside the door jamb or under the seat cushion. It usually lists the fiber content. Note if it is treated with a stain-resistant coating (often called Scotchgard), which changes how liquids bead up.
- Alcantara/Suede: A premium microfiber material used in luxury sports cars. It has a soft, fuzzy texture. Never use water-based cleaners on Alcantara unless specifically approved, as water can leave ring marks.
Restoring Leather Seats: The Three-Step Process
Leather requires a gentle approach. You cannot just spray and wipe. You need to lift contaminants first, then replenish lost oils. Skipping the cleaning step means you are sealing dirt into the leather, which looks worse later.
Step 1: Deep Cleaning
Start by vacuuming the crevices thoroughly. Use a brush attachment to agitate the seams where crumbs and dust collect. Next, apply a pH-balanced leather cleaner. Avoid household degreasers like dish soap, which are too alkaline and strip natural oils. Spray the cleaner onto a microfiber towel, not directly onto the seat, to prevent overspray onto plastics or electronics. Work in small sections, using circular motions to lift grime from the grain. Wipe away the residue with a second clean towel before moving on.
Step 2: Conditioning
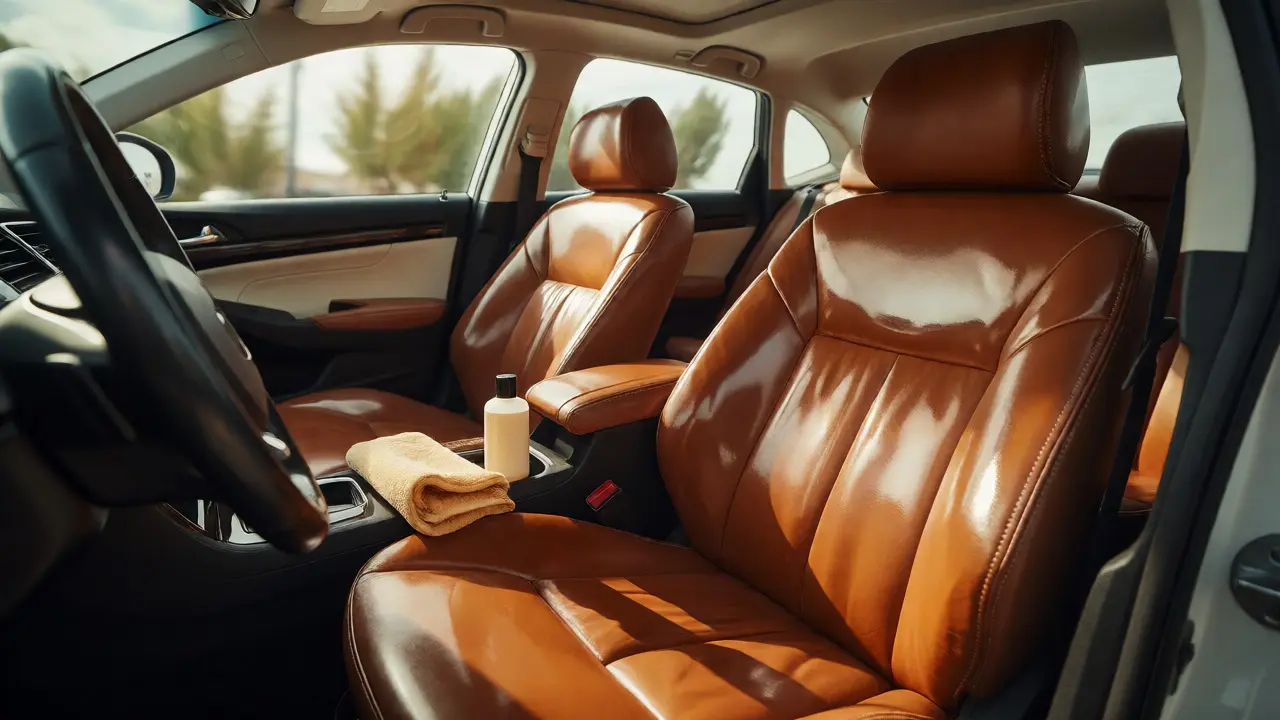
Once the leather is clean and dry, it’s time to condition. This is the core of seat conditioning. Choose a conditioner based on the age of your leather. Newer leather needs light hydration; older, drier leather needs richer creams containing lanolin or beeswax. Apply a thin layer with an applicator pad. Let it soak in for 10-15 minutes. If the leather absorbs it quickly, apply a second coat. Buff off any excess with a dry microfiber towel. Leaving excess conditioner creates a greasy surface that attracts dust immediately.
Step 3: Protection
If you park outside, add a UV protectant. Some conditioners include SPF, but dedicated sprays offer stronger defense. This layer reflects sunlight, slowing the photo-degradation process. Reapply this every three months during peak sun seasons.
Tackling Fabric Seats: Stain Removal and Deodorizing
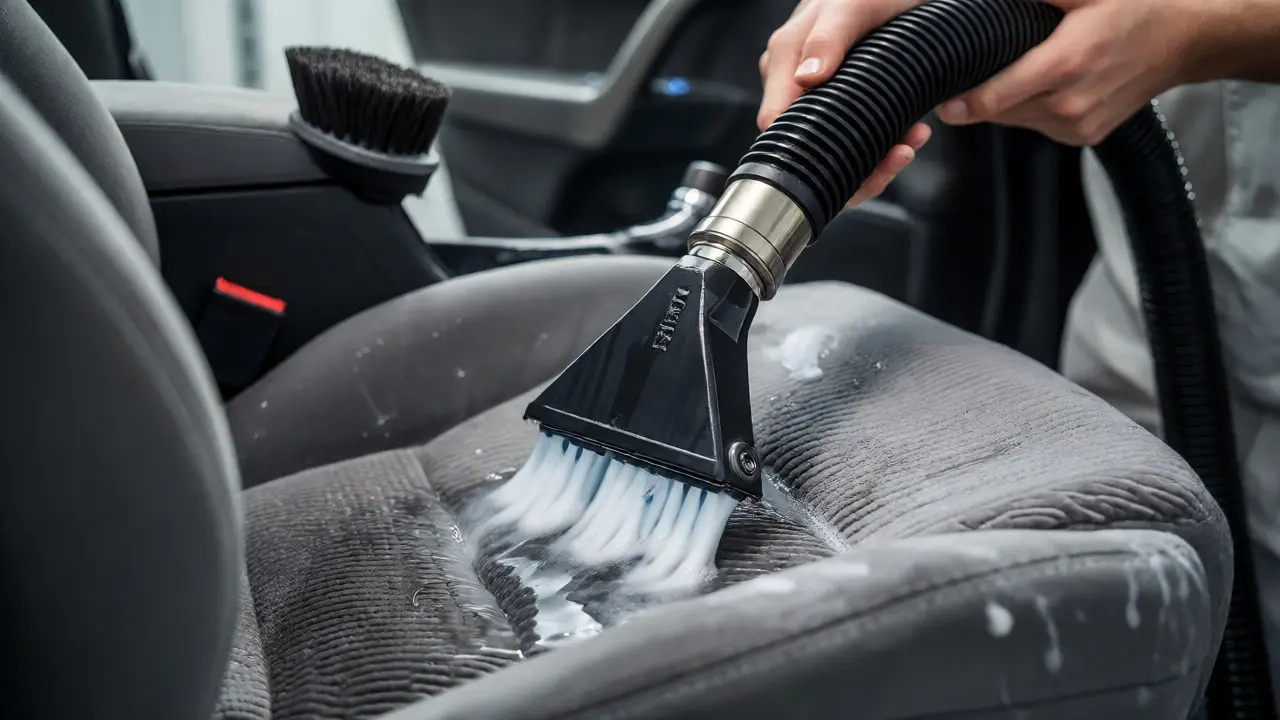
Fabric cleaning is messy if done wrong, so preparation is key. You need extraction power, whether through a wet-dry vac or professional steam cleaning.
Pre-Treatment for Stains
Blot fresh spills immediately. Do not rub; rubbing pushes the liquid deeper. For old stains, identify the type. Protein stains (blood, milk) require enzymatic cleaners. Oil-based stains (grease, makeup) need solvent-based degreasers. Test any product on a hidden area first. Apply the cleaner, let it dwell for five minutes, and blot with a white cloth. White cloths show the transferred dirt, helping you know when to stop.
Deep Extraction
For overall refreshing, use a carpet extractor or hire a detailer with one. Inject a foam cleaner into the fabric, agitate gently with a stiff-bristled brush, and extract the dirty water. Repeat until the extracted water runs clear. This removes the embedded grit that causes abrasion. Allow the seats to air dry completely. Speed up drying by opening doors or using a fan. Damp fabric breeds mold and smells musty within hours.
Odor Elimination
If cleaning doesn’t remove odors, the issue might be bacterial growth in the foam padding. Baking soda works well here. Sprinkle generously, let it sit for an hour, and vacuum thoroughly. For stubborn smells, consider an ozone generator treatment, which oxidizes odor molecules at a cellular level.
Comparison: DIY Kits vs. Professional Detailing
Deciding between doing it yourself and hiring a pro depends on the severity of wear and your budget. Here is a realistic breakdown of what each option offers.
| Feature | DIY Approach | Professional Detailing |
|---|---|---|
| Cost | $30-$60 per kit | $150-$400+ per vehicle |
| Time Investment | 2-4 hours per session | 1-2 days drop-off |
| Equipment Quality | Hand tools, basic vacuums | Industrial extractors, steam cleaners, ozone machines |
| Risk Factor | High if inexperienced (over-wetting, wrong chemicals) | Low (trained technicians) |
| Best For | Maintenance, minor stains, regular upkeep | Heavy staining, pet accidents, deep-set odors, luxury materials |
If your seats are merely dusty and lightly stained, a $40 leather care kit or fabric shampoo is sufficient. But if you have vomit stains, pet urine, or cracked leather that hasn’t been touched in years, save yourself the frustration and pay a professional. They have access to commercial-grade enzymes and extraction power that home units simply can’t match.
Common Mistakes That Ruin Seats
Even well-intentioned owners make errors that shorten seat life. Avoid these pitfalls:
- Using Silicone-Based Products: These give a shiny, wet look but don’t penetrate. They build up on the surface, attracting dust and eventually becoming sticky. Stick to water-based or oil-based conditioners.
- Over-Saturating Fabric: Soaking seats with water prevents the foam underneath from drying. This leads to rust on metal frames and persistent mold smells. Always aim for damp, not soaked.
- Sunbathing During Cleaning: Clean leather in the shade. Heat causes cleaners to evaporate too quickly, leaving residues behind. Same goes for fabric; direct sun bakes stains into the fibers.
- Ignoring Seat Belts: Pull the belts all the way out and clamp them. Wash them with warm soapy water. Grimy belts drag dirt back onto clean seats every time you buckle up.
Maintenance Schedule for Long-Term Results
Consistency beats intensity. You don’t need to deep clean every week, but you do need a rhythm. Adjust this schedule based on usage:
- Weekly: Vacuum seats and crevices. Wipe down leather with a dry microfiber to remove surface dust.
- Monthly: Spot-clean any new stains immediately. Check for signs of drying in leather.
- Quarterly: Full clean and condition leather. Steam clean or extract fabric seats.
- Annually: Inspect stitching for tears. Apply a heavy-duty protectant to leather. Consider professional ozone treatment if odors persist.
By sticking to this cadence, you prevent small issues from becoming expensive repairs. Reupholstering a single seat can cost $500-$1,000. Proper seat conditioning costs pennies on the dollar.
Can I use baby wipes to clean my leather seats?
It is generally not recommended. Many baby wipes contain lotions, fragrances, or alcohol that can leave a sticky residue or dry out the leather over time. While they might work in an emergency, they are not suitable for regular maintenance. Stick to dedicated leather wipes or a microfiber towel with a proper cleaner.
How often should I condition my leather seats?
Every 3 to 6 months is ideal for most vehicles. If you live in a hot, sunny climate or park outside frequently, aim for every 3 months. In cooler, shaded environments, every 6 months may suffice. Watch the leather's appearance; if it looks dull or feels tight, it needs conditioning sooner.
Will vinegar clean fabric car seats?
Yes, diluted white vinegar (1 part vinegar to 2 parts water) can help remove odors and light stains from fabric. It is a mild acid that cuts through grease and neutralizes bacteria. However, always test it on a hidden spot first to ensure it doesn't discolor the dye. Rinse with plain water afterward to remove the vinegar smell.
What is the best way to remove pet hair from fabric seats?
Rubber gloves work wonders. Put on a pair of rubber dishwashing gloves and run your hands over the fabric in sweeping motions. The static electricity and friction cause the hair to ball up, making it easy to pick off. Alternatively, use a pumice stone designed for pet hair, but be gentle to avoid snagging delicate weaves.
Does seat conditioning improve resale value?
Absolutely. Buyers judge a car's condition largely by its interior. Cracked leather or stained fabric suggests neglect, implying the mechanical components might also be poorly maintained. Well-conditioned seats signal care and attention to detail, potentially adding hundreds or thousands to the final sale price compared to a worn interior.