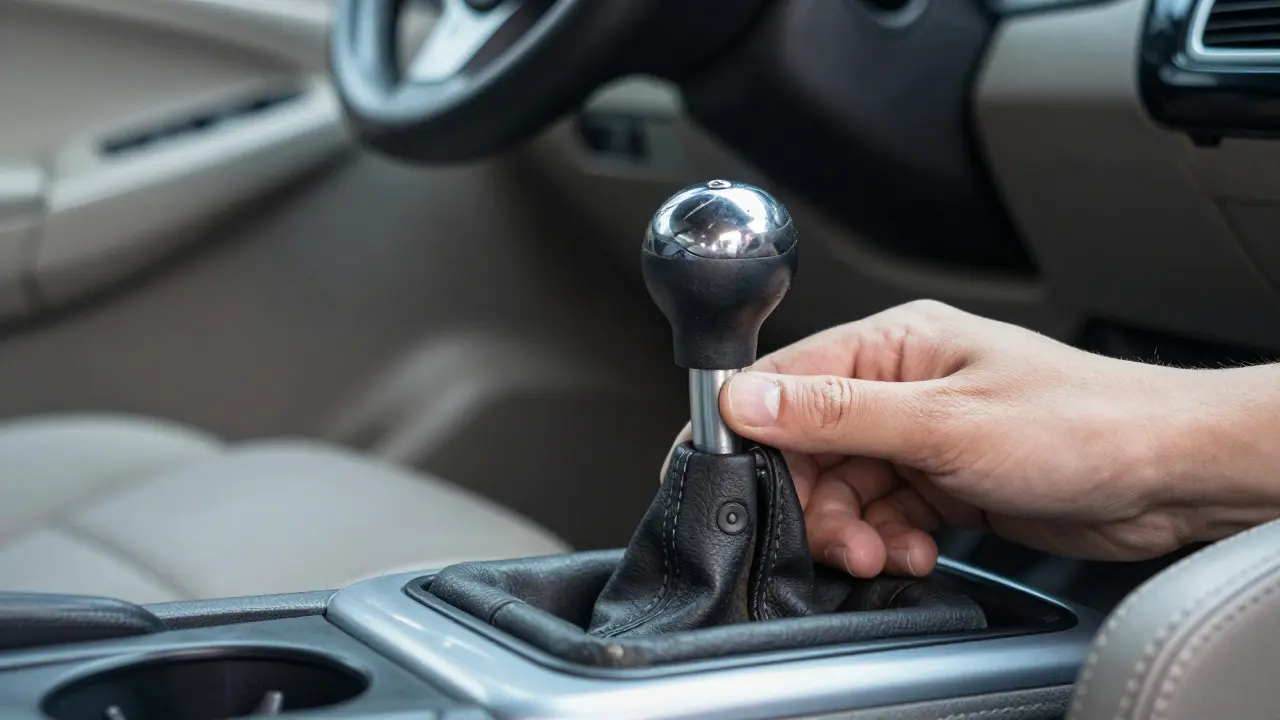
Imagine pulling away from a stoplight and the car lurches forward before you've fully engaged first gear. Or maybe second gear refuses to click in unless you pump the clutch pedal rapidly. If your shifter cable is a mechanical linkage that connects the gear shift lever inside the cabin to the transmission selector mechanism. When this cable stretches or gets out of alignment, the connection between your hand and the gearbox breaks down. The result? Grinding noises, missed shifts, and gears that feel like they're fighting back. Most drivers assume a grinding gearbox means the entire transmission needs replacing-a job that can cost thousands. But in many cases, the culprit is just a few inches of slack in the shifter cable. Adjusting it is one of the most cost-effective repairs you can perform on a manual vehicle. It requires basic tools, about an hour of your time, and a willingness to get under the hood. This guide walks you through exactly how to diagnose the issue, adjust the cable properly, and know when it's time to replace the part entirely.
Why Gears Become Hard to Engage
Before you start turning wrenches, you need to confirm that the shifter cable is actually the problem. Hard shifting can stem from several sources, including low fluid levels, worn synchronizers, or a failing clutch. However, shifter cable issues have distinct symptoms that make them easier to identify. If you hear a grinding noise specifically when trying to engage a gear while the engine is running, but the same gear slides in smoothly with the engine off, the issue is likely mechanical linkage rather than internal damage. A stretched transmission cable creates a gap in movement. Your shifter moves, but the signal doesn't reach the gearbox until the slack is taken up. This delay causes the synchronizer rings to fail at matching speeds, leading to the dreaded grind. Common signs include:- Gears engaging only after pumping the clutch pedal multiple times. >A noticeable "dead spot" or looseness at the top of the shifter travel.
If you experience these symptoms, especially if they worsen as the car cools down (because metal contracts), the shifter cable is the prime suspect. Always rule out simple fixes like checking the clutch hydraulic system for leaks or air bubbles before diving into cable adjustments, as a non-releasing clutch will cause grinding regardless of cable tension.
Tools You Need for the Job
You don't need a professional garage setup to fix this. Most DIY mechanics can handle shifter cable adjustment with a standard toolkit. Keep these items handy before you start working under the vehicle.- Ratchet and socket set: Typically 10mm, 12mm, or 14mm sockets are used for cable brackets, though sizes vary by manufacturer.
- Flathead screwdriver: For prying open cable housing clamps or adjusting turnbuckles.
- Pliers: Needle-nose pliers help manipulate small clips or pins.
- Jack and jack stands: To safely lift the front of the car so you can access the transmission side where the cable terminates.
- Flashlight: Essential for seeing the connection points on the transmission bell housing.
Safety is critical here. Never work under a car supported only by a hydraulic jack. Use sturdy jack stands placed on solid ground. Once the car is lifted, chock the rear wheels to prevent rolling.
Step-by-Step Shifter Cable Adjustment Process
The process involves two main locations: the interior shifter assembly and the exterior transmission connection. You must adjust both ends to ensure proper tension. Here is the logical flow for most common manual transmissions found in cars from the late 1990s through current models. Step 1: Locate the Interior Cable End Find the point where the shifter cable exits the shift tower. On many vehicles, there is a spring-loaded clip or a bolt holding the cable bracket. Loosen this fastener enough to allow the cable to slide freely within its housing. Do not remove it completely unless necessary; you want to maintain some reference point. Step 2: Access the Transmission Side Crawl under the vehicle and locate the shifter cable attached to the transmission case. This is usually near the top of the bell housing. You will see a bracket holding the cable end. This bracket often has a slot for adjustment. Loosen the retaining bolt or nut on this bracket. Step 3: Set the Reference Point This is the most crucial step. With the engine off and the clutch depressed, move the shifter into first gear. Then, look at the transmission side. The selector fork should be fully engaged in the first-gear position. If it isn't, manually push the fork into place using a screwdriver or pry bar. This ensures the transmission is mechanically in first gear. Step 4: Take Up the Slack While keeping the transmission in first gear, pull the shifter cable gently to remove all slack. You want the cable taut but not overstretched. Some cables have a turnbuckle mechanism (two threaded nuts) that allows for fine-tuning. Rotate the turnbuckle to tighten the cable. Others require sliding the bracket along its slot. Move the bracket until the cable is snug. Step 5: Secure and Test Tighten the bracket bolt securely. Now, test the shift pattern. With the engine still off, cycle through all gears. They should engage crisply without excessive force. If second or third feels tight, you may have over-tightened. If first feels loose, you haven't tightened enough. Make micro-adjustments as needed. Step 6: Reinstall Interior Components Once the external side is perfect, move back to the interior. Ensure the shifter lever moves smoothly through its full range. Tighten the interior bracket bolt. The shifter should now feel direct and precise.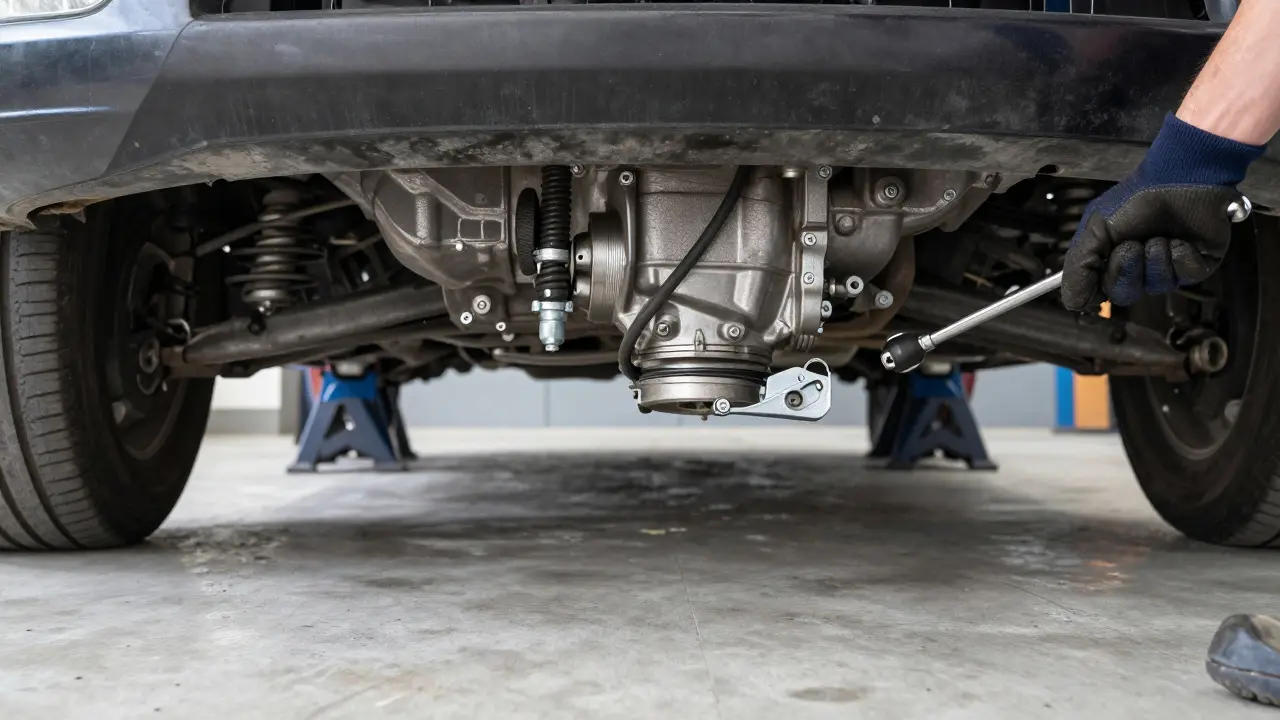
When to Replace Instead of Adjust
Adjustment works best when the cable is intact but simply out of spec. However, if you notice frayed wires, cracked plastic housings, or rusted sections, adjustment won't last long. A damaged shift linkage component can snap suddenly, leaving you stranded in a high gear with no way to downshift. Replacement costs vary significantly. An aftermarket shifter cable typically ranges from $40 to $80, while OEM parts can exceed $150 depending on the vehicle make. Labor at a shop might add another $100 to $200, making DIY a very attractive option. If your car is older than 10 years and the cable shows visible wear, replacement is often safer than repeated adjustments.| Factor | Cable Adjustment | Cable Replacement |
|---|---|---|
| Cost | $0 (DIY) | $40-$150 (Parts) |
| Time Required | 30-60 minutes | 1-3 hours |
| Longevity | Temporary fix if cable is worn | Permanent solution |
| Best For | Newer cables, minor slack | Frayed, rusted, or broken cables |
Common Mistakes to Avoid
Even experienced mechanics can trip up on this task. Here are the pitfalls that lead to frustrated drivers and more grinding gears. Ignoring Temperature Effects Metal expands when hot and contracts when cold. A cable adjusted perfectly in a warm garage might feel too tight on a cold morning, causing hard shifts. Conversely, it might be too loose when hot. Aim for a middle-ground tension that works in moderate temperatures. If you live in an extreme climate like Portland’s rainy winters or Arizona summers, consider testing the shift feel in both cold and hot conditions. Over-Tightening the Cable A taut cable sounds good, but too much tension puts stress on the shift tower springs and the transmission forks. This can lead to premature wear on internal components. The goal is zero slack, not maximum tension. If the shifter feels stiff or resistant, back off slightly. Forgetting the Reverse Lockout Many modern cars have a reverse lockout mechanism (a button or ring on the shifter). If you adjust the cable without accounting for this, reverse might become hard to engage or might engage accidentally. Test reverse thoroughly after adjustment. You should need to depress the lockout button/ring and apply firm pressure to engage reverse. Not Checking the Clutch First As mentioned earlier, a clutch that doesn't fully disengage will cause grinding no matter how perfect your cable adjustment is. Before blaming the cable, verify that the clutch pedal travels fully to the floor and that the release bearing is functioning. If the clutch is the issue, fixing the cable will only mask the symptom temporarily.
Related Maintenance Tips
Fixing the shifter cable is a great opportunity to inspect other related components. While you have the area exposed, check the following:- Clutch Master Cylinder: Look for leaks around the reservoir cap and the cylinder body. Low fluid level indicates a leak somewhere in the hydraulic system.
- Shift Tower Bushings: These rubber bushings hold the shifter shaft. If they are torn or worn, the shifter will have excessive play even with a perfect cable. Replacing these bushings is a cheap fix that dramatically improves shift feel.
- Transmission Fluid Level: Manual transmissions use gear oil, not automatic transmission fluid. Check the level (if accessible) and condition. Dark, burnt-smelling fluid suggests internal wear, which might explain persistent grinding despite a good cable.
Addressing these items alongside your cable adjustment ensures a comprehensive fix. It prevents the frustration of returning to the garage next month because the real problem was a leaking clutch slave cylinder.
Frequently Asked Questions
How often should I adjust my shifter cable?
Ideally, you shouldn't need to adjust it regularly if the cable is in good condition. However, it's a good practice to check the tension every 20,000 to 30,000 miles or during routine maintenance. If you notice any change in shift quality, check it immediately. Cables stretch over time due to heat cycles and vibration, so periodic checks can prevent major issues.
Can I drive with a misadjusted shifter cable?
Yes, but it's not recommended for long periods. Driving with a loose cable increases wear on the transmission synchronizers and can make emergency downshifting difficult. If the cable is severely slack, you risk getting stuck in a gear you don't want, such as being unable to get into neutral at a red light. Fix it as soon as possible to avoid costly transmission damage.
What is the difference between a shifter cable and a shift rod?
A shifter cable uses flexible steel wires enclosed in a housing to transmit motion, common in transverse-mounted engines (front-wheel-drive cars). A shift rod is a rigid metal bar connected by universal joints, typical in longitudinal-mounted engines (rear-wheel-drive trucks and performance cars). Cables are easier to route in tight spaces but stretch over time; rods are more durable but harder to align.
Will adjusting the cable fix a car that jumps out of gear?
Sometimes. If the jumping is caused by excessive cable slack allowing the selector fork to vibrate out of position, tightening the cable will help. However, if the jumping occurs consistently in one specific gear, the problem might be worn dog teeth on the gear itself or a weak shift detent spring. In those cases, cable adjustment alone won't solve the issue.
Do I need to drain transmission fluid to adjust the cable?
No, you do not need to drain the fluid. The shifter cable operates externally to the transmission case. You only need to access the mounting brackets on the outside of the bell housing. Draining fluid is only necessary if you are performing internal repairs or replacing the transmission itself.