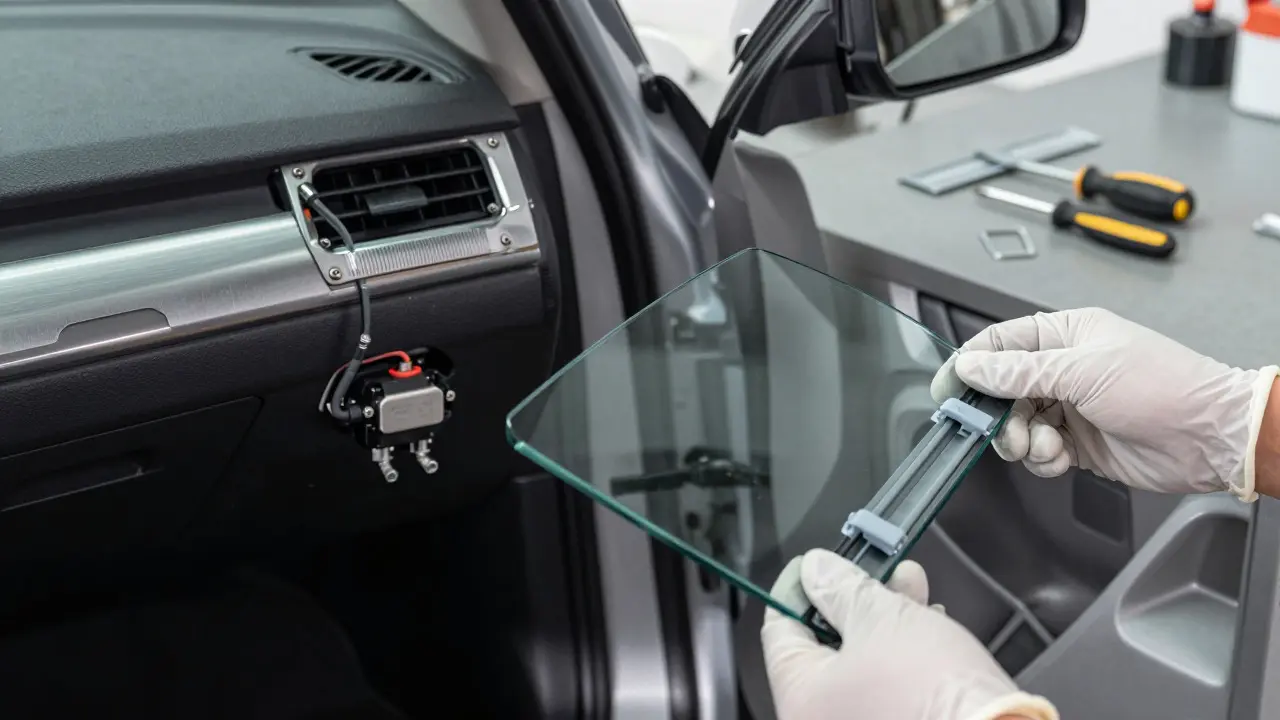
Cracked side windows are annoying. They rattle in the wind, let in dust, and make you feel like your car is falling apart. But here’s the thing most people miss: replacing that glass is often easier-and cheaper-than you think. If you’re ready to tackle this project yourself or just want to know exactly what a shop is doing when they charge you $300+, this guide breaks it all down.
We’ll cover the tools you actually need, how to handle the tricky wiring (yes, there’s usually a wire), and the specific mistakes that turn a simple job into a two-day headache. Whether you have a sedan, an SUV, or a truck, the core principles of car door glass installation remain the same. Let’s get your windows working again without breaking the bank.
What You Need Before You Start
You don’t need a professional garage to fix a broken side window. However, you do need the right parts and a bit of patience. The main components involved in this repair are the glass itself, the window regulator, and the door seals. If your glass is just cracked but still in place, you might only need new glass. If the mechanism that moves the glass up and down is stuck or broken, you’ll likely need a new regulator assembly too.
Here is your essential toolkit list:
- Replacement Glass: Make sure it matches your vehicle’s year, make, model, and trim level. Tinted vs. clear matters here.
- Window Regulator Kit: Often sold with the motor included. This is the plastic/metal arm that holds the glass.
- Rubber Weatherstrip Seal: Don’t skip this. Old seals crack and cause leaks.
- Torx Screwdrivers: Usually T15 or T20 sizes for door panels.
- Trim Removal Tool: A plastic pry tool prevents scratching your paint or breaking clips.
- Zip Ties & Electrical Tape: For securing wires temporarily.
- Gloves: Broken glass edges are sharp even if they look dull.
A pro tip: Buy the glass with the regulator already attached if possible. It saves you from trying to align the metal clips onto the new glass, which is notoriously fiddly.
Removing the Old Glass Safely
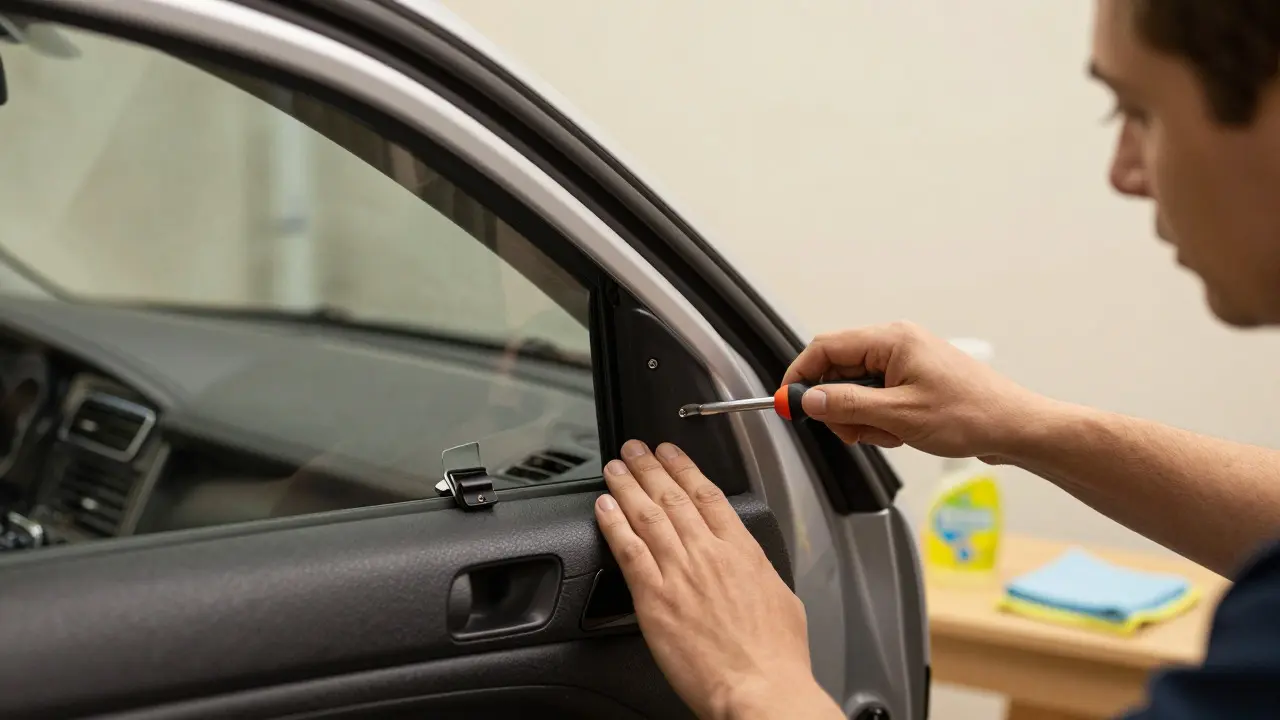
The first step is getting access. You need to remove the interior door panel. This varies by car, but generally involves popping out screws hidden under armrests or handle covers, then gently prying the panel away from the door frame. Be careful with the electrical connectors for the power window switch and mirror controls. Unplug them carefully so they don’t snap.
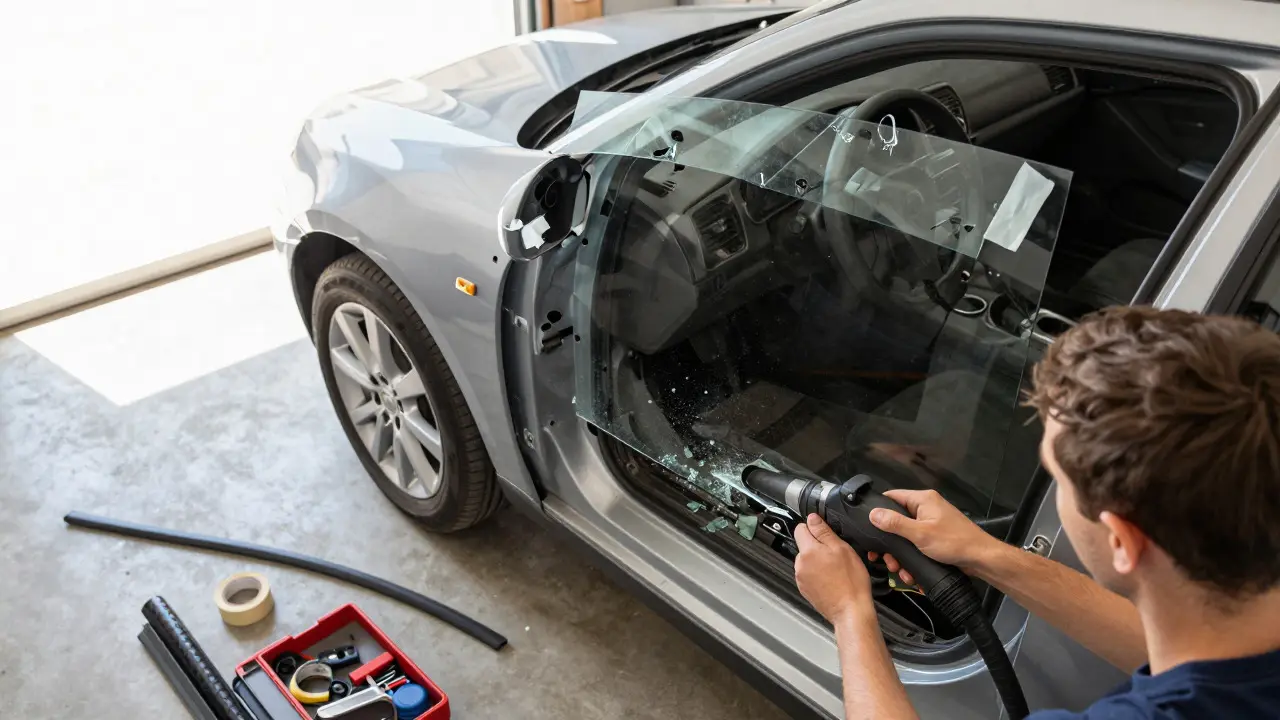
Once the panel is off, you’ll see a plastic vapor barrier. Peel it back slowly. Inside, you’ll see the window regulator mechanism. If the old glass is still attached, support it with one hand while disconnecting the mounting clips. These are usually small plastic tabs that pop out. Once free, lower the glass into the door cavity. Keep track of any wires connected to the glass-some cars have defroster lines or antenna connections running through the window channel.
If the glass is shattered, wear gloves and use a vacuum to clean up shards before touching anything else. Small pieces can fly into your eyes or get stuck in the door tracks.
Understanding the Wiring and Motors
This is where many DIYers get stuck. Most modern cars have power windows, meaning there’s a motor driving the regulator. When you pull the old regulator out, you’ll see a connector plugged into the motor. Unplug this. Now, hold the new regulator next to the old one. Compare the orientation of the motor and the gear housing. They must match exactly. If you install it upside down, the window will go down when you press up.
Check the wiring harness. Some vehicles have a separate ground wire for the window motor that needs to be reattached to a clean metal spot on the door. If your window works intermittently after installation, it’s almost always a bad ground connection, not a bad motor.
Installing the New Glass and Regulator
Now comes the fun part: putting it back together. Slide the new glass into the door channel. You may need to lift it slightly to clear the bottom stop. Once it’s seated, attach the regulator clips to the glass. Press firmly until you hear a click. If the kit came with pre-attached clips, just slide the whole assembly into place.
Connect the motor wiring. Plug in the connector. Before closing the door, test the window. Push the switch up and down. Listen for grinding noises. If it sounds smooth, great. If it clicks loudly, the regulator might be misaligned. Adjust it now, while the door is open.
Next, replace the rubber weatherstrip seal. This runs along the top and sides of the window opening. It keeps water out and reduces noise. Press it firmly into the groove. If it’s old and brittle, replace it. A new seal costs less than $20 and makes a huge difference in sound quality.
Reassembling the Door Panel
Put the vapor barrier back in place. It should be tucked neatly around the edges. Then, reconnect all electrical plugs. Snap the door panel back onto the door. Start with the bottom edge, then work your way up. You’ll hear clips snapping into place. If it feels loose, check for any missing screws or broken clips. Use the Torx drivers to secure any fasteners you removed earlier.
Clean the inside of the window with glass cleaner. Check the outside for any scratches or debris. Close the door and test the window one last time. Run it up and down three times to ensure smooth operation.
Common Mistakes to Avoid
Even experienced mechanics mess up side window repairs sometimes. Here are the top pitfalls to watch out for:
- Forgetting the Ground Wire: As mentioned, a poor ground causes erratic behavior. Always check this.
- Misaligning the Regulator: Install it backwards, and the window direction reverses. Compare old and new parts before installing.
- Skipping the Seal Replacement: Old seals leak water and create wind noise. Replace them every time you do this job.
- Breaking Clips During Panel Removal: Use a plastic tool, not a screwdriver. Metal tools scratch paint and break plastic clips easily.
- Not Testing Before Closing: Always test the window while the door is open. It’s much harder to adjust the regulator once the panel is back on.
When to Call a Pro
While most side window repairs are manageable at home, some situations call for professional help. If the door has been in a major accident, the frame might be bent, making alignment difficult. If the window motor is burnt out and the wiring is corroded, a shop can trace the electrical issue more efficiently. Also, if you’re uncomfortable working near high-voltage components or fear damaging expensive electronics, paying for labor is worth it.
For standard cracks or broken regulators, though, the DIY route saves you money and gives you a sense of accomplishment. Plus, you learn how your car actually works, which helps you spot other issues early.
Frequently Asked Questions
Do I need to replace the regulator if the glass is just cracked?
Not necessarily. If the window moves smoothly up and down, you can often just replace the glass. However, if the window sticks, makes noise, or drops on its own, the regulator is likely failing. Replacing both at once is usually cheaper and saves you from having to redo the job later.
How long does it take to replace a side window glass?
For a beginner, expect 2 to 4 hours. This includes removing the door panel, taking out the old glass, installing the new one, and reassembling everything. With practice, you can cut this time down to about 90 minutes.
Can I use adhesive instead of clips to hold the glass?
Most modern cars use clip systems, not adhesive. Adhesive is typically used for windshield installation. If your car uses clips, stick with clips. Using adhesive on a clip-based system can make future removal very difficult and messy.
Why does my new window move slowly?
A slow-moving window usually indicates a weak motor or excessive friction. Check if the regulator is aligned correctly. Also, ensure the rubber seal isn’t pinching the glass. If the motor is old, it may simply be worn out and need replacement.
Do I need to recalibrate the auto-up feature after installation?
Yes, if your car has an auto-up/auto-down feature. After reinstalling the glass, you usually need to reset the memory. Hold the switch up until the window closes, then keep holding for 3-5 seconds. Do the same for the down position. Refer to your owner’s manual for specific instructions for your vehicle.