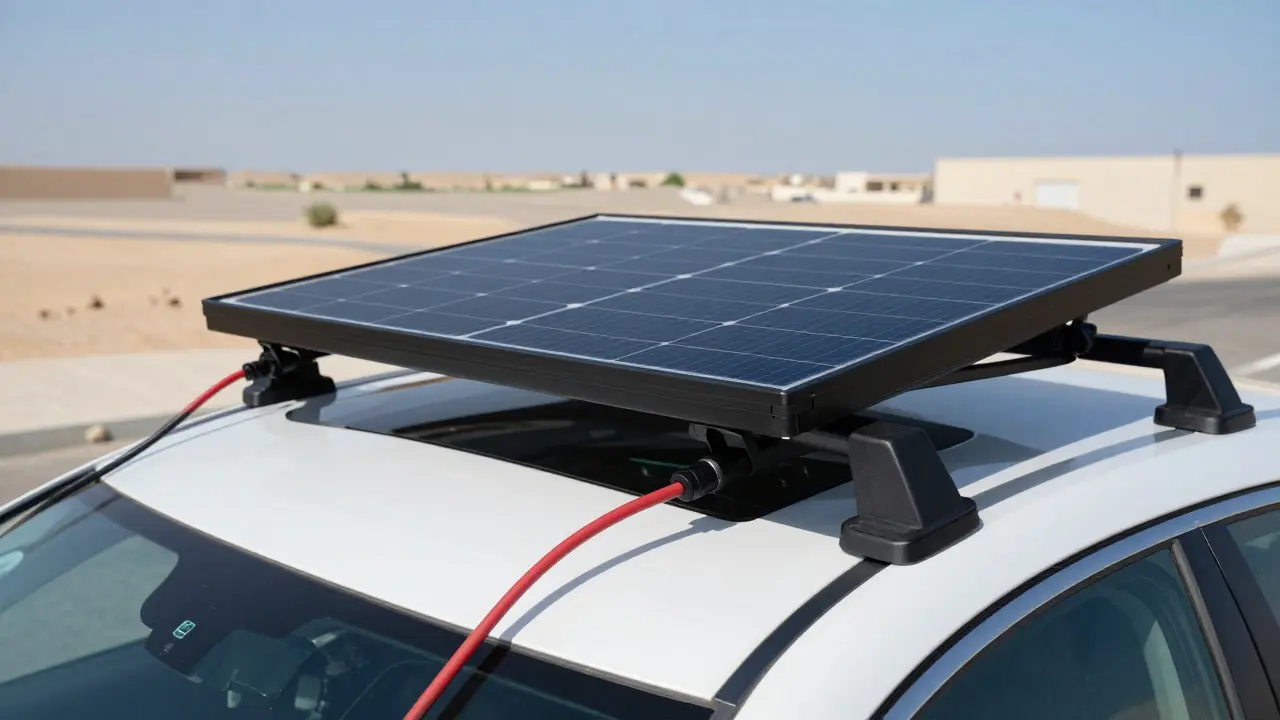
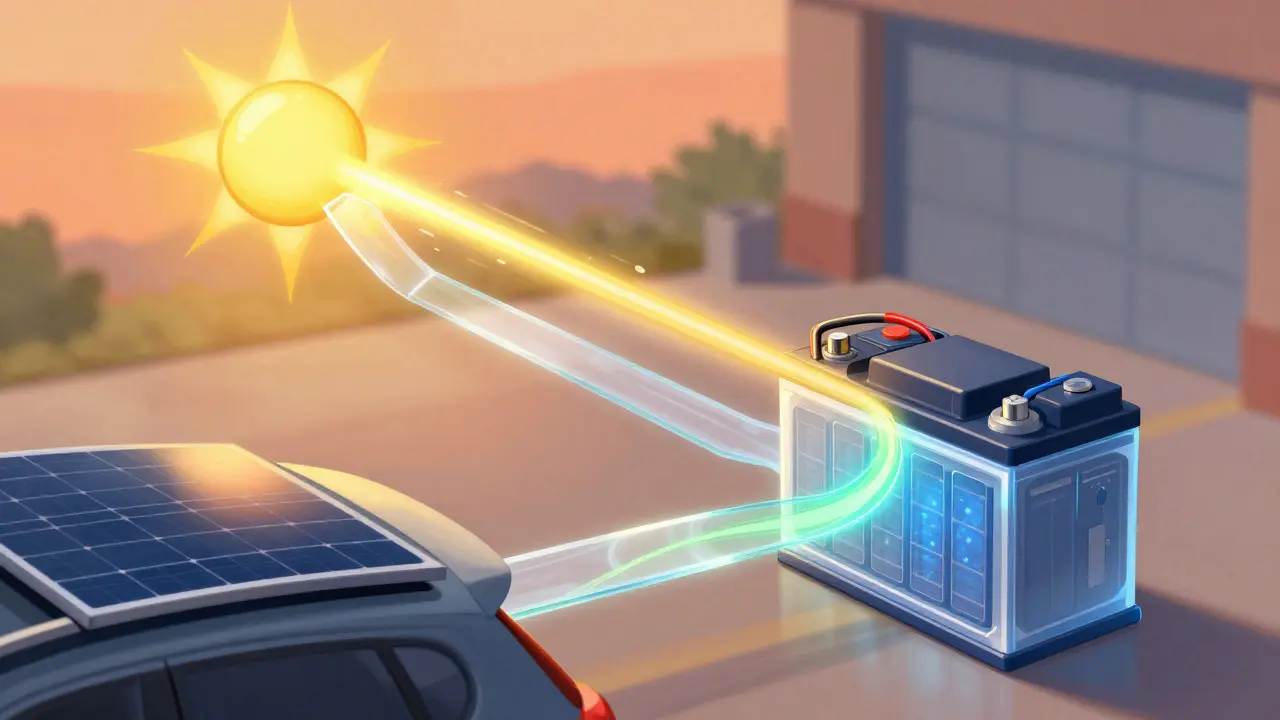
Your car sits in the driveway for two weeks. You turn the key, and the engine cranks weakly or not at all. The culprit is usually a dead battery caused by parasitic drain from modern electronics like backup cameras, GPS trackers, or infotainment systems. A solar trickle charger is a low-power solar panel system designed to maintain vehicle battery voltage without overcharging. Unlike a standard jump starter or high-output solar generator, this setup uses a small panel (typically 5W to 20W) connected directly to the battery terminals via a regulator. It’s not meant to power your air conditioning; it’s there to keep the state of charge above 12.4V so your next start is reliable.
Why Your Car Battery Dies When Parked
Modern vehicles consume power even when off. This is known as parasitic load. On average, a new car draws about 3-5 milliamps per hour, but older models or those with aftermarket accessories can draw 20-50 milliamps. Over 14 days, that small current can deplete a healthy 60Ah battery below the threshold needed to crank the engine. Lead-acid batteries suffer from sulfation when left at low states of charge. Sulfation creates lead sulfate crystals on the plates, reducing capacity permanently. A solar trickle charger counteracts this by providing just enough energy to offset the drain, keeping the battery in a healthy 'float' state.
Choosing the Right Solar Panel Size
The most common mistake is buying a panel that is too big. If you install a 100W panel on a standard passenger car, you risk overcharging and boiling electrolyte if the regulator fails or is poorly matched. For parked cars, you need a balance between input wattage and battery capacity.
- 5W Panels: Best for motorcycles or cars with very low parasitic drain (<10mA). They provide roughly 0.5A of current under full sun.
- 10W Panels: The sweet spot for most sedans and hatchbacks. They output around 0.8-1.0A, which comfortably offsets typical drains of 20-30mA.
- 20W Panels: Suitable for trucks, SUVs, or vehicles with high-drain accessories. Output is approx 1.5-2.0A. Requires a robust regulator.
Avoid panels larger than 20W unless you have a sophisticated MPPT controller. For simple wired setups, less is more. Consistency matters more than peak power here.
The Critical Role of the Charge Controller
You cannot connect a solar panel directly to a car battery without regulation. While some cheap "all-in-one" cables include a basic diode, they are often insufficient for long-term use. A proper PWM (Pulse Width Modulation) charge controller is an electronic device that regulates voltage and current coming from the solar array to the battery. PWM controllers work by switching the connection on and off rapidly to limit voltage. For a 12V system, look for a controller rated for at least 5A to handle the peak current of a 20W panel safely. Ensure the controller has a temperature sensor option; batteries charge differently at extreme temperatures, and a built-in or external sensor prevents overcharging in heat and undercharging in cold.
Step-by-Step Wiring Guide
Wiring a solar trickle charger requires precision. One loose connection can cause a fire or corrosion. Here is how to do it right.
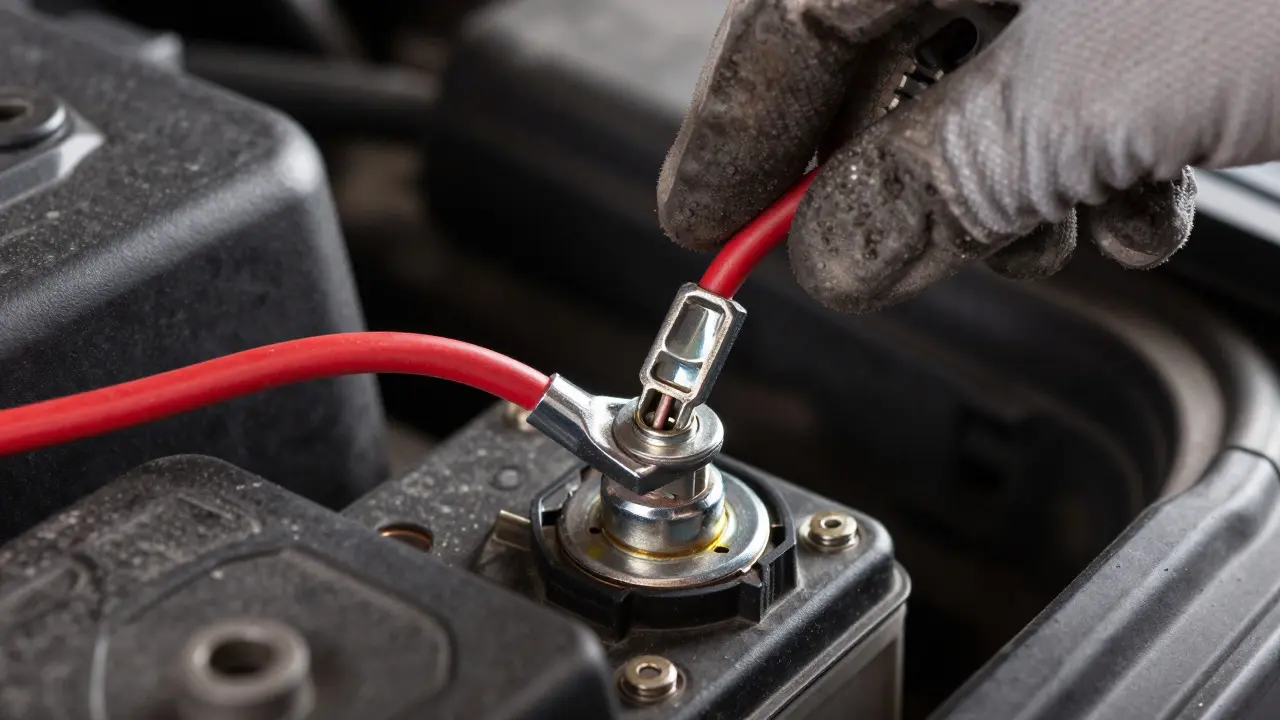
- Locate the Battery Terminals: Clean the positive (+) and negative (-) posts with a wire brush until shiny metal is visible. Apply dielectric grease after installation to prevent future corrosion.
- Route the Cables: Run the positive cable from the controller to the battery post. Keep the negative cable short. Avoid routing wires near exhaust manifolds or sharp edges. Use loom tape or zip ties to secure cables to existing harnesses, ensuring no tension on connectors.
- Connect the Positive First: Attach the red clamp or ring terminal to the positive battery post. Tighten securely. If using a fuse holder, place a 15A inline fuse within 6 inches of the battery positive terminal. This protects against short circuits.
- Connect the Negative Last: Attach the black clamp to the negative battery post or a clean chassis ground point. Using the chassis ground can sometimes introduce noise into sensitive electronics, so direct-to-battery is preferred for accuracy.
- Mount the Panel: Secure the solar panel to the roof rack, trunk lid, or side mirror. Angle it toward the equator (south-facing in the Northern Hemisphere) for maximum exposure. Ensure the panel isn’t shaded by trees or buildings during peak hours.
Common Wiring Mistakes to Avoid
Even experienced DIYers make these errors. Check your setup against this list before turning the key.
| Error Type | Symptom | Fix |
|---|---|---|
| Reversed Polarity | Controller LED flashes red, battery drains | Check color coding: Red=Positive, Black=Negative. Swap clamps immediately. |
| Loose Ground Connection | Inconsistent charging, intermittent failure | Tighten ground bolt. Scrape paint off chassis contact point if using chassis ground. |
| Undersized Fuse | Fuse blows randomly in sunlight | Replace with correct amp rating (e.g., 15A for 20W panel). Do not exceed 20A for 12V small panels. |
| Cable Pinch/Damage | Short circuit, smoke smell | Inspect entire cable run. Replace damaged section. Add protective conduit. |
Maintenance and Monitoring
A solar trickle charger is not set-and-forget forever. Every six months, check the following:
- Connector Integrity: Look for green or white crust on terminals. Clean with baking soda and water, then dry thoroughly.
- Panel Condition: Wipe dust and bird droppings from the glass. Cracks in the frame can let in moisture, leading to internal shorts.
- Voltage Check: Use a multimeter to measure battery voltage after a day of sun. It should read between 12.6V and 13.2V. If it reads below 12.4V, the system may be undersized or failing.
If your car has a smart battery management system (BMS), ensure the solar input doesn’t confuse the BMS. Some manufacturers recommend disconnecting the solar charger during winter storage to prevent the BMS from logging false cycle counts. Check your owner’s manual for specific guidance on auxiliary charging sources.
When to Upgrade to a Larger System
If you park in a garage with zero sunlight for weeks, a trickle charger won’t save a deeply discharged battery. In these cases, consider a portable lithium jump pack or a higher-wattage solar generator. However, for daily drivers parked outdoors, a 10W-20W system is cost-effective and reliable. It extends battery life by preventing deep discharge cycles, which is the primary killer of lead-acid batteries. By maintaining the battery at optimal voltage, you avoid the $100-$150 replacement cost every few years.
Can I leave a solar trickle charger plugged in year-round?
Yes, provided you have a quality PWM or MPPT controller. These devices automatically reduce current as the battery reaches full charge, preventing overcharging. Without a controller, leaving a panel connected can boil the battery fluid in summer.
Will a solar panel damage my car's alternator?
No. The solar charger connects directly to the battery, bypassing the alternator. The alternator only works when the engine is running. The two systems operate independently, though both feed the same battery bank.
What size solar panel do I need for a truck?
For trucks with high parasitic loads (up to 50mA), a 20W panel is recommended. It provides sufficient current to maintain charge even in cloudy conditions. A 10W panel may struggle if the truck has multiple aftermarket accessories.
Do I need a fuse for a solar trickle charger?
Yes. Always install an inline fuse on the positive line near the battery. Use a 15A fuse for panels up to 20W. This protects the wiring from short circuits that could cause fires or melt insulation.
How do I know if my solar charger is working?
Most controllers have an LED indicator. Green usually means charging or float mode. You can also verify with a multimeter: measure voltage across the battery terminals during daylight. An increase of 0.2V or more compared to night readings indicates active charging.