When your car starts pulling to one side, or you hear a clunk when turning at low speeds, it’s not just a weird noise-it’s your tie rods failing. These small but critical parts connect your steering rack to the wheels. If they wear out, you lose control. Not slowly. Not gradually. Suddenly. And that’s when you realize how much you relied on them without even thinking about it.
What Tie Rods Actually Do
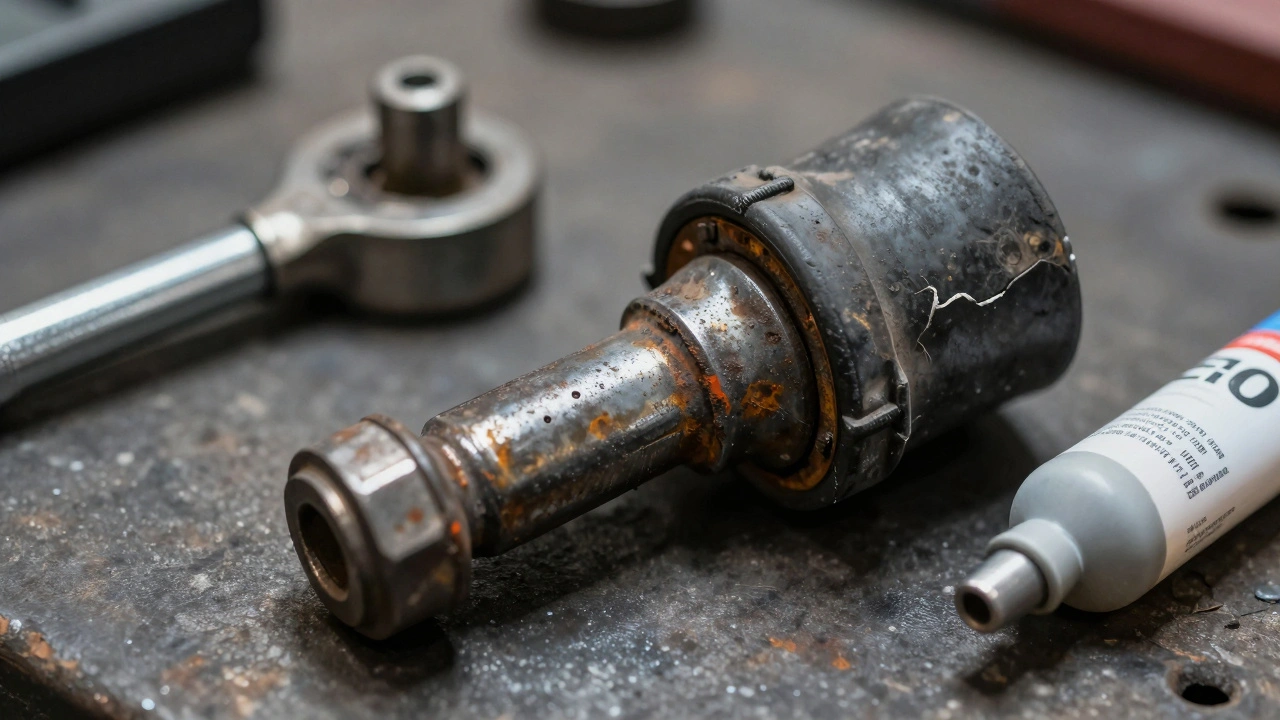
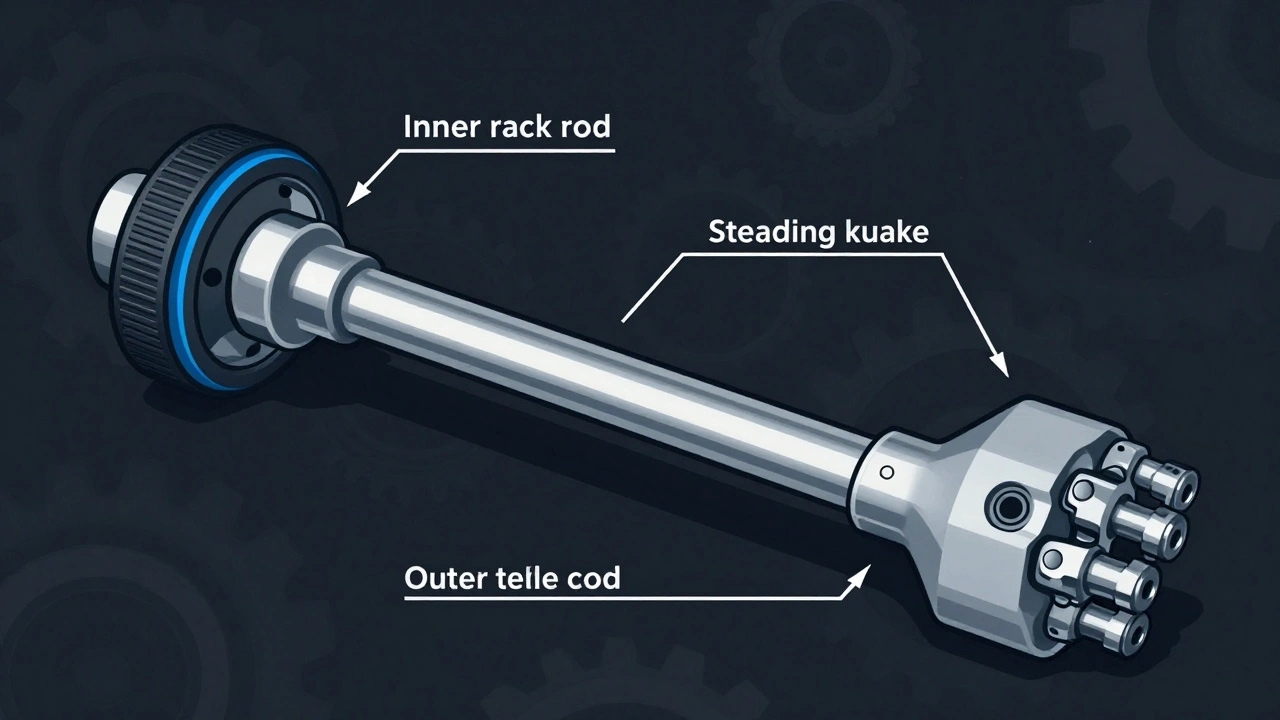
Tie rods are the final link between your steering wheel and your tires. When you turn the wheel, the steering rack moves left or right. The inner tie rod, attached to the rack, pushes or pulls the outer tie rod, which then turns the steering knuckle-and that’s what makes your wheels pivot. It’s a simple system, but it’s under constant stress. Every bump, turn, and pothole sends force through these parts. Over time, the ball-and-socket joint inside the outer tie rod end wears down. The rubber boot that protects it cracks. Rust builds up. And eventually, you get play-free movement where there shouldn’t be any.Signs Your Tie Rods Are Worn Out
You don’t need a diagnostic tool to spot bad tie rods. Your body does it for you.- Steering wheel free play: Turn the wheel a few inches and the car doesn’t respond. That’s not normal. It means the connection between the rack and the wheel is loose.
- Clunking noises: Especially when turning slowly or going over bumps. It’s the ball joint rattling inside its socket.
- Vibrations in the steering wheel: Not from unbalanced tires. This feels like something’s disconnected.
- Uneven tire wear: If the tread is wearing more on the inside or outside edge, misalignment from worn tie rods is likely the cause.
- Car pulling to one side: Even with proper tire pressure and alignment, if your car drifts left or right on a straight road, the tie rods may be unevenly worn.
MOOG Parts says the steering linkage naturally twists while driving. That twisting motion forces the stud inside the socket to move side to side. If the joint is worn, that movement becomes excessive-and that’s what causes the clunk, the play, and eventually, failure.
Tools You’ll Need for Replacement
This isn’t a job for a socket wrench and a prayer. You need the right tools to do it right-and safely.- Jack and jack stands (never rely on a jack alone)
- 14mm and 19mm sockets (common sizes for outer and inner tie rod nuts)
- Torque wrench (critical for proper tightening)
- Ball joint separator tool (also called a pickle fork)
- Rust penetrant spray (like PB Blaster or Liquid Wrench)
- Needle-nose pliers (for cotter pins)
- Marker or tape (to count turns)
- Safety glasses and gloves
Don’t skip the torque wrench. Tightening too loose? You’ll get play and noise. Too tight? You’ll crush the ball joint or strip the threads. Both lead to early failure.
Step-by-Step Tie Rod Replacement
1. Lift and Secure the Vehicle
Park on level ground. Engage the parking brake. Chock the rear wheels. Use a jack to lift the front end, then put jack stands under the frame rails. Never work under a car supported only by a jack.2. Remove the Front Wheels
Take off the front tires to get clear access to the steering components. This gives you room to work and lets you see exactly what you’re dealing with.3. Spray Rust Penetrant
Spray the nut on the outer tie rod and the jam nut on the inner tie rod. Let it sit for 10-15 minutes. This isn’t optional. Rust locks these nuts in place. Forcing them without loosening can snap the stud or strip the threads.4. Remove the Outer Tie Rod End
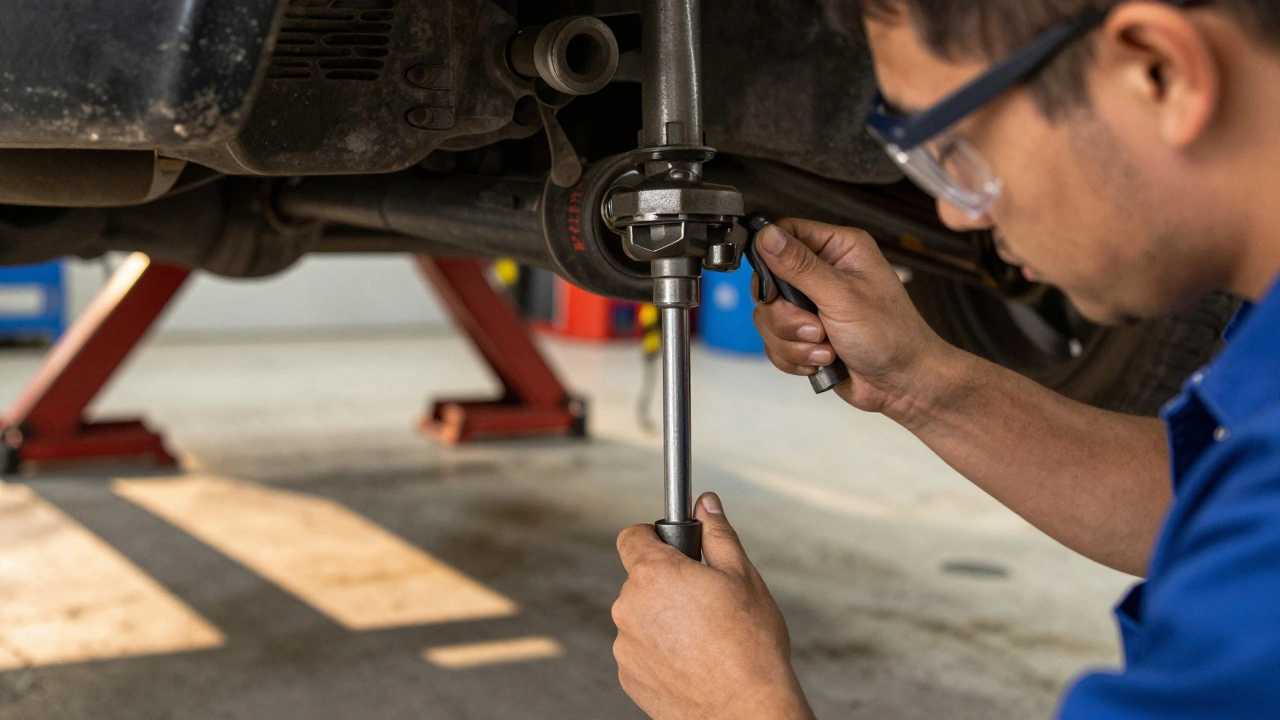
Use the ball joint separator tool to break the connection between the outer tie rod and the steering knuckle. Tap it with a hammer until the stud pops free. Some mechanics use a hammer on the old nut to pop it out, but that risks mushrooming the stud-making it too wide to fit back through the knuckle. Avoid that. Use the separator.5. Count the Turns
Before unscrewing the outer tie rod from the inner tie rod, count how many turns it takes to remove it. Or mark the position with tape. This is your reference point for installing the new one. Getting this wrong means your alignment will be way off.6. Remove the Inner Tie Rod
Loosen the jam nut with a 19mm socket. Then unscrew the inner tie rod from the steering rack. It’s threaded, so it turns just like a bolt. Keep the bellow (the rubber boot) pushed toward the rack as you remove it. Don’t let it fall off-contamination here can ruin the steering rack.7. Clean the Sealing Surface
Use a clean rag and some brake cleaner to wipe the sealing face where the inner tie rod connects to the rack. Dirt or old sealant here can cause leaks in the power steering system. This step is often skipped-and it’s why some replacements lead to steering fluid leaks later.8. Install the New Inner Tie Rod
Screw the new inner tie rod into the rack. Use the same number of turns as you counted earlier. Tighten it to the manufacturer’s torque spec. Most are between 35-50 ft-lbs. Use a torque wrench. Don’t guess.9. Attach the Outer Tie Rod
Thread the new outer tie rod onto the inner one. Again, use the same number of turns. Now, insert the stud into the steering knuckle. Make sure it goes all the way in. The taper is designed to lock in place. If it doesn’t seat fully, you’ll have vibration and risk the stud falling out.10. Center the Stud in the Socket
This is the step most people miss. MOOG Parts says the steering linkage naturally twists while driving. If the stud is off-center when you install it, that twisting force will pull it sideways over time. That causes clunking and premature failure. Use a tool or your hand to gently center the stud in the socket before tightening the nut.11. Tighten the Nut
Put the nut on and hand-tighten it until the stud starts to spin. Then, use a ratchet to hold the stud steady while you tighten the nut with a torque wrench. Most outer tie rod nuts require 25-30 ft-lbs. Never use an impact wrench. It spins the stud too fast and damages the internal ball joint.12. Install the Jam Nut and Cotter Pin
Tighten the jam nut against the outer tie rod nut. This locks everything in place. If your vehicle uses a castle nut, install a cotter pin through the hole and bend the ends with needle-nose pliers. Don’t skip this. It’s your safety backup.13. Reinstall the Wheel and Lower the Car
Put the wheel back on. Tighten the lug nuts by hand. Lower the car. Then, torque the lug nuts to spec while the car is on the ground. Never torque them while the car is in the air.Why Wheel Alignment Is Non-Negotiable
You just replaced the part that controls steering angle. So yes-you need an alignment. Right now. Tie rods directly affect toe alignment. Even if you counted turns perfectly, there’s still a chance the new part isn’t identical to the old one. A misaligned front end causes:- Uneven tire wear (you just bought new tires, didn’t you?)
- Poor handling and reduced cornering stability
- Increased fuel consumption
- Extra stress on other suspension parts
Delphi Auto Parts says to do a short test drive first-just around the block-to check for noise or pulling. Then head straight to a shop for alignment. And if your car has a steering angle sensor (most do since 2010), it must be reset after alignment. Otherwise, your stability control and lane assist systems won’t work right.
Common Mistakes to Avoid
- Not counting turns: This is the #1 reason people get bad alignment after replacement.
- Using an impact wrench: It spins the ball stud and damages the internal bearings.
- Skipping the torque wrench: Over- or under-tightening leads to failure.
- Ignoring the bellow: If the rubber boot isn’t seated properly, moisture and dirt get in-and that kills the steering rack.
- Not centering the stud: Leads to clunking and early wear.
- Forgetting the cotter pin: It’s cheap. It’s small. And it’s the last thing holding your wheel to the car.
Final Check
After the alignment:- Take a longer test drive-highway, turns, braking.
- Listen for clunks or vibrations.
- Feel if the steering is centered and responsive.
- Check tire wear over the next 500 miles.
If everything feels smooth and quiet, you did it right. If not, go back. A bad tie rod job isn’t just annoying-it’s dangerous.
Can I drive with a bad tie rod?
Technically, yes-but you shouldn’t. A worn tie rod can fail suddenly, especially at higher speeds. If you notice clunking, steering play, or uneven tire wear, get it checked immediately. Driving with a bad tie rod puts you and others at risk. It’s not worth the gamble.
How often do tie rods need to be replaced?
There’s no set schedule. Most last between 70,000 and 100,000 miles, but that depends on road conditions, driving habits, and climate. If you drive on rough roads, hit curbs often, or live in a snowy area with road salt, they’ll wear faster. Regular inspections during oil changes can catch wear before it becomes dangerous.
Do I need to replace both tie rods at the same time?
You don’t have to-but it’s smart. If one side is worn out, the other is likely close behind. Replacing both ensures even steering response and prevents future alignment issues. It also saves you time and money in the long run-no need for a second alignment or another repair soon after.
Can I replace tie rods myself?
Yes-if you have the right tools and patience. It’s not a beginner job, but it’s doable for someone with basic mechanical skills. The biggest risks are not counting turns, not using a torque wrench, or skipping the alignment. If you’re unsure, get help. A misaligned car can cost more in tire wear than the repair itself.
What’s the difference between inner and outer tie rods?
The inner tie rod connects directly to the steering rack. It’s threaded and adjusts the overall length of the steering linkage. The outer tie rod connects the inner rod to the steering knuckle. It has a ball joint that allows the wheel to move up and down while still turning. Both are critical, and both wear out over time.