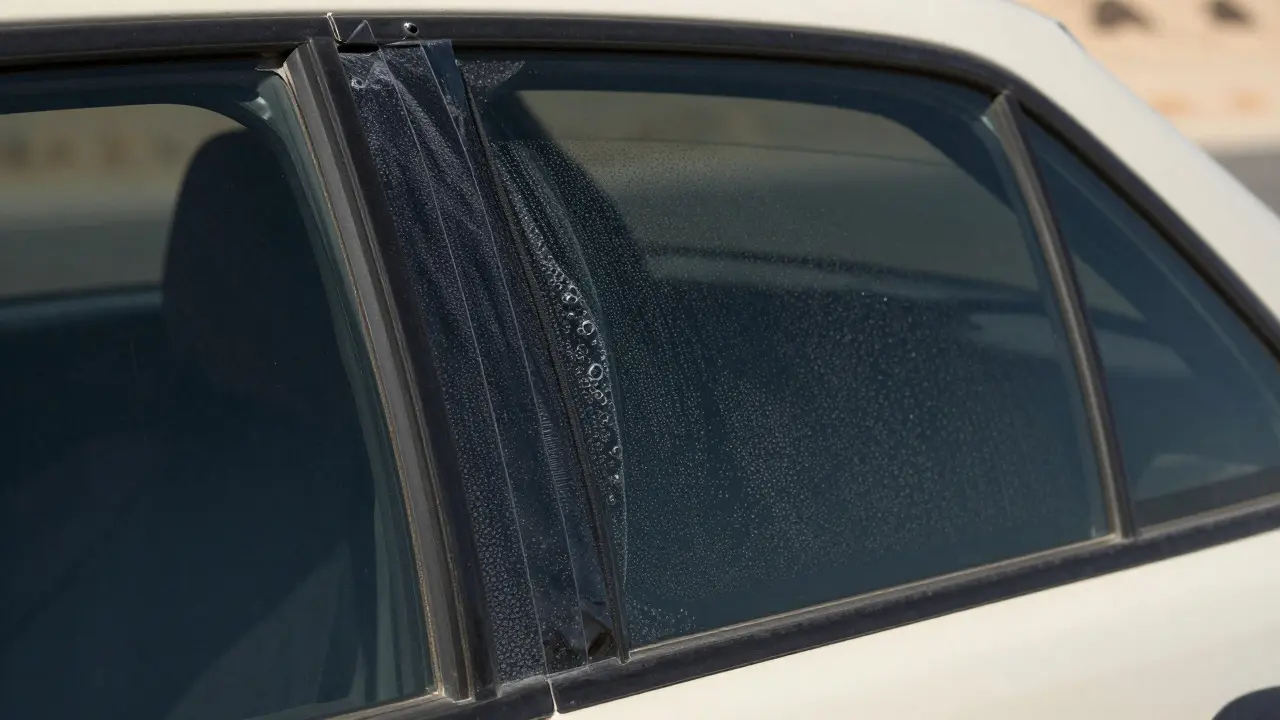
There is nothing quite like the sudden shock of seeing your sleek, dark windows turn into a crinkled mess. One moment you are cruising down the highway, and the next, you spot a cluster of air bubbles forming near the rear quarter panel or a corner starting to lift off the glass. If you have experienced this, you are not alone. It is one of the most common complaints in the automotive care world, yet it is often misunderstood. Most people assume it is just "bad luck" or that the shop did a sloppy job. While poor installation is a factor, the reality is usually a combination of environmental stress, material quality, and simple physics.
Understanding why window tint fails helps you decide whether to patch it yourself or call a pro. In this guide, we break down the exact mechanics behind bubbling and peeling, identify the specific triggers, and explain how professional technicians restore your vehicle's appearance without replacing the entire film.
The Science Behind Tint Adhesion Failure
To fix the problem, you first need to understand what holds the film to the glass. Window tint is a thin polyester film laminated with a pressure-sensitive adhesive layer designed to bond permanently to curved glass surfaces. When installed correctly, the adhesive cures over time, creating a vacuum seal against the glass. However, this bond is fragile during the first few weeks and vulnerable to specific conditions for years afterward.
Bubbling occurs when air or moisture gets trapped between the film and the glass. This usually happens because the adhesive has lost its tackiness or the surface wasn't perfectly clean before application. Peeling, on the other hand, is a mechanical separation. The edge of the film lifts up, breaking the seal. Once an edge starts to peel, dirt and water rush in, accelerating the damage. Unlike bubbling, which can sometimes be smoothed out, peeling often requires cutting and re-laminating the affected area.
Primary Causes of Bubbling and Peeling
Most tint failures stem from three main culprits: heat, moisture, and installation errors. Let’s look at each one specifically.
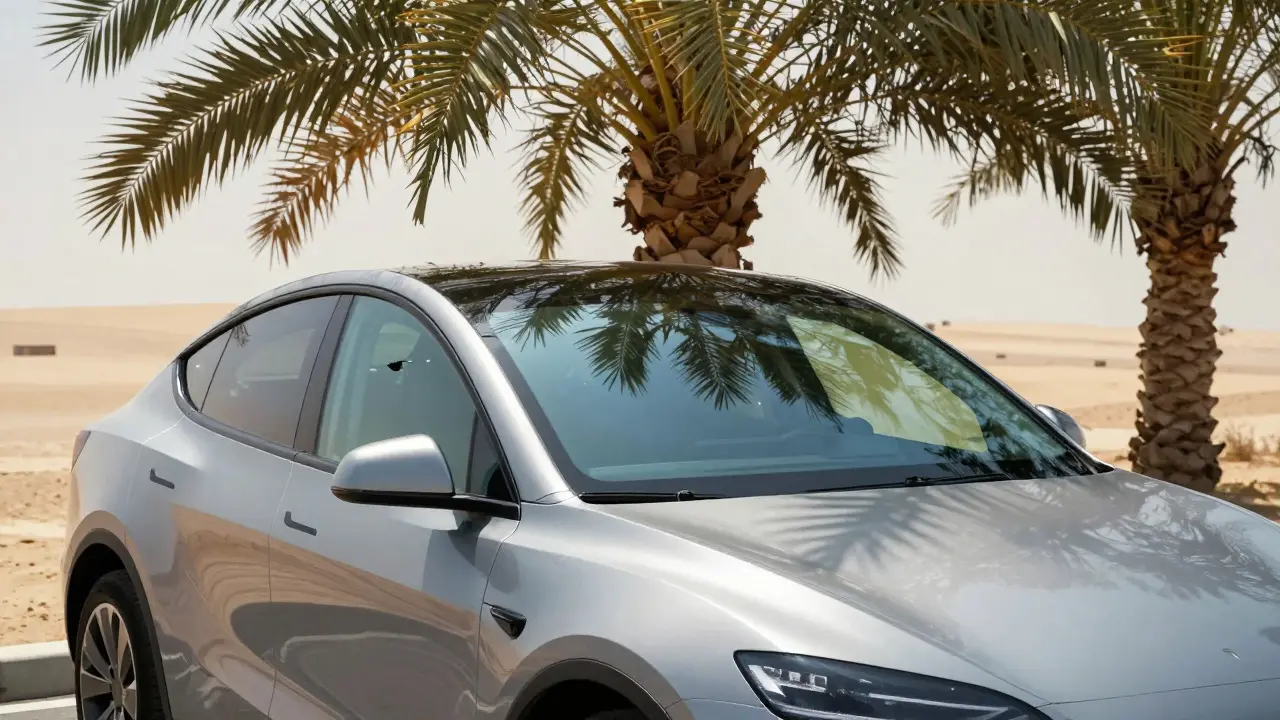
- Heat Stress: Cars parked in direct sunlight can reach interior temperatures exceeding 140°F (60°C). Extreme heat causes the glass to expand slightly faster than the film. Over time, this differential expansion stresses the adhesive. If the tint was applied too tightly or with excess tension, the heat will cause the film to contract unevenly, leading to wrinkles and bubbles.
- Moisture Intrusion: Water is the enemy of adhesive. If rain or wash water gets under the edges of the tint-especially if the door seals are worn-the adhesive swells and loses grip. This is common in older vehicles where weatherstripping has degraded.
- Poor Installation Technique: Not all tints are created equal. A rushed installation might leave microscopic pockets of dust or air. Additionally, using the wrong type of squeegee or applying too much solution can prevent the adhesive from curing properly. Cheap, no-name films often have inconsistent adhesive layers that fail prematurely.
DIY Risks vs. Professional Intervention
It is tempting to grab a hairdryer and a credit card to smooth out a bubble. For small, isolated bubbles in the center of the window, this *might* work. You can gently heat the area to soften the adhesive and then press the bubble flat with a soft cloth. However, this method carries significant risks. If you apply too much heat, you can burn the film, leaving a permanent white scorch mark. If you press too hard, you might create new wrinkles elsewhere.
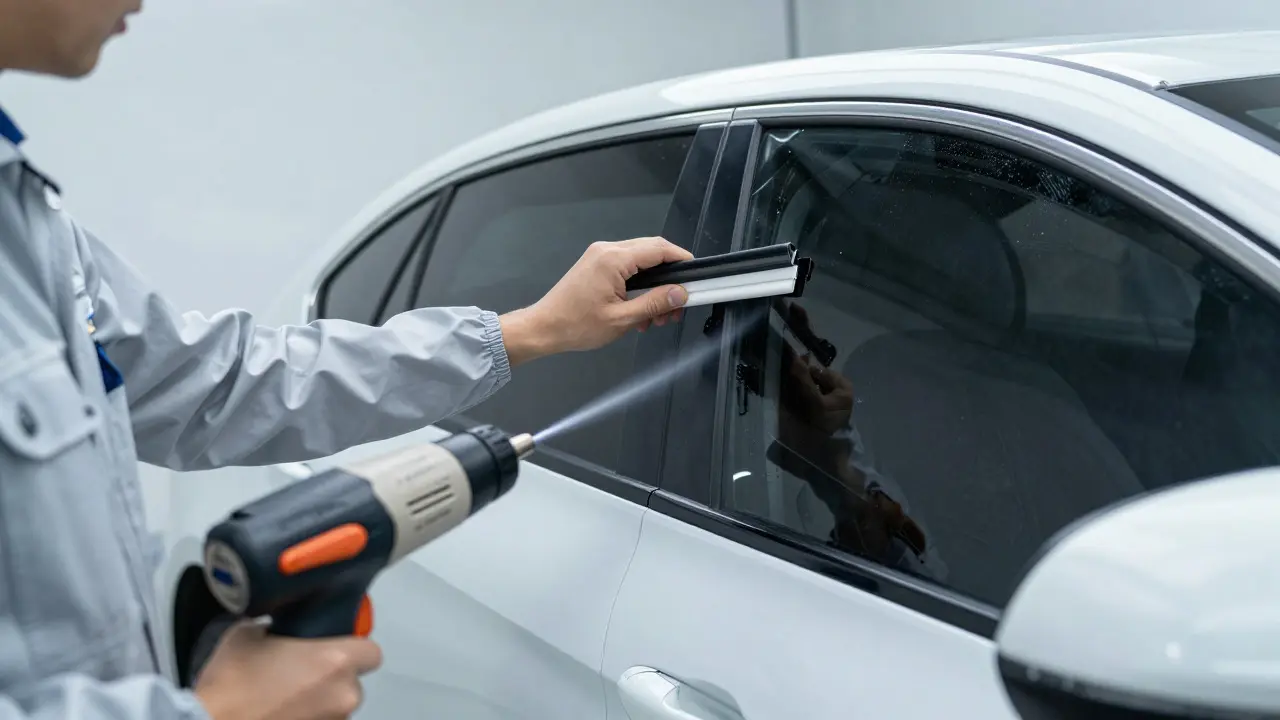
Peeling edges are a different story. Trying to push a peeled corner back down rarely works because the adhesive on that specific piece of film is likely compromised. Pressing it down usually just creates a visible crease that looks worse than the original peel. This is where professional intervention becomes necessary. Technicians use specialized tools and adhesives that match the original film properties.
How Professionals Fix Tint Issues
Professional tint repair is a precise process that goes beyond simple smoothing. Here is what happens when you bring your car to a reputable shop:
- Assessment: The technician inspects the damage to determine if it is superficial (bubbles) or structural (peeling/lifting).
- Cleaning: The affected area is cleaned with a specialized solvent to remove any dirt or old adhesive residue without damaging the surrounding film.
- Re-adhesion: For peeling edges, the technician may need to cut the damaged section away and laminate a new piece of matching tint onto the existing film. This uses a technique called "re-lamination."
- Heat Setting: Using a heat gun, they carefully warm the area to activate the adhesive and allow the film to conform to the glass curve again.
- Curing: The repaired area is left to cure for 24-48 hours before the car is returned to you.
This process ensures a seamless finish that is nearly invisible to the naked eye. It also extends the life of the remaining tint by restoring the integrity of the seal.
Preventing Future Tint Damage
Once your tint is fixed, you want to keep it that way. Prevention is far cheaper than repair. Follow these simple rules to protect your investment:
- Avoid Window Roll-Downs: Keep windows up for at least two weeks after installation or repair. Rolling them down can shift the film while the adhesive is still curing.
- Use Soft Wipes: When cleaning windows, use microfiber cloths and a mild soap solution. Avoid abrasive pads or wiper blades that can scratch the film and create entry points for dirt.
- Park Smart: Whenever possible, park in shade or use a windshield cover. Reducing thermal shock significantly reduces the risk of future bubbling.
- Check Door Seals: Inspect your door weatherstripping annually. If it is cracked or missing, replace it immediately to prevent water intrusion under the tint edges.
When to Replace vs. Repair
Sometimes, repair is not worth the cost. If more than 30% of the window is affected, or if the tint is fading and discolored along with the bubbling, a full replacement might be the better option. Replacement ensures uniform color and opacity across all windows, whereas multiple patches can lead to a mismatched appearance over time. However, for localized issues, professional repair is a cost-effective solution that preserves the original film quality.
| Factor | DIY Repair | Professional Repair |
|---|---|---|
| Cost | $0 - $20 (Tools) | $50 - $150 per window |
| Success Rate (Small Bubbles) | High | Very High |
| Success Rate (Peeling Edges) | Low | High |
| Risk of Damage | Medium (Scorch/Wrinkles) | Very Low |
| Time Required | 30 mins - 2 hours | 1 - 3 hours + Curing time |
Frequently Asked Questions
Will window tint bubbles go away on their own?
Sometimes, yes. Small bubbles caused by trapped moisture during the initial curing phase may evaporate and disappear within a few weeks. However, if the bubbles persist after a month or appear suddenly in an old tint, they are likely caused by adhesive failure and will not resolve without intervention.
Does heat really ruin window tint?
Extreme and prolonged heat can weaken the adhesive bond. While modern tints are designed to withstand normal driving conditions, frequent exposure to intense sun without ventilation can accelerate aging. It is less about immediate destruction and more about long-term degradation of the adhesive layer.
Can I use a razor blade to pop tint bubbles?
Generally, no. Popping a bubble releases the trapped air but leaves a hole in the film. This allows moisture to enter, which can cause larger peeling later. Only a professional should use a blade, and only to make a precise incision for re-sealing with adhesive.
How long does professional tint repair take?
The actual repair process usually takes between one and three hours depending on the extent of the damage. However, you should plan for an additional 24 to 48 hours of curing time before washing the car or rolling down the windows to ensure the new adhesive sets properly.
Is it worth repairing cheap aftermarket tint?
If the tint is already fading or discoloring, repair might not be worth the cost. In these cases, replacing the entire film with a higher-quality brand is often a better long-term investment. However, if the tint is still dark and clear but just has a small peel, repair is a viable option even for lower-end films.