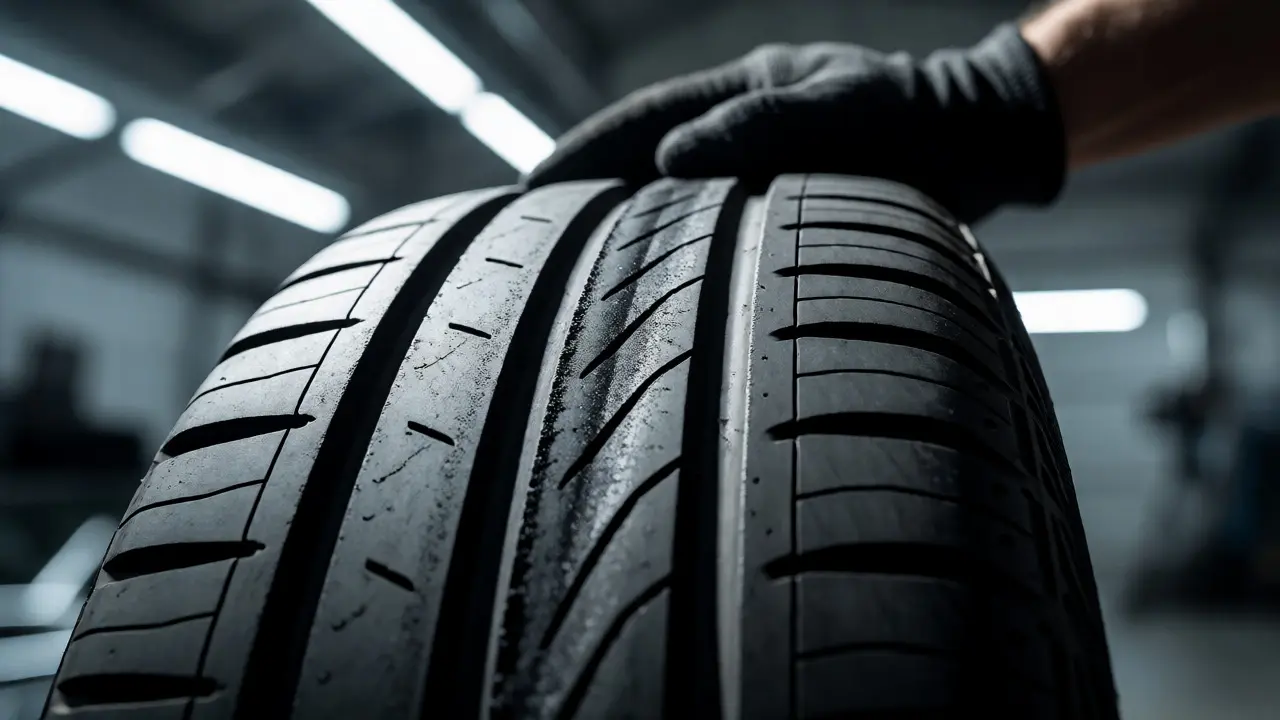
You just rotated your tires, but six months later, one set looks like it’s been shaved on the inside edge while the other looks fine. It’s frustrating, and worse, it’s expensive. You might blame the tire shop for a bad balance or assume the tires are cheap. But if you’re seeing uneven tire wear, the culprit is rarely the tire itself. It’s usually what’s holding the tire to the road: your suspension.
Think of your suspension system as the bridge between your heavy car body and the four small patches of rubber touching the pavement. When that bridge shifts, tilts, or wobbles, the tires don’t roll straight anymore. They scrub, drag, or lean. This article breaks down exactly how to read the patterns on your tread and match them to specific failing parts, so you stop guessing and start fixing the right thing.
Why Your Tires Are Screaming at You
Tires are passive components. They do exactly what the geometry tells them to do. If the geometry is off, the tire suffers. The most common misconception is that all uneven wear means you need an alignment. While alignment (adjusting angles) is part of it, worn mechanical parts often make alignment impossible to hold. A new alignment on a car with a collapsed bushing will last about two weeks before the problem returns.
To diagnose this, you need to look at three things: where the wear is located, what shape the wear takes, and whether it’s happening on the front or rear axles. Front-wheel-drive cars wear differently than rear-wheel-drive trucks. Independent suspensions behave differently than solid axles. Knowing these variables saves you from replacing parts you don’t need.
Decoding Common Wear Patterns
Before you touch a wrench, grab a flashlight and run your hand across the tread. Visual inspection isn’t enough; tactile feedback reveals cupping and scalloping that eyes miss. Here are the primary patterns linked to suspension issues.
Inner or Outer Edge Wear (Camber Issues)
If one side of the tire is significantly more worn than the other, you have a camber problem. Camber is the inward or outward tilt of the wheel when viewed from the front. Negative camber (top tilted in) causes inner-edge wear. Positive camber (top tilted out) causes outer-edge wear.
In modern cars with MacPherson struts, negative camber is normal for cornering stability. But excessive negative camber wears the inner shoulder rapidly. Why does this happen? Usually, it’s not the alignment setting itself, but the hardware allowing the strut to move. Look for:
- Ball joints: These connect the control arm to the steering knuckle. If they wear out, the knuckle drops or shifts, altering camber dynamically while driving.
- Control arm bushings: Rubber isolators that hold the control arm to the frame. Cracked or torn bushings allow the arm to pivot incorrectly under load, causing sudden camber changes during braking or acceleration.
Sawtooth or Feathered Edges (Toe Issues)
Run your hand across the tread from the center to the shoulder. Does it feel smooth in one direction and rough like sandpaper in the other? That’s feathering, caused by incorrect toe. Toe is the angle of the wheels relative to each other when viewed from above. Toe-in means the fronts point toward each other; toe-out means they point away.
While toe is primarily an alignment spec, chronic toe wear often points to loose steering components. If your tie rod ends are worn, the wheel can shift slightly during turns, creating a scrubbing effect that feathers the edges. Check for play by shaking the tire left and right at the 3 o’clock and 9 o’clock positions while the car is lifted.
Cupping or Scalloping (Shock Absorber Failure)
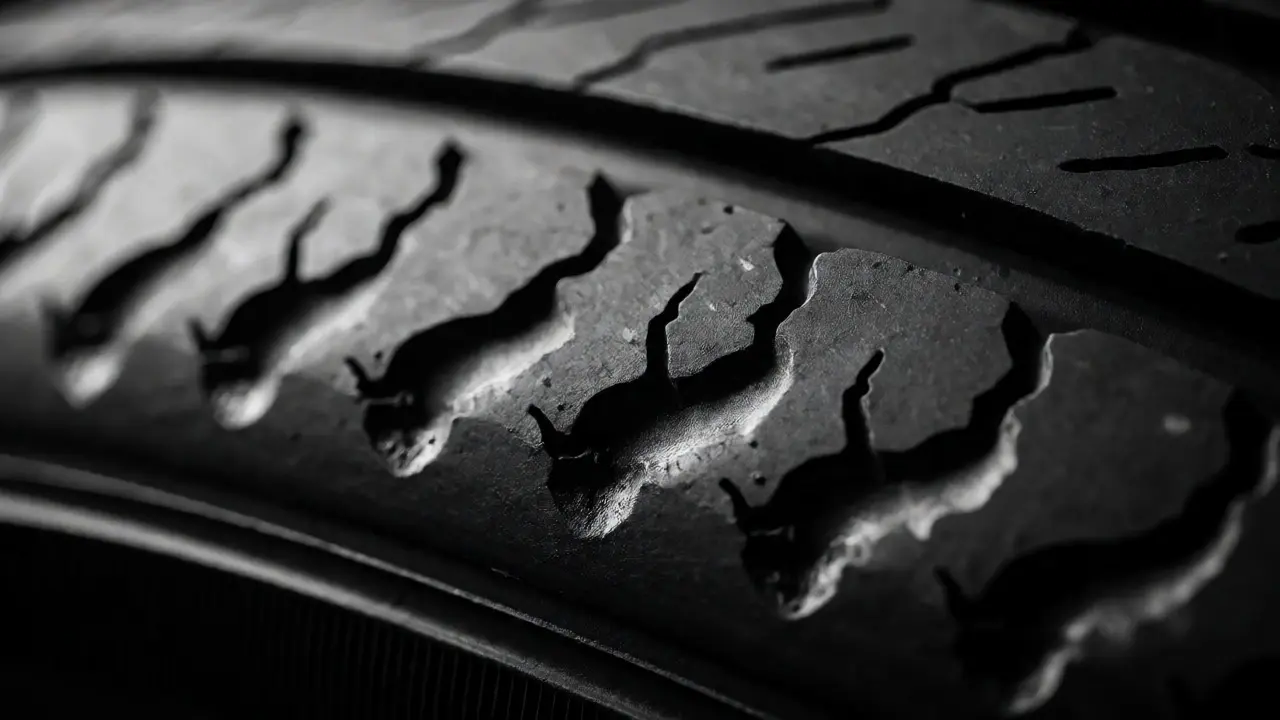
This is the most distinct pattern. Instead of flat wear, the tread has dips and high spots around the circumference, looking like scoops were taken out of it. This is called cupping. It happens because the tire isn’t staying planted on the road. It’s bouncing.
Your shock absorbers (or struts) dampen spring oscillation. When they fail, the spring keeps bouncing after hitting a bump. The tire hits the ground hard, lifts up, hits again, repeating rapidly. This inconsistent contact patches creates those scooped-out dips. Cupping is loud-it produces a humming noise that increases with speed-and it destroys tires fast.
The Suspect List: Matching Parts to Symptoms
Once you’ve identified the wear pattern, you can narrow down the faulty component. Use this logic flow to pinpoint the issue.
| Symptom/Wear Pattern | Likely Culprit | Verification Test |
|---|---|---|
| Inner Shoulder Wear | Worn Lower Ball Joint or Control Arm Bushing | Pry bar test on ball joint; inspect bushing cracks |
| Outer Shoulder Wear | Positive Camber due to Sagging Springs or Bent Knuckle | Measure ride height; check for accident damage |
| Feathered Edges | Loose Tie Rod Ends or Worn Steering Rack | Shake wheel horizontally; check rack boots for leaks |
| Cupping/Scalloping | Failed Shock Absorbers or Struts | Bounce test: car should settle in 1-2 bounces |
| Center Wear | Overinflation (Not Suspension) | Check PSI against door jamb sticker |
Ball Joints: The Silent Alignment Killers
Ball joints are critical safety components. They allow the wheel to move up and down with the suspension while also turning left and right. When the grease dries out or the boot tears, dirt gets in, grinding the joint. A worn ball joint introduces play. This play allows the wheel to wobble vertically and horizontally, leading to erratic wear that an alignment machine can’t fully correct because the geometry changes every time you hit a bump.
If you hear a clunking noise over bumps and see inner-edge wear, replace the ball joints before you pay for an alignment. Aligning a car with bad ball joints is throwing money away.
Wheel Bearings: The Humming Noise Maker
A bad wheel bearing doesn’t always cause visible wear immediately, but it causes vibration. As the bearing races wear, the wheel hub develops play. This play can cause slight wobble, leading to patchy wear or accelerated wear on one side. The key indicator here is noise. A growling or humming sound that changes pitch when you turn the steering wheel (turning left loads the right bearing, and vice versa) confirms a bearing issue. Ignoring this can lead to wheel seizure, which is catastrophic.
Step-by-Step DIY Inspection Guide
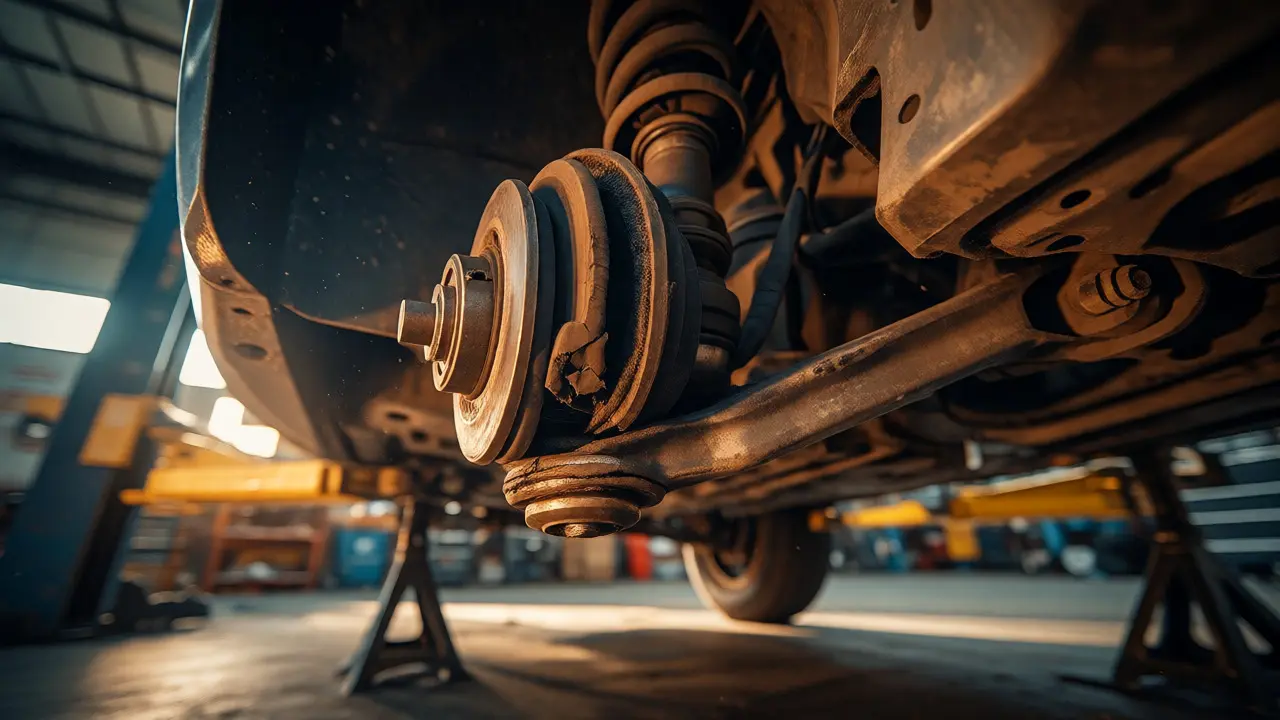
You don’t need a lift to do a preliminary check. Grab a jack, jack stands, and a pry bar. Follow these steps to isolate the problem.
- The Bounce Test: Push down hard on each corner of the car and release. The car should bounce once and settle. If it bounces multiple times like a pogo stick, your shocks are done. This directly correlates to cupping.
- The Shake Test: Lift the car safely on jack stands. Grab the tire at the top and bottom (12 and 6 o’clock). Rock it back and forth. Excess movement indicates worn ball joints or tie rods. Then grab the sides (3 and 9 o’clock). Movement here suggests tie rod end wear.
- The Boot Check: Inspect the rubber boots on your CV axles, tie rods, and ball joints. If they are cracked or missing grease, the metal parts inside are likely corroded and worn.
- Visual Geometry Check: Stand behind the car. Do the wheels look tucked in or splayed out? Compare both sides. Significant asymmetry suggests a bent component from a pothole impact or curb strike.
When to Fix vs. Replace
Suspension repairs can get pricey. Here’s how to decide your path forward based on severity.
If you only have minor feathering and the car drives smoothly, you might get away with a simple alignment. However, if you find any play in the shake test, alignment alone won’t fix it. You must replace the worn parts first.
For shock absorbers, replacement is usually recommended in pairs (both fronts or both rears) to maintain handling balance. For ball joints and control arms, many mechanics recommend replacing them in axle sets (left and right) because if one failed, the other is likely close behind. This prevents you from paying for labor twice within six months.
Consider the age of the vehicle. On cars older than 10 years, rubber bushings harden and crack even without heavy use. If your control arm bushings are split, replacing the entire control arm assembly is often cheaper and easier than trying to press new bushings into old brackets.
Preventing Future Uneven Wear
Once you’ve fixed the suspension, keep it healthy. Hitting deep potholes at highway speeds kills alignment and bends rims. Slow down for rough roads. Keep your tire pressure correct; underinflated tires flex more, putting extra stress on sidewalls and suspension mounts.
Rotate your tires every 5,000 to 7,500 miles. Rotation doesn’t fix suspension problems, but it ensures that if there is a slight remaining imperfection, it affects all tires evenly rather than destroying one pair quickly. Finally, get your alignment checked annually or whenever you notice the steering wheel pulling to one side.
Can I drive with uneven tire wear?
Yes, but cautiously. If the wear is mild, you can drive until your next service. If the tires are bald on one side or showing cords, you risk a blowout, especially at high speeds or in wet conditions. Reduce speed and get the suspension inspected immediately.
Does an alignment fix cupped tires?
No. An alignment adjusts static angles, but cupping is caused by dynamic bouncing due to failed shock absorbers. You must replace the shocks or struts to stop the bouncing. Once replaced, the new tires will stay round, but existing cupped tires cannot be repaired-they must be replaced.
How much does it cost to fix suspension-related tire wear?
Costs vary widely. A basic alignment runs $80-$150. Replacing a set of shocks might cost $400-$800 including labor. Replacing control arms and ball joints can range from $500 to $1,200 per axle depending on the vehicle. Always get a diagnostic fee waived if you proceed with repairs.
Is inner tire wear always a sign of bad alignment?
Not always. While alignment settings (camber/toe) dictate wear, worn mechanical parts like ball joints or control arm bushings change the effective alignment while driving. If an alignment tech says they couldn't adjust it to spec, it's almost certainly a worn part, not just a calibration error.
Can I replace just one tire if the others are fine?
If the other tires have significant tread depth difference (more than 2/32 inch), replacing just one can damage your drivetrain, especially in AWD vehicles. Ideally, replace tires in pairs (front or rear) or all four. If you must replace one, ensure it matches the size, brand, and model of the others.