Car velvet seats look luxurious, feel soft, and add a premium touch to any interior. But they’re also one of the hardest materials to clean properly. If you’ve ever tried scrubbing a stained velvet seat with a regular sponge or sprayed it with all-purpose cleaner, you know how quickly things can go wrong. The pile mats down, stains spread, and sometimes the color fades - all because the cleaning method was wrong. Velvet interior cleaning isn’t just about removing dirt. It’s about protecting the fiber structure, controlling moisture, and avoiding residue that pulls stains back later.
Why Velvet Is Different from Other Car Upholstery
Velvet and velour aren’t the same as vinyl or standard cloth. Vinyl is tough, non-porous, and wipes clean with a damp rag. Standard cloth blends fibers and can handle a bit more abuse. Velvet, on the other hand, is made of tightly packed, short fibers that trap dirt deep inside. Think of it like a carpet - but thinner, more delicate, and glued to your seat frame. When you spill coffee, sweat, or food on it, the liquid doesn’t sit on top. It sinks in. And if you scrub too hard or use the wrong cleaner, you crush the pile, leave soap behind, or even bleach the color.The First Rule: Never Spray Directly
One of the biggest mistakes people make is spraying cleaner straight onto the velvet. That’s how water spots, ring stains, and mold happen. Instead, always apply cleaning solutions to a microfiber cloth first. Use a clean section of the cloth for each pass. If you keep using the same dirty part, you’re just spreading the stain around. A damp cloth that’s barely wet - not dripping - is your best friend. Too much water means longer drying, which invites mildew. Too little means the dirt won’t lift.Step-by-Step: Dry Cleaning First
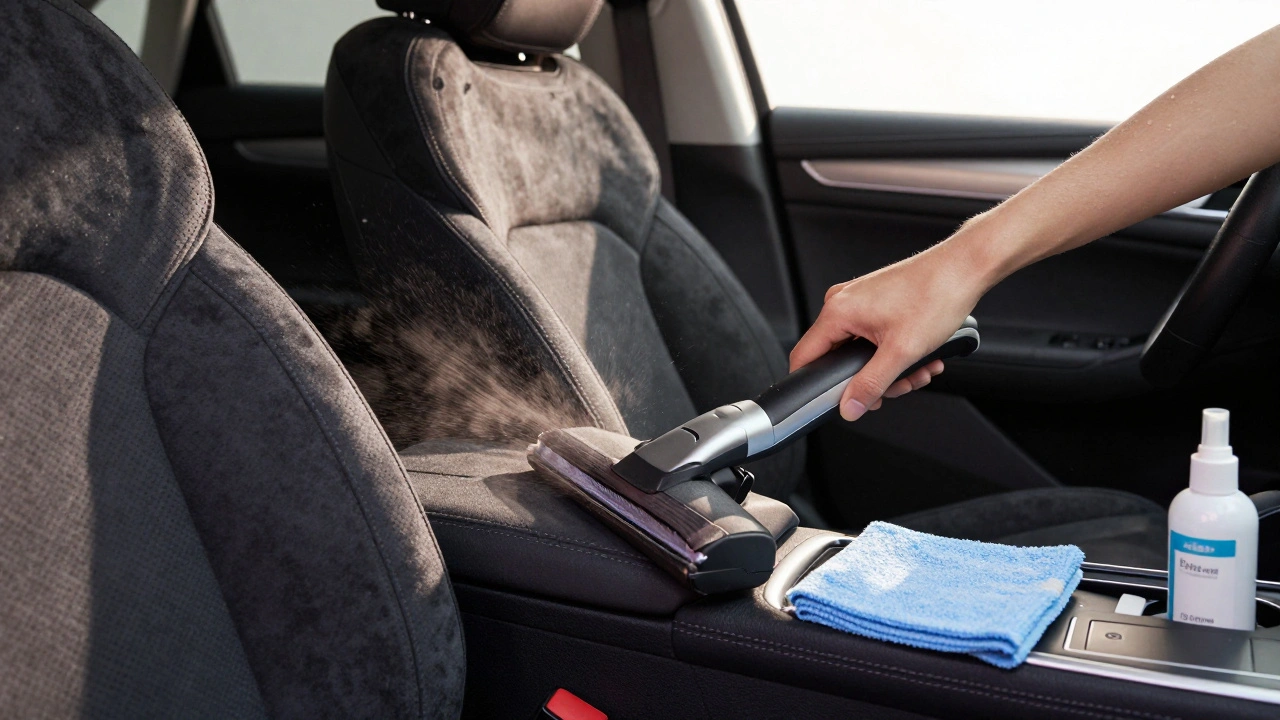
Before you even think about water, start dry. This step removes 70% of the dirt and prevents it from turning into mud when you add moisture.- Use a vacuum with a brush attachment to pull out loose dust, crumbs, and pet hair. Go over the entire surface slowly.
- Switch to a soft-bristled brush - like a clean clothes brush or a specialized upholstery brush. Gently brush the fabric in one direction, lifting the pile. This loosens embedded dirt.
- Vacuum again. You’ll see a lot more debris come out the second time.
Wet Cleaning: The Right Way
If stains remain after dry cleaning, it’s time for a gentle wet approach. Use only warm water and a neutral pH cleaner. Avoid laundry detergents, dish soap, or all-purpose sprays - they leave sticky residues that attract more dirt.Here’s what works:
- Fill a small bowl with warm (not hot) distilled water. Distilled prevents mineral spots from hard water.
- Add a few drops of a velvet-specific cleaner. Brands like Chemical Guys Velvet & Velour Cleaner or Meguiar’s Ultimate Quik Detailer are designed for this.
- Dip a clean muslin cloth (or microfiber) into the solution, then wring it out until it’s barely damp. You should be able to hold it upside down without a drop falling.
- Gently dab the stained area. Don’t scrub yet. Let the solution sit for 30 seconds to break down the stain.
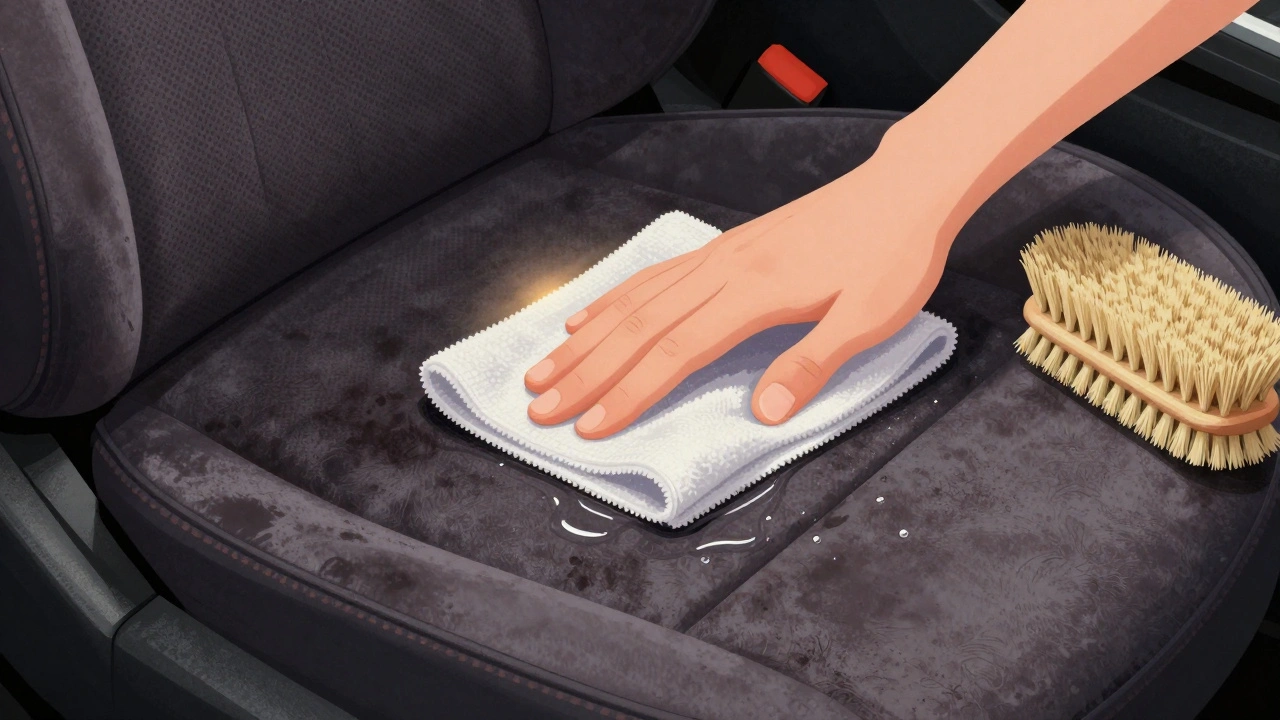
- Now, use a clean section of the cloth and lightly wipe in small circular motions. Keep turning the cloth to use fresh surfaces.
For stubborn stains, use a pre-treatment. Apply the cleaner to the stain, let it sit for 10 minutes, then lightly scrub with a medium-stiff brush - not a wire brush, not a toothbrush, but something with firm nylon bristles. Brush in the direction of the pile. Then dab again with your damp cloth.
Extraction and Drying: The Hidden Step
After cleaning, the moisture has to come out. Otherwise, you’ll get wicking - where the stain reappears days later as the water evaporates from deep in the fibers.Use a dry microfiber towel to blot as much moisture as possible. Press down, don’t rub. Then, use a fan or open the windows to air dry. Don’t use a heat gun or hairdryer. Heat can shrink the fibers and make the velvet stiff.
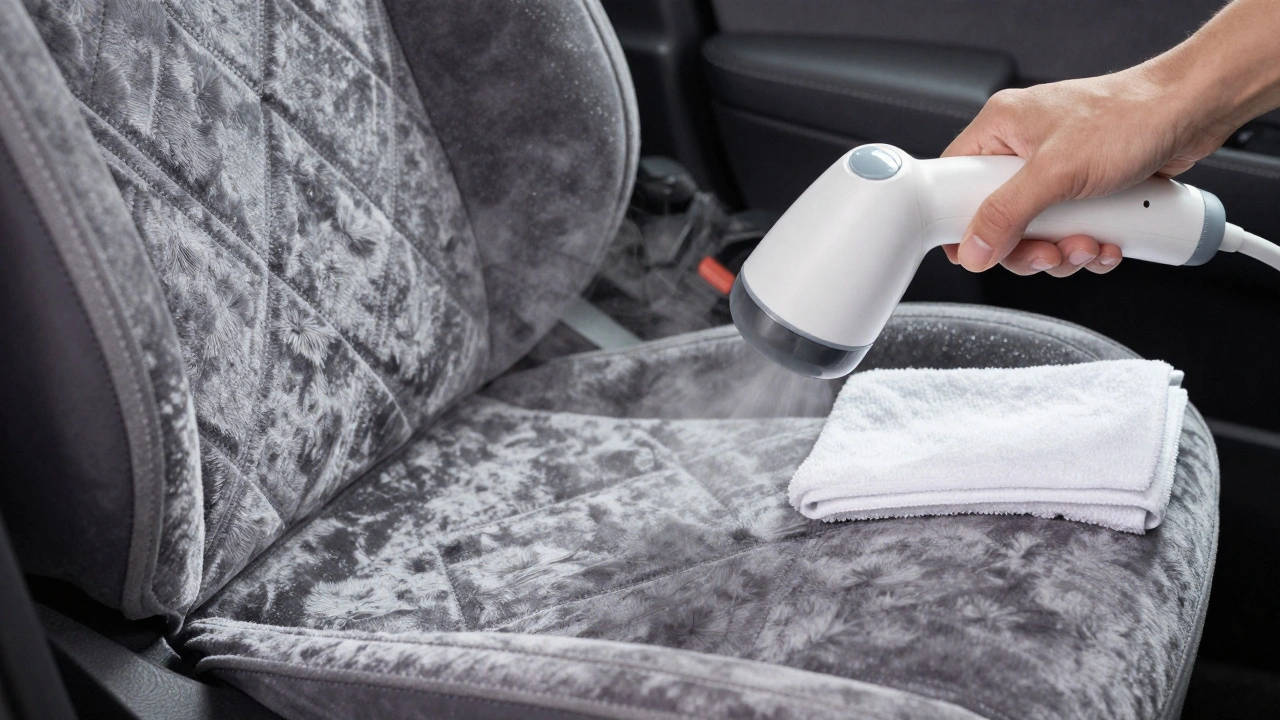
For best results, use steam after drying. A handheld garment steamer on low setting helps sanitize the fabric and fluff the pile back up. Hold it 6 inches away and move slowly. Don’t linger in one spot.
What to Avoid at All Costs
- Harsh chemicals: Bleach, ammonia, or alcohol-based cleaners will fade or dissolve the dye.
- Over-saturation: Soaking the fabric leads to mold, odor, and permanent damage.
- Aggressive scrubbing: Brushing too hard flattens the pile and makes it look worn.
- Skipping the rinse: If soap residue stays behind, it acts like glue for future dirt.
Check the Care Code
Some cars have a care code tag on the seat frame or door jamb. It looks like a little letter:- W: Water only - safe to use damp cloths.
- S: Solvent only - use dry cleaning products, no water.
- WS: Water and solvent - you can use either.
- X: Vacuum only - no liquids at all.
If you don’t see a code, assume it’s W or WS. When in doubt, test any cleaner on a hidden area first - like under the seat or behind the headrest.
Prevention Is Easier Than Cleaning
Once you’ve cleaned your velvet seats, protect them. Use a fabric guard spray designed for velvet. These create a light barrier that repels spills without changing the feel. Reapply every 3-4 months. Also, keep a microfiber towel in the car to wipe up spills immediately. Don’t wait until it soaks in.Most people think velvet is high-maintenance. It is - but only if you treat it like vinyl. With the right steps, it lasts for years. Clean it right once, and you’ll save yourself hours of frustration later.
When to Call a Professional
If the stain is old, deep, or covers a large area, or if you’re unsure about the fabric type, it’s better to go to a detailer. Professionals use industrial extractors, moisture meters, and pH-balanced systems that home cleaners can’t match. A full velvet seat cleaning by a pro usually takes 1.5-2 hours and costs between $80 and $150 - but it’s worth it if you want to preserve the look and value of your car.Can I use baking soda to clean velvet car seats?
Yes, but only as a dry absorbent, not as a scrub. Sprinkle a thin layer of baking soda over the stained area, let it sit for 15-20 minutes to absorb odors and oils, then vacuum it up thoroughly. Do not mix baking soda with water on velvet - it can leave a chalky residue that’s hard to remove. Always test on a hidden spot first.
How often should I clean my velvet car seats?
Clean them every 3-6 months if you use the car daily. If you have kids, pets, or eat in the car, clean them every 2-3 months. Regular dry vacuuming once a week prevents deep buildup. Don’t wait until stains are obvious - that’s when damage becomes harder to reverse.
Why does my velvet stain come back after cleaning?
That’s called wicking. It happens when soap residue or moisture remains deep in the fibers. As the surface dries, the remaining dirt and chemicals rise back up. To fix this, rinse the area with clean distilled water after cleaning, then extract as much moisture as possible with a dry towel. Repeat until the towel stays clean. Air drying with a fan helps prevent this too.
Can I use a steam cleaner on velvet car seats?
Yes, but only after cleaning and drying. Use a handheld garment steamer on low heat, holding it at least 6 inches away. Steam helps sanitize and fluff the pile, but direct steam can shrink or scorch the fabric. Never steam a dirty seat - always vacuum and clean first.
Is velvet harder to clean than cloth or vinyl?
Yes, but not because it’s fragile - because it’s dense. Vinyl is easy: wipe and go. Standard cloth can handle more scrubbing. Velvet holds dirt deep inside its pile, and it’s easy to damage the surface. It requires more patience, the right tools, and attention to moisture control. But with the right method, it’s just as manageable as other fabrics.